
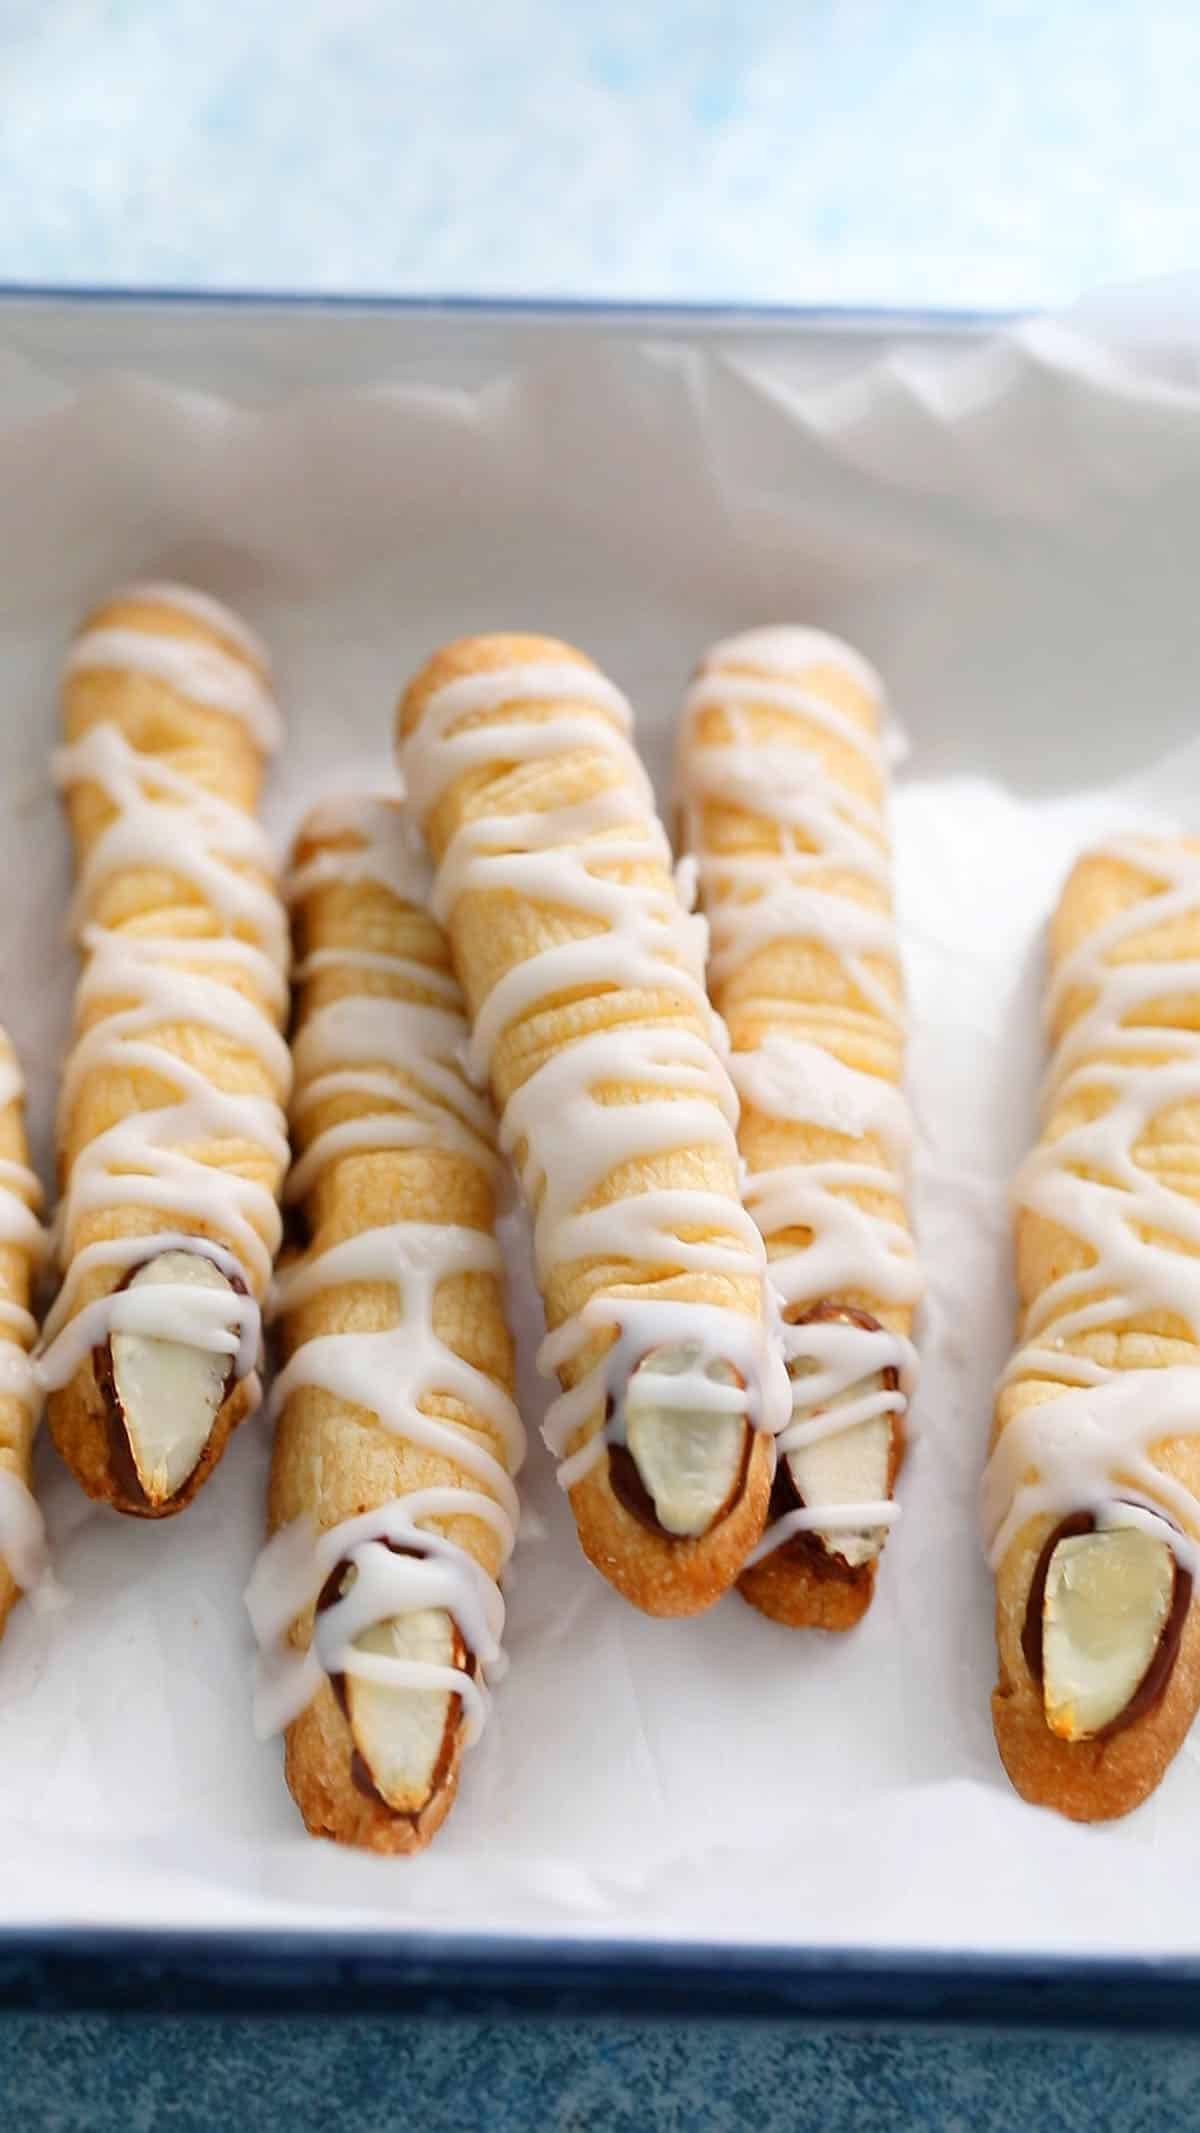
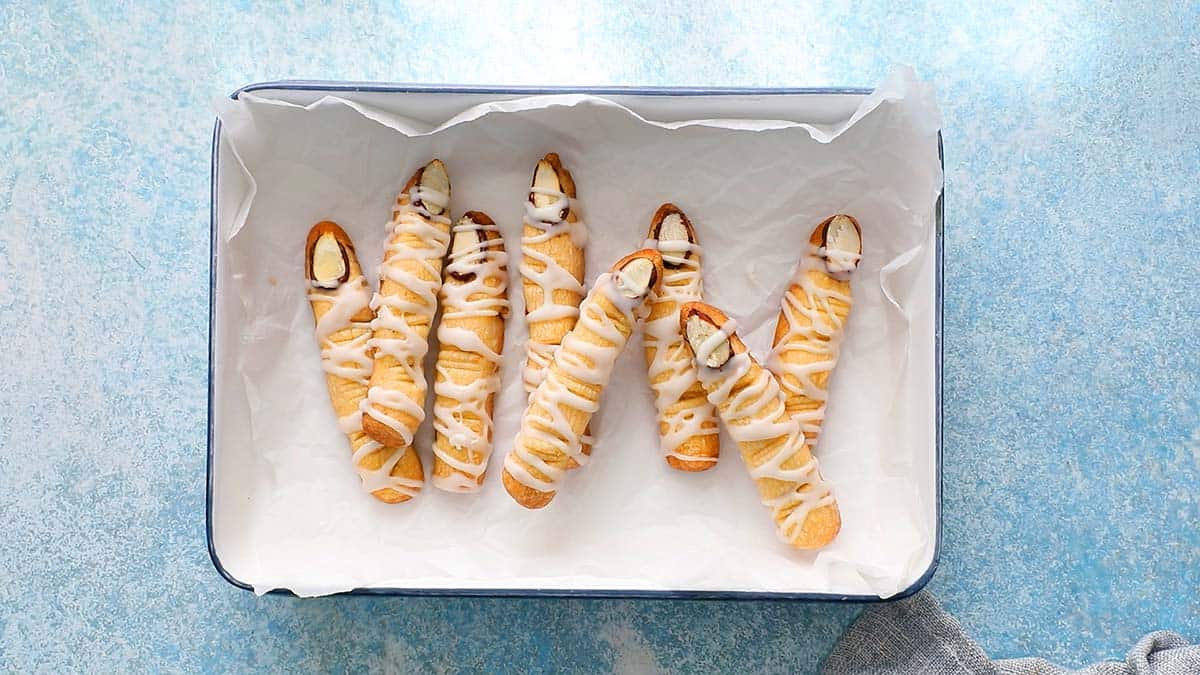
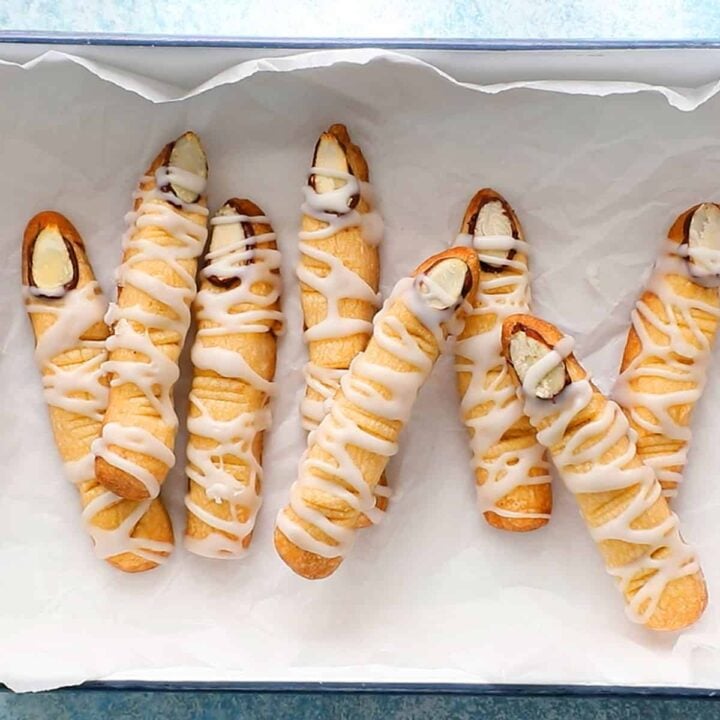
These Halloween Finger Cookies are spooky and mummified! Made using an easy eggless shortbread recipe, there is no food coloring and these are fun to make with kids for Halloween.
We are continuing Halloween season with Halloween finger cookies they are buttery shortbread cookies shaped in into creepy fingers like the bone cookies.
For numerous years, I've been making these eerie finger shaped cookies that never fail to impress. There's something uniquely unsettling about cookies shaped liked human fingers. I add an extra touch of creepiness with a sugar icing.
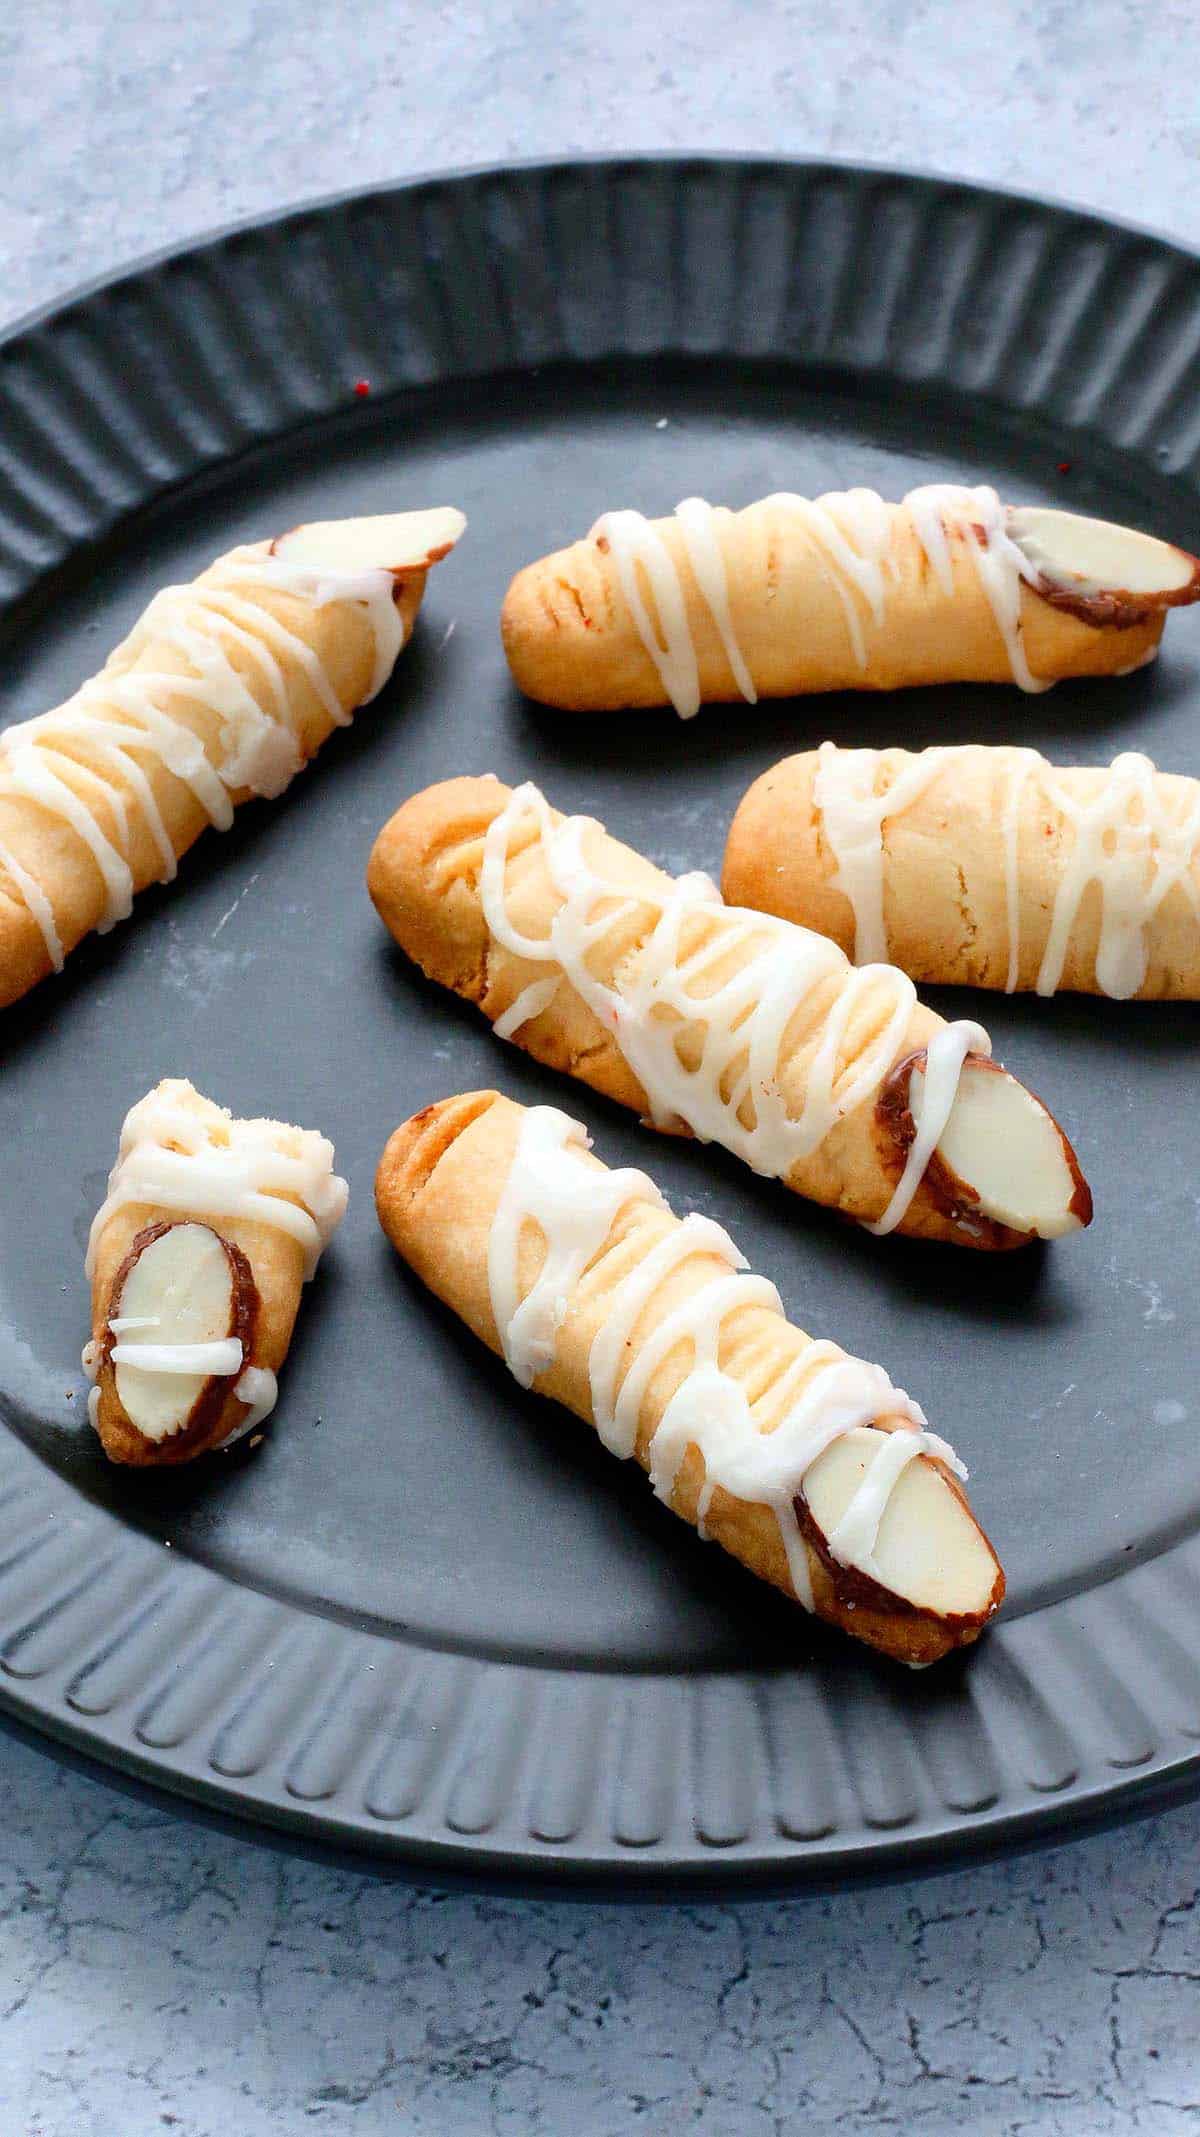
What are witch fingers? They are whimsically spooky and popular Halloween treat like the Halloween mice or Halloween clementines. These cookies are shaped like elongated witch fingers, complete with details such as knuckles and almond nails to create a realistic and eerie appearance.
Like the Halloween trees, witch finger cookies are a delicious treat and a creative and entertaining addition to Halloween-themed events or parties like tree cookies or Halloween bark.
Jump to:
Why you'll love this recipe?
- Fun to make with kids like Halloween pumpkins.
- Eggless cookie recipe, perfect for vegetarians.
- No special tools are needed. All you need is your hands, which work best to make finger shapes.
Ingredients
Scroll down to the recipe card below for full information on ingredients and amounts.
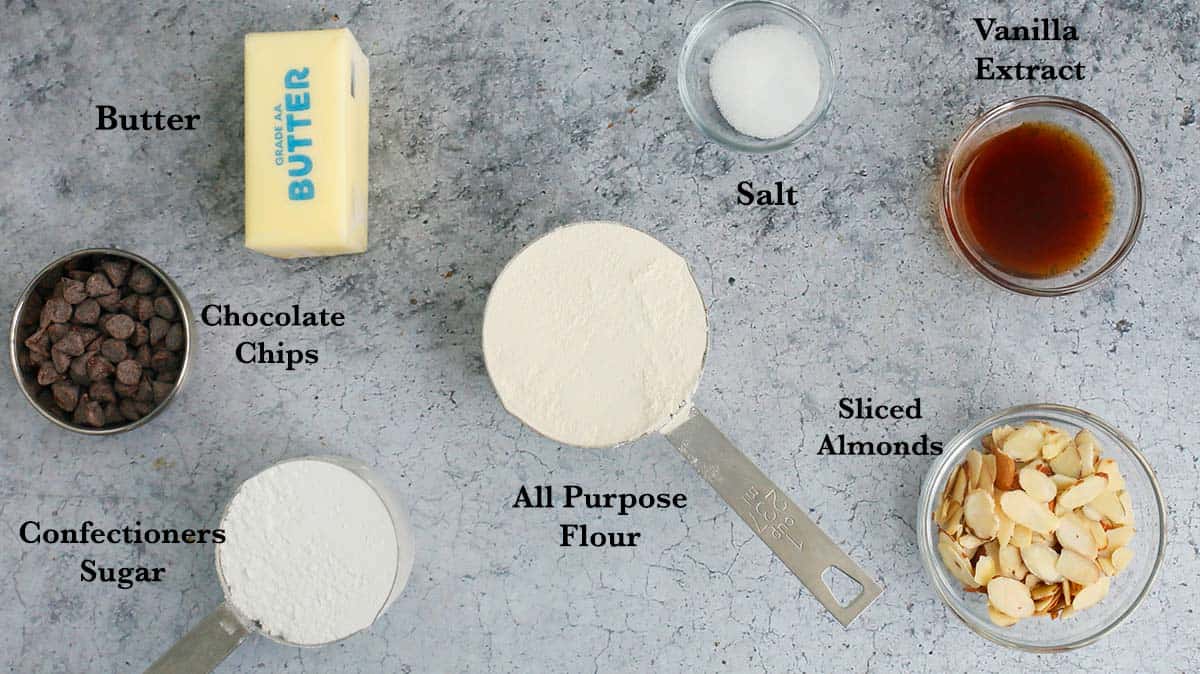
- Butter – As in all eggless cookie recipes, room temperature butter is essential for creaming.
- All purpose flour – Use unbleached all purpose flour.
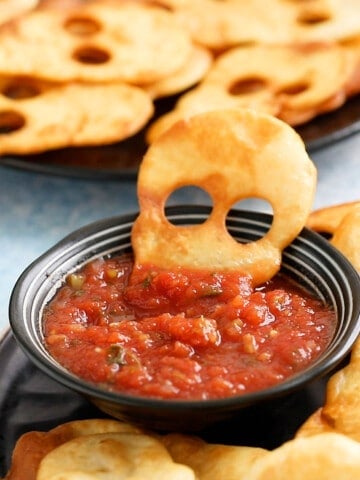
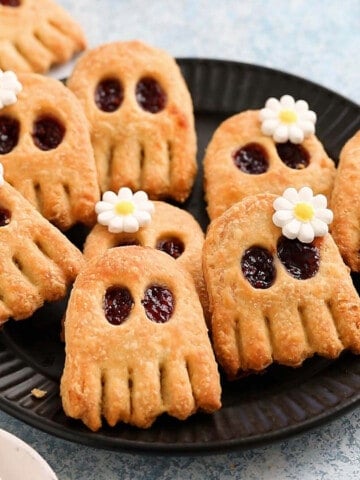
- Confectioners sugar – Like in pecan snowball cookies and skull cookies, the cornstarch in cnofectioners sugar makes a melt-in-your-mouth texture.
- Sliced almonds - To create a nail like effect.
- Chocolate chips - Melted chocolate helps to adhere the sliced almond. Use semi sweet, milk or white chocolate chips.
How to make?
You can find full printable recipe below, but here is a quick overview of the procedure along with step-by-step photos.
Make Cookie dough
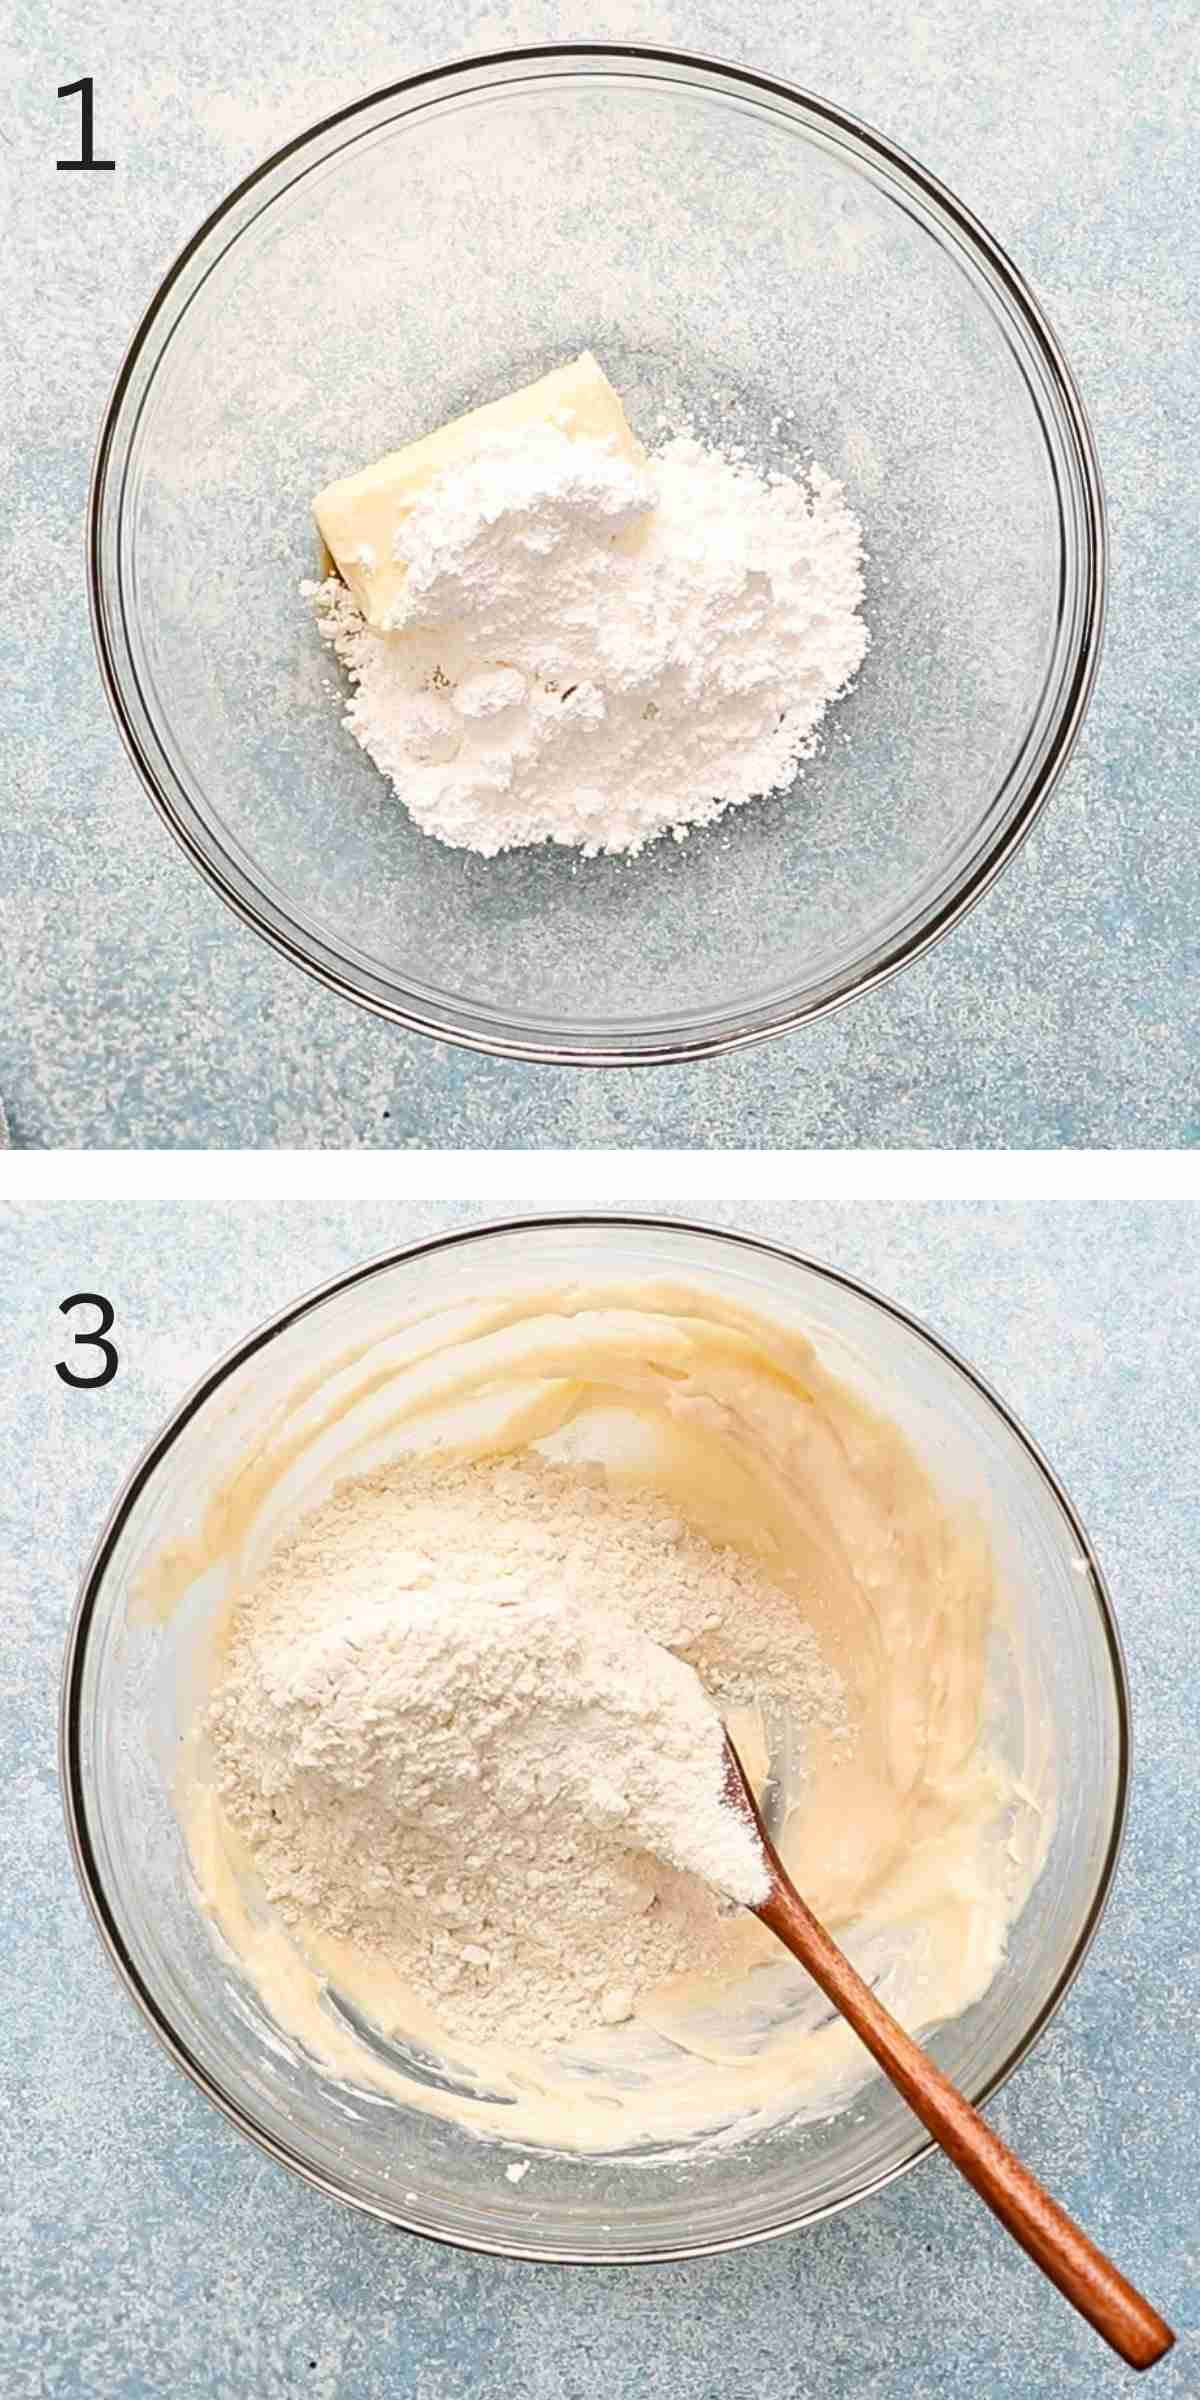
1.Add butter, confectioners sugar, vanilla extract and salt into a medium bowl.
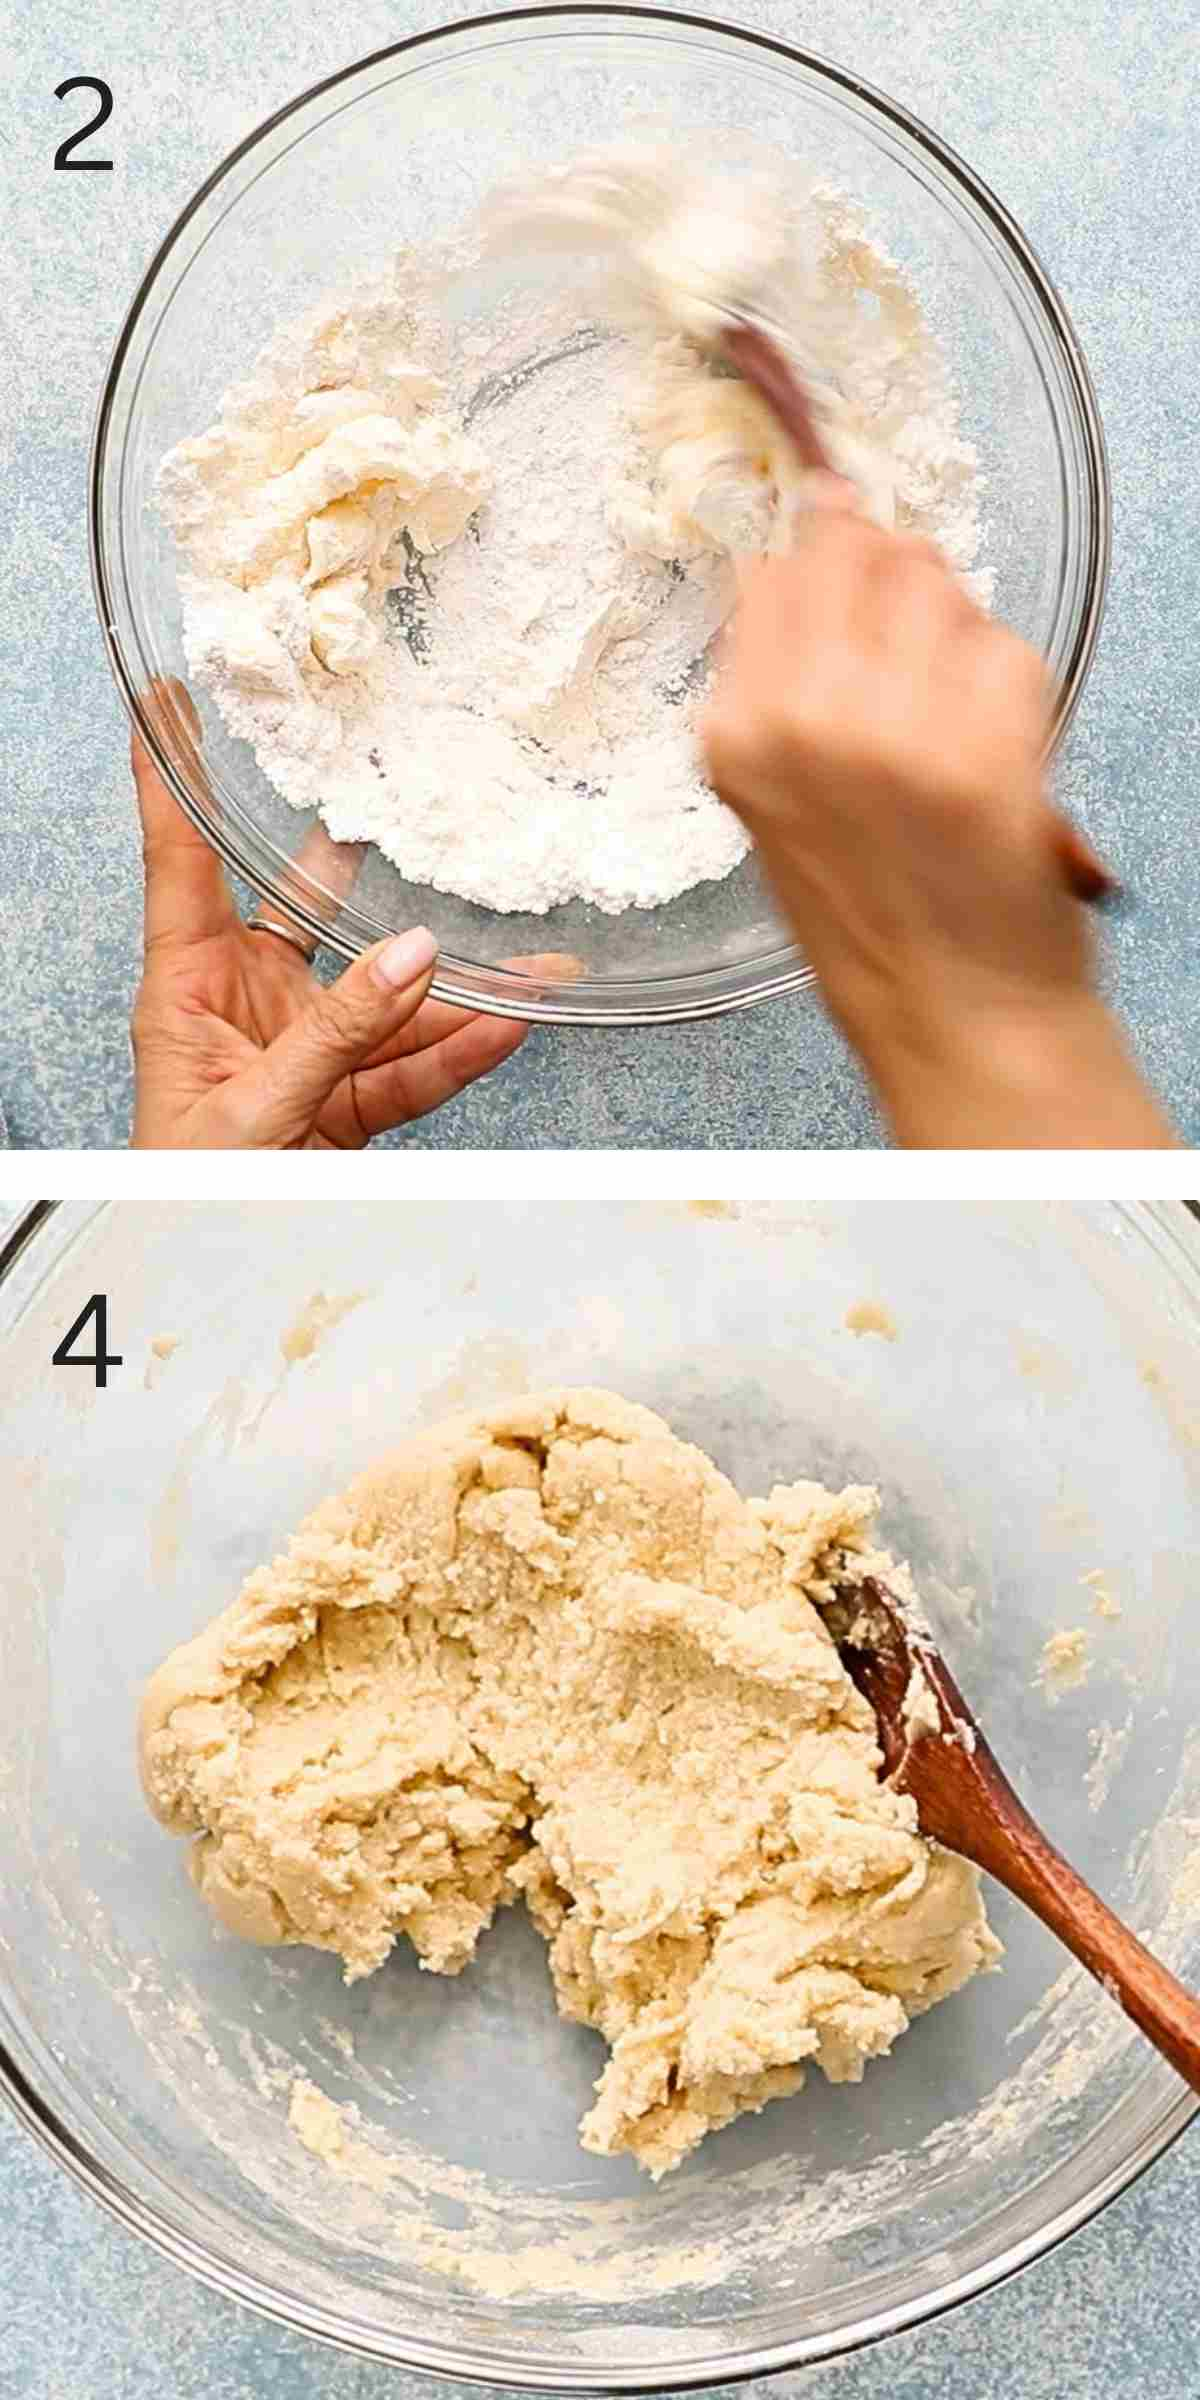
2. Beat with hand held electric beater or using a wooden spoon, until smooth and creamy.
3 & 4. Add flour and about 2 teaspoons of milk, mix with a spoon, until the dough comes together. You want the dough to be slightly firm but not soft. So, adjust the milk accordingly.
Tip: Firm dough will result in hard biscuits, whereas very soft dough will spread when baking.
Shape Cookies
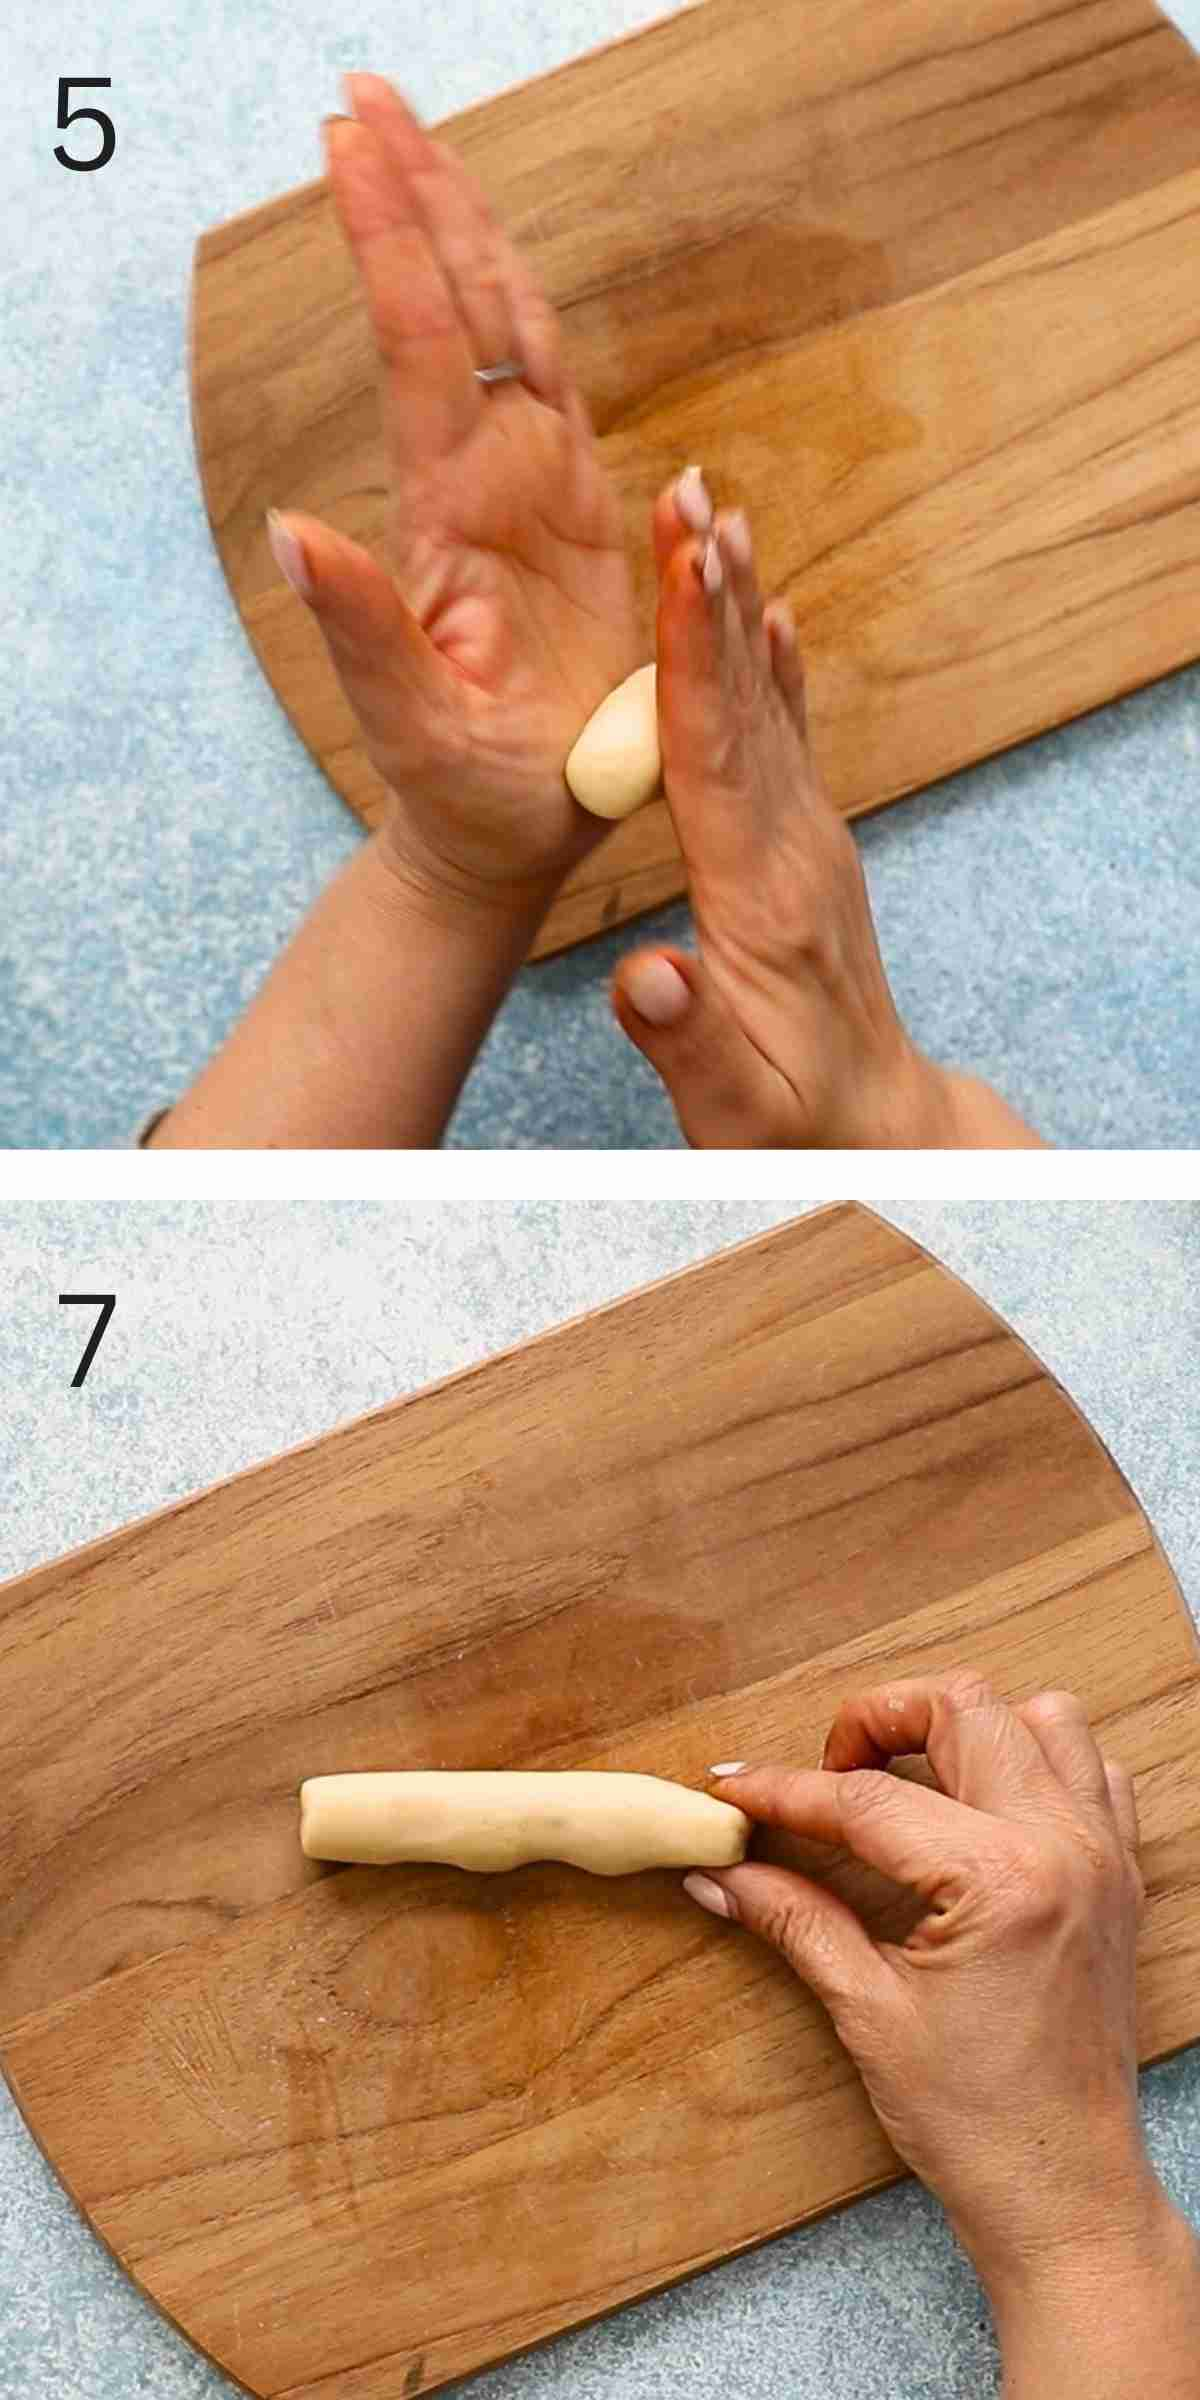
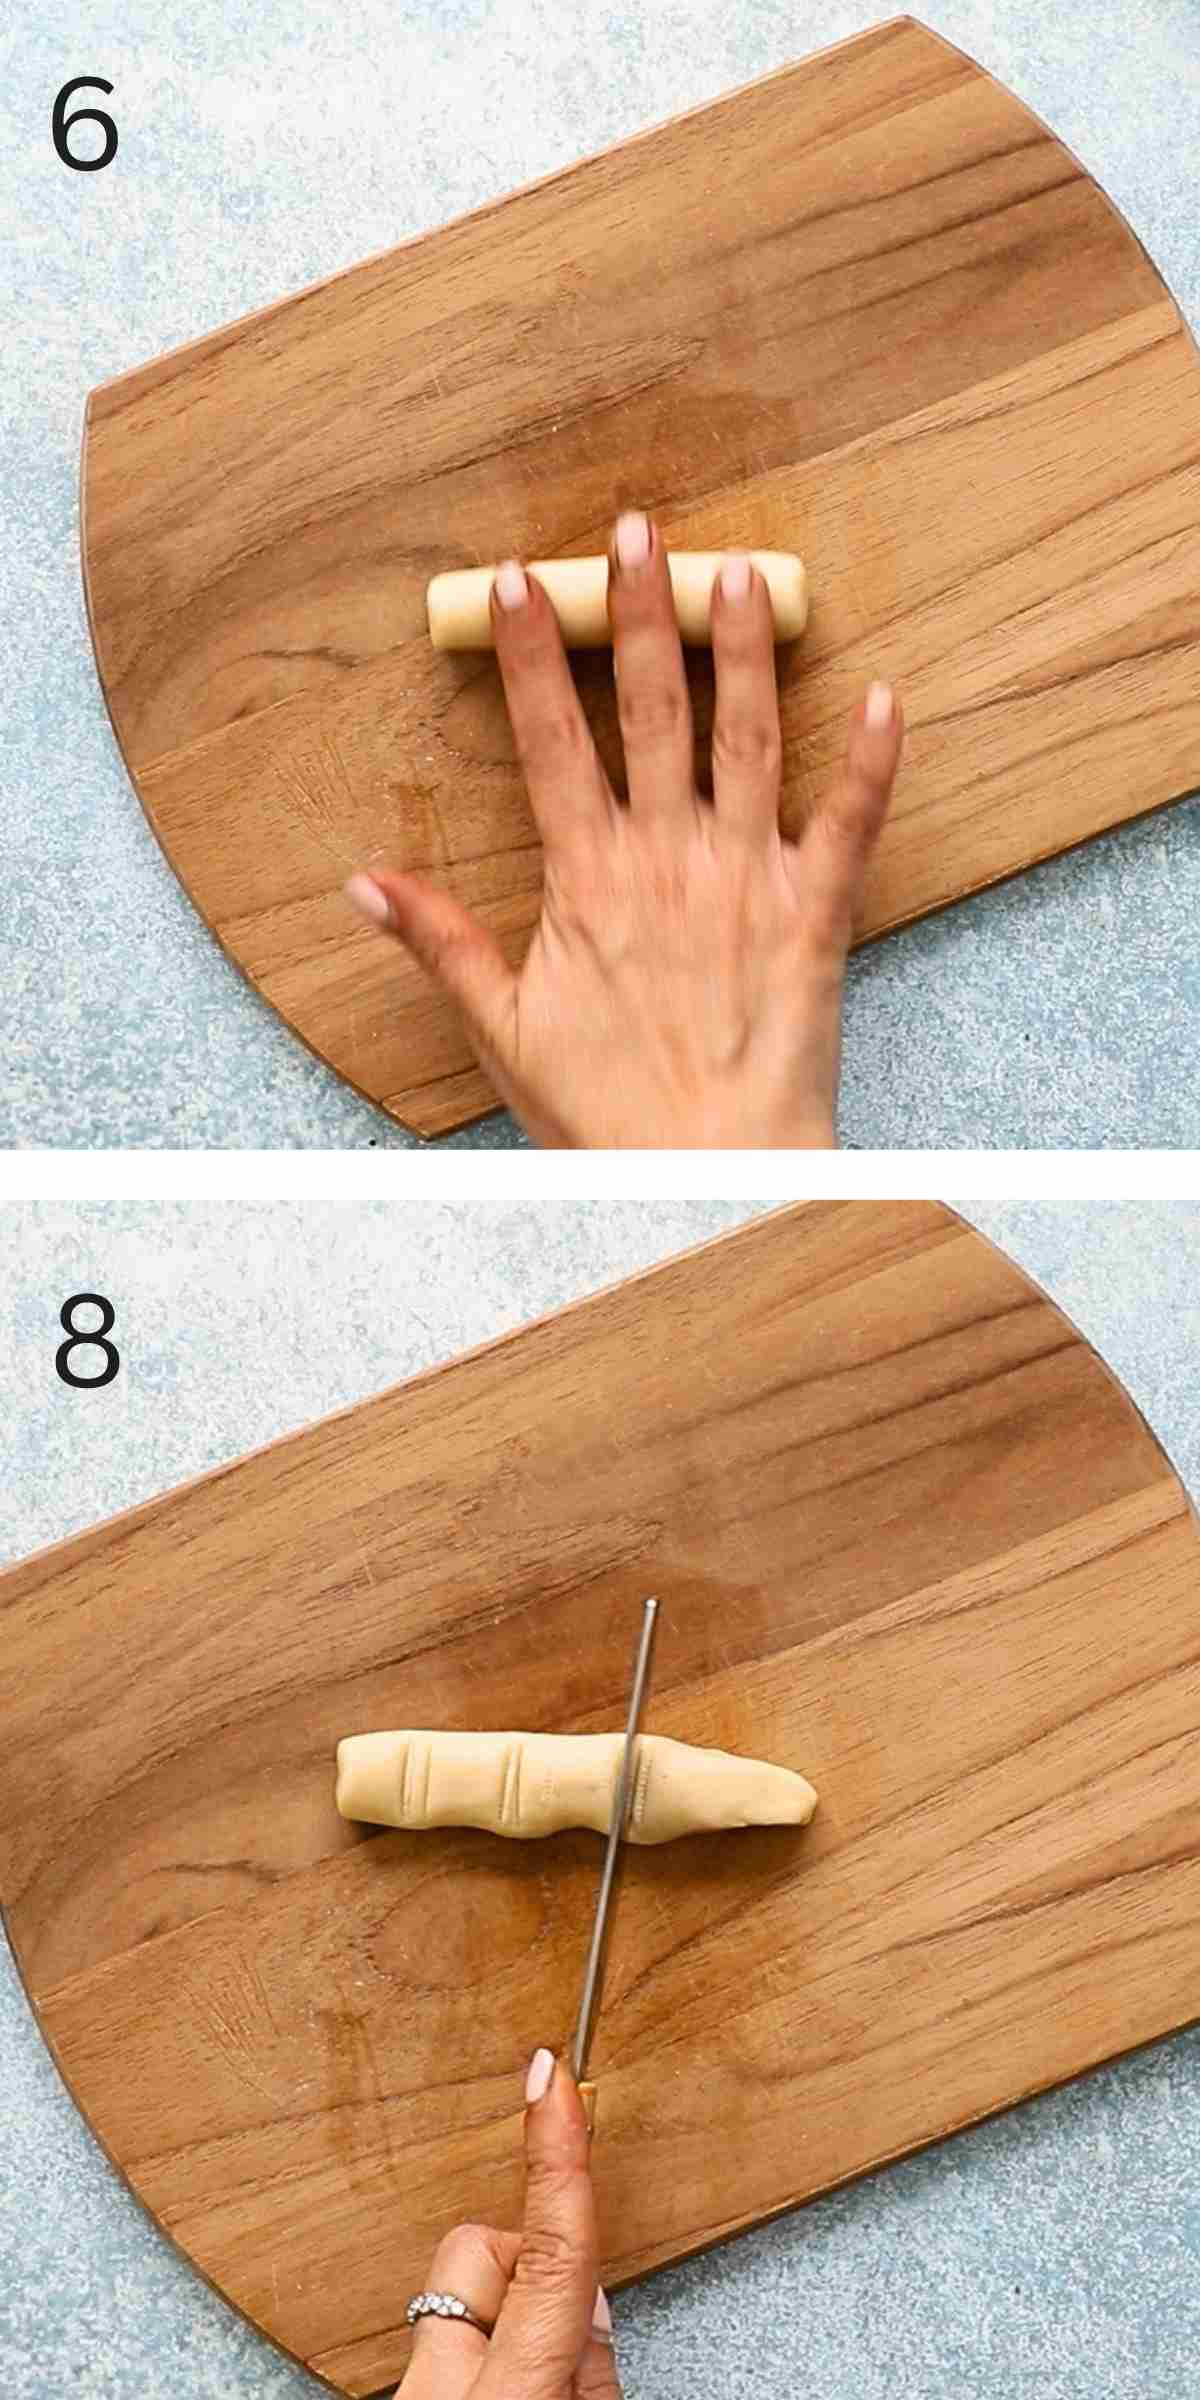
5 & 6. Working with about slightly heaped 1 tablespoon measure dough, shape it into a 3-inch log, rolling it between your fingers to give a more authentic finger shape.
7. Shape one end of the log to get a slightly pointed, flat end to make a nail bed.
8. Using a butter knife, press on 2 to 3 parts of the shaped finger to get the creases on the knuckles or "palmar flexion creases".
Repeat process to make remaining cookies and place them on a parchment lined baking sheet, spacing about an inch apart. Place baking sheet in the refrigerator for at least 2 hours to firm up.

Bake finger cookies at 350 degrees for 20 to 25 minutes or until golden in color and let cool completely.
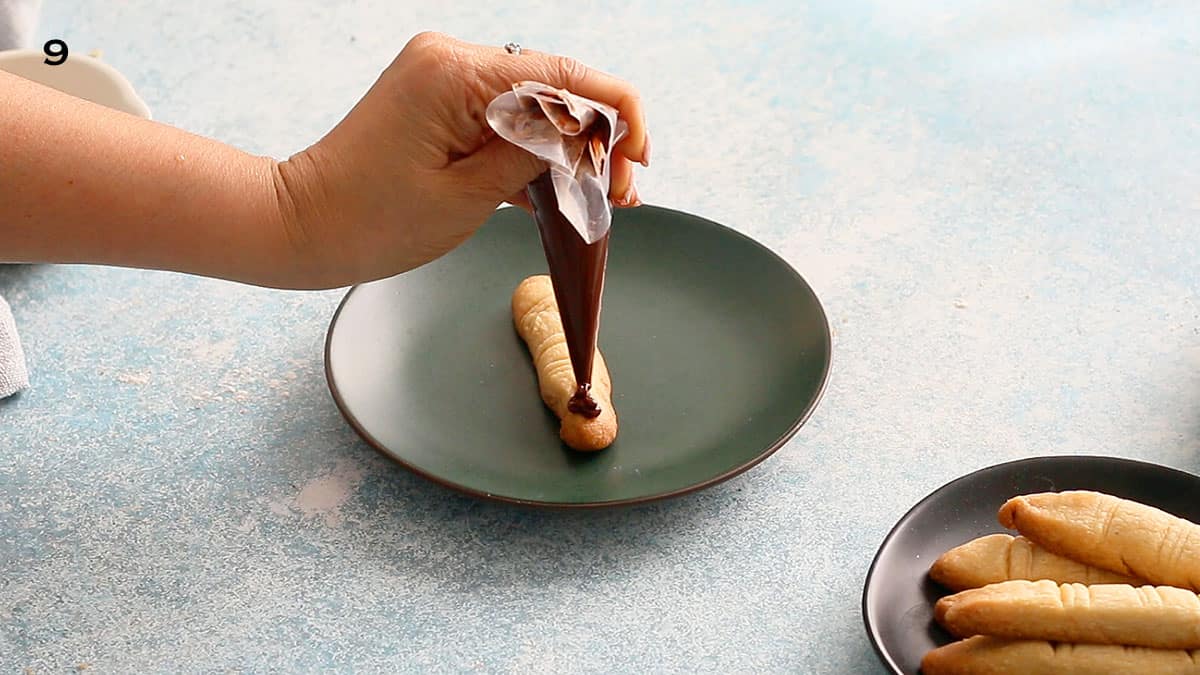
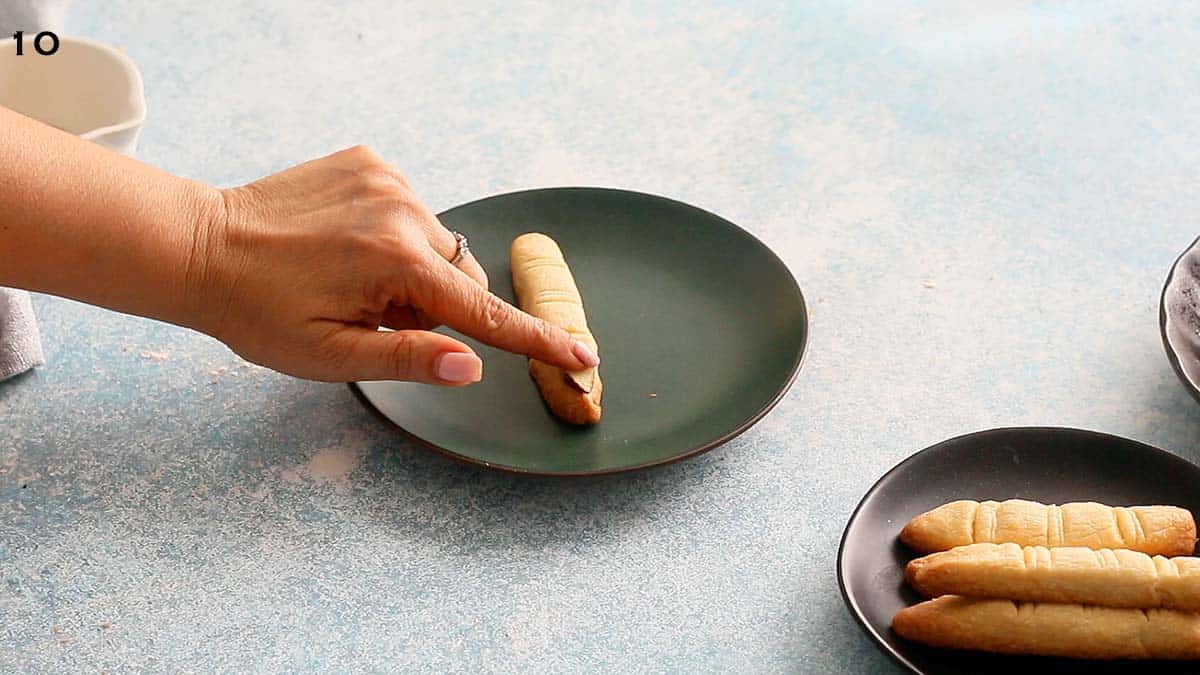
Make nails
9 & 10. Melt chocolate chips in the microwave and transfer to a small zip lock bag. Squeeze a little melted chocolate on the tip of each finger and place a sliced almond on top, pressing lightly to help it stick.
Finish
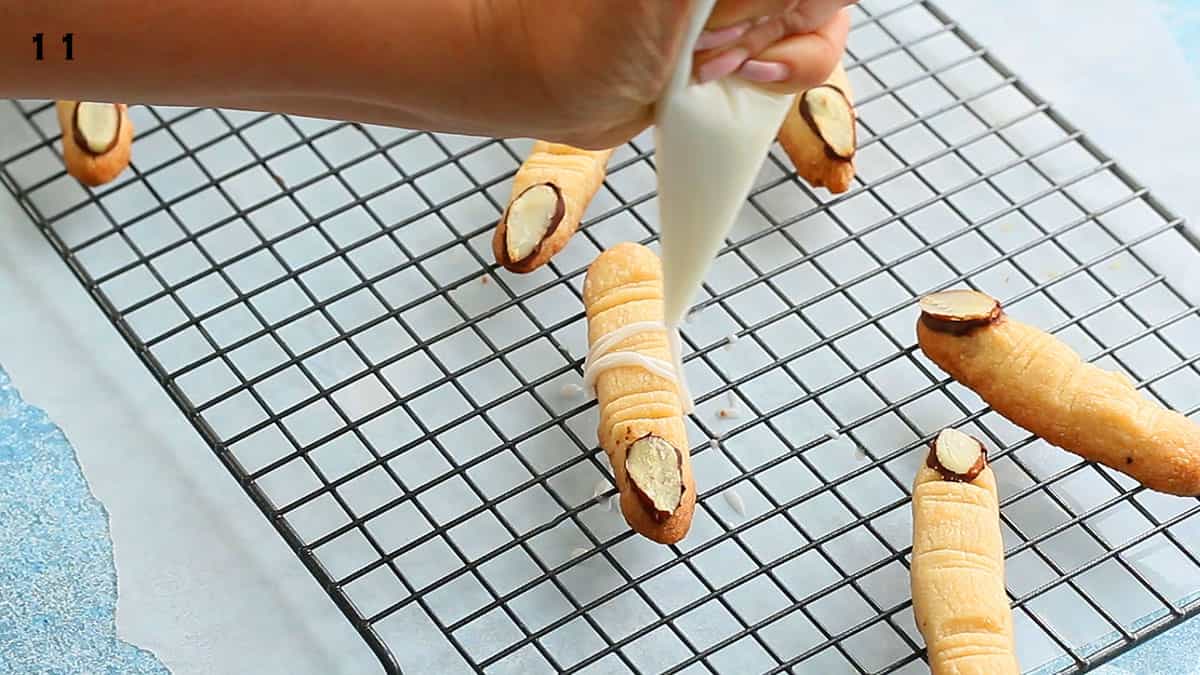
11. Mix confectioners sugar and enough milk to a thick icing. Transfer to a small zip lock bag and draw lines to represent mummy on each fingers and let sit for a few hours to set.
How to store?
Halloween finger cookies can be stored in a sealed container at room temperature for up to a week.
If you'd like to store them for a longer period, then freeze the baked cookies (without any chocolate or icing) for up to 2 months. Thaw at room temperature and then decorate.
Helpful tips
- Chill dough – I recommend chilling shaped dough for several hours, which gives ample time for the dough to firm up before baking.
- Don’t make them smooth – Few cracks, uneven surfaces with a few dents are perfect in making a creepy Halloween finger cookies.
More Halloween food ideas
Halloween Finger Cookies
Halloween Finger Cookies are spooky and mummified! Made using an easy eggless shortbread recipe, there is no food coloring and these are fun to make with kids for Halloween.
Ingredients
- 1 stick unsalted butter, room temperature
- ½ cup + 2 tablespoons confectioners sugar
- 1 teaspoon vanilla extract
- ⅛ teaspoon salt
- 1 cup + 5 tablespoons all purpose flour
- 2 to 4 teaspoons milk
Icing
- 3 tablespoons semi sweet chocolate chips
- 20 sliced almonds
- 1 cup confectioners sugar
- 2 to 4 teaspoons milk
Instructions
Make Cookie dough
1. Add butter, confectioners sugar (½ cup + 2 tablespoons), vanilla extract and salt into a medium bowl and beat with hand held electric beater for a minute, until smooth and creamy.(Alternatively, mix by hand using a wooden spoon for 2 to 3 minutes)
2. Add flour and about 2 teaspoons of milk, mix with a spoon, until the dough comes together.
You want the dough to be slightly firm but not soft. So, adjust the milk accordingly.
Tip: Firm dough will result in hard biscuits, whereas very soft dough will spread when baking.
Shape Cookies
1. Working with about slightly heaped 1 tablespoon measure dough, shape it into a 3-inch log, rolling it between your fingers to give a more authentic finger shape - refer video / step-by-step photos.
2. Shape one end of the log to get a slightly pointed, flat end to make a nail bed.
3. Using a butter knife, press on 2 to 3 parts of the shaped finger to get the creases on the knuckles or "palmar flexion creases".
4. Repeat process to make remaining cookies and place them on a parchment lined baking sheet, spacing about an inch apart.
5. Place baking sheet in the refrigerator for at least 2 hours to firm up.
Bake Cookies
1. Preheat oven to 350°F.
2. Bake cookies for 20 to 23 minutes (rotate pan halfway through baking) or until golden brown.
3. Place baking sheet on a wire rack to cool completely.
Make nails
1. Melt chocolate chips in the microwave for 30 to 50 seconds (stirring every 20 seconds), transfer to a small zip lock bag and snip off one corner.
2. Squeeze a little melted chocolate on the tip of each finger and place a sliced almond on top, pressing lightly to help it stick.
3. Repeat process for remaining cookies. Leave aside for an hour or two for the chocolate to harden.
Make icing and decorate
1. Mix confectioners sugar and enough milk to a thick icing. Transfer to a small zip lock bag and snip off one corner.
2. Draw lines to represent mummy on each fingers and let sit for a few hours to set.
Store decorated cookies in a covered container for up to a week.
Notes
Chill Cookie dough – We recommend chilling shaped cookie dough overnight, which gives ample time for the dough to firm up before baking.
Cookie dough – The dough should be slightly firm but not soft. So adjust milk accordingly.
Very firm dough – Will result in hard cookies
Soft dough – Will result in cookies spreading a little while baking <—- finger shape might not be as perfect!
Don’t shape smooth cookies – Few cracks, uneven surfaces with a few dents are perfect in making a creepy Halloween cookie.
Storage instructions
Decorated cookies can be stored in a sealed container at room temperature for up to a week.
Baked and Cooled cookies without icing can be frozen for one to two months. Bring to room temperature before icing.
Nutrition Information:
Yield: 20 Serving Size: 1Amount Per Serving: Calories: 123Total Fat: 22gSaturated Fat: 3gTrans Fat: 0gUnsaturated Fat: 35gCholesterol: 9mgSodium: 5mgCarbohydrates: 13gFiber: 12gSugar: 11gProtein: 20g
I am not a certified dietician or nutritionist. The information is a product of online calculator such as Nutrifox.com, although Kitchen at Hoskins attempts to provide accurate nutritional information, these figures should be considered estimates and not be construed as a guarantee. Varying factors such as product types or brands purchased, produce, and the way ingredients are processed change the nutritional information in any recipe. Furthermore, different online calculators provide different results depending on their fact algorithms. Under no circumstances will Kitchen at Hoskins be responsible for any loss or damage resulting for your reliance on the nutritional information. To obtain the most accurate nutritional information in a given recipe, you should calculate the nutritional information with the actual ingredients used in your recipe, using your preferred nutrition calculator. You are solely responsible for all decisions pertaining to your health and ensuring that any nutritional information provided is accurate.
Did you make this recipe? I’d love your feedback! Please let me know by leaving a comment or review below or snap a photo and share on Instagram.
All contents and images are my original work, unless and otherwise mentioned. Please do not use my recipes or images without linking back to www.kitchenathoskins.com. If you wish to republish a recipe, please rewrite in your own words and don’t forget to include a link back to the original recipe.
Some of the links above are affiliate links, which pay me a small commission for my referral at no extra cost to you! I am a participant in the Amazon Services LLC Associates Program, an affiliate advertising program designed to provide a means for us to earn fees by linking to Amazon.com and affiliated sites. Thank you for supporting kitchenathoskins.com.
Leave a Reply