





This Instant pot Quinoa is perfectly fluffy, light, tender, flavorful without any stock and never mushy! Ready in 20 minutes and perfect every single time.
Looking for ways to use the cooked quinoa, try my quinoa breakfast bake or the quinoa and black bean salad recipe next!
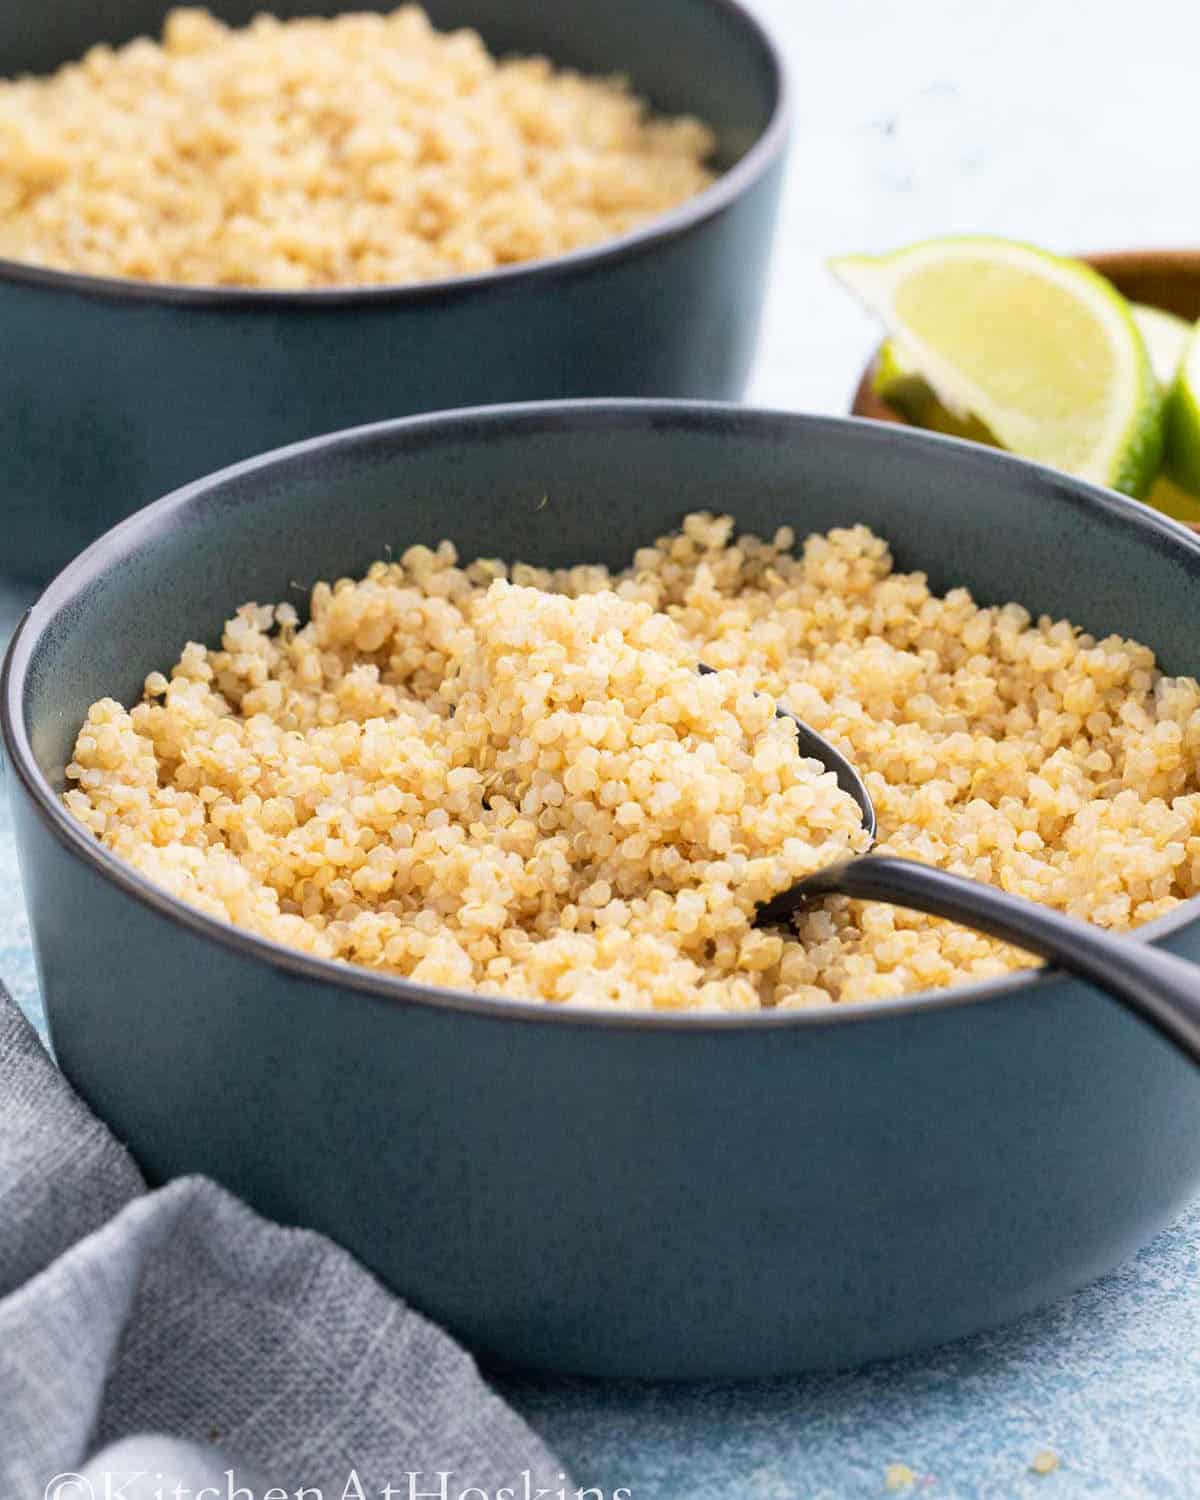
Why You'll Love This Instant Pot Quinoa

Quinoa can be surprisingly tricky to cook! It can easily turn out mushy, soggy, clumpy, waterlogged, or even bitter. In this Instant Pot quinoa tutorial, I’ll show you exactly how to cook it the easy way, so you get perfectly tender, light, and fluffy grains every time.
And the best part? There’s no need to wait for a pot of water to boil or stand by the stovetop watching it cook. Just add everything to the Instant Pot, let it do the work, and you’ll have perfectly cooked quinoa with minimal effort.
-maria doss
Jump to:
Although cooking quinoa can be as simple as adding rinsed quinoa to the Instant Pot with water, I like to take one extra step and toast it in a little butter before adding the water.
Toasting the quinoa for a few minutes intensifies its natural nutty flavor and helps the grains stay firm, separate, and fluffy after cooking. The butter adds even more flavor, making the finished quinoa extra delicious. You can also use oil instead of butter if you prefer.
When you skip the toasting step, quinoa can sometimes taste a little bland, grassy, or muddy. It only takes a few extra minutes, but toasting transforms the flavor and makes a noticeable difference in the finished dish.
Ingredients
Scroll down to the recipe card below for full information on ingredients and amounts.
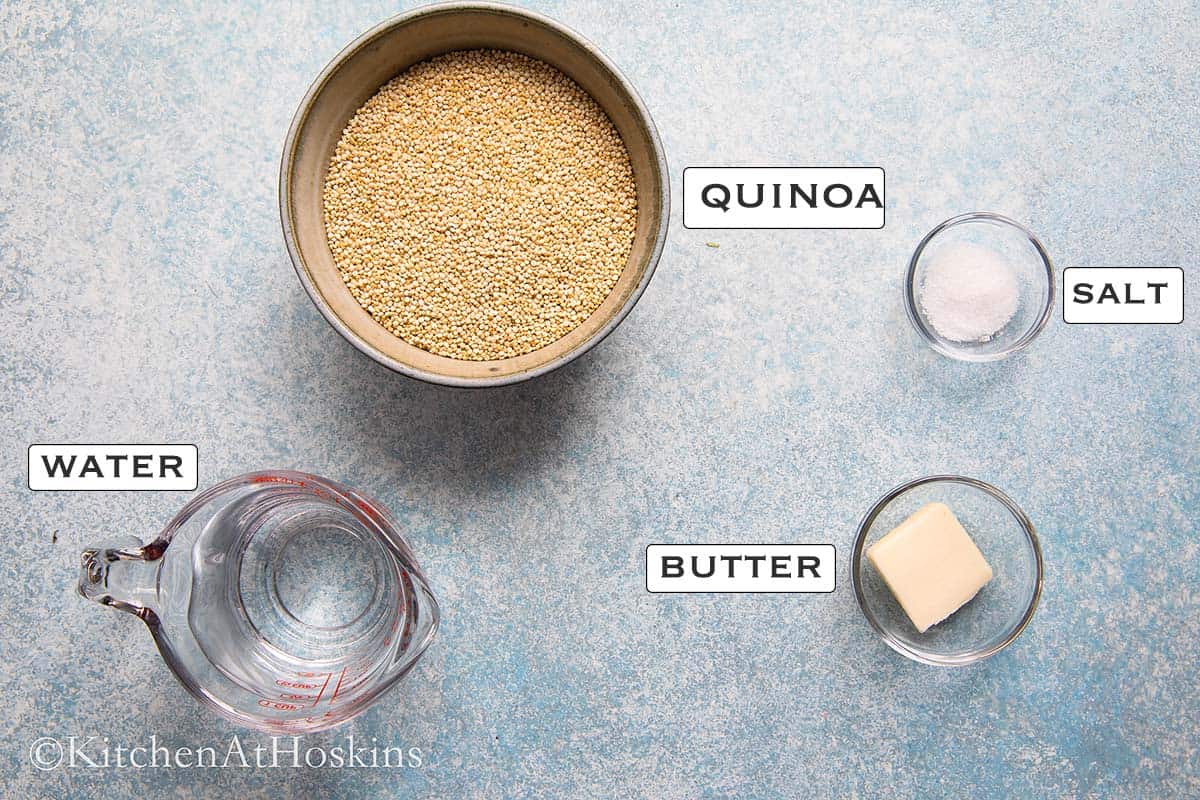
- Quinoa: You can use white, red, black, or a tri-color blend. We prefer white quinoa because it has a softer, more tender texture and a mild flavor.
- Butter: An Instant Pot quinoa recipe really only needs quinoa and water, but I like to add butter for toasting. It brings out the quinoa’s natural nuttiness and adds a delicious richness to the finished dish. For a dairy-free option, simply use oil instead.
Tips for Success
- Do not skip rinsing - Quinoa has a natural coating called saponin, which can make it taste bitter or soapy. Even if you’re using a boxed variety labeled “pre-rinsed,” I recommend giving it a quick rinse to remove any remaining saponin and fine dust.
- Total cooking time - Although the Instant Pot is set to cook for just 1 minute, the total process takes about 20 minutes. This includes toasting the quinoa, bringing the pot to pressure, the 1-minute cook time, and the natural pressure release.
- Yield - One cup of dry quinoa makes about 3 cups of cooked quinoa.
- Salt - Reduce or omit the salt if you’re using salted butter, since the butter will already add some saltiness.
Instant Pot Quinoa
Equipment
Ingredients
- 1 cup quinoa
- 1 tablespoon unsalted butter (or use oil)
- 1 cup water
- ¼ teaspoon salt (or use according to taste)
Instructions
- Preheat. Set instant pot to saute setting and wait until indicator says "hot". (I like to rinse quinoa and gather remaining ingredients in the meantime)
- Rinse quinoa. Place quinoa in a fine mesh strainer and rinse it under cold running water for at least 30 seconds or until the water runs clear. Let quinoa drain completely. 👉The water will be whitish at first and then gradually become clear.
- Toast quinoa. Add butter when it displays "hot" and let it melt. Add rinsed and drained quinoa; saute for 1 to 2 minutes to toast. Press cancel, add water and salt. Mix. Close and lock the lid, making sure the valve is set to sealing position.
- Cook. Pressure cook on high for 1 minute (the instant pot will take about 6 minutes to come to pressure before cooking begins). Once the timer goes off, allow it to be in warm mode for 15 minutes, then release any remaining pressure. Carefully remove the lid, gently fluff using a large fork, and serve warm.
Notes
Nutrition
Nutritional information, based on third-party calculations, should be seen as estimates, not guarantees, as various factors like product types, brands, processing methods, and more can alter the nutritional content in recipes.
Instant Pot Quinoa FAQ'S
For light, fluffy quinoa with separate grains, I use a 1:1 ratio—1 cup of water for every 1 cup of dry quinoa. Since the Instant Pot is a sealed environment, very little liquid evaporates during cooking, so you don’t need as much water as you might use on the stovetop.
This ratio gives you quinoa that’s tender but not overly soft, making it especially good for salads, grain bowls, or whenever you want distinct, fluffy grains.
Prefer softer quinoa? Increase the water to 1¼ to 1½ cups per cup of quinoa for a softer, more tender texture. Keep in mind that the more liquid you use, the softer the finished quinoa will be.
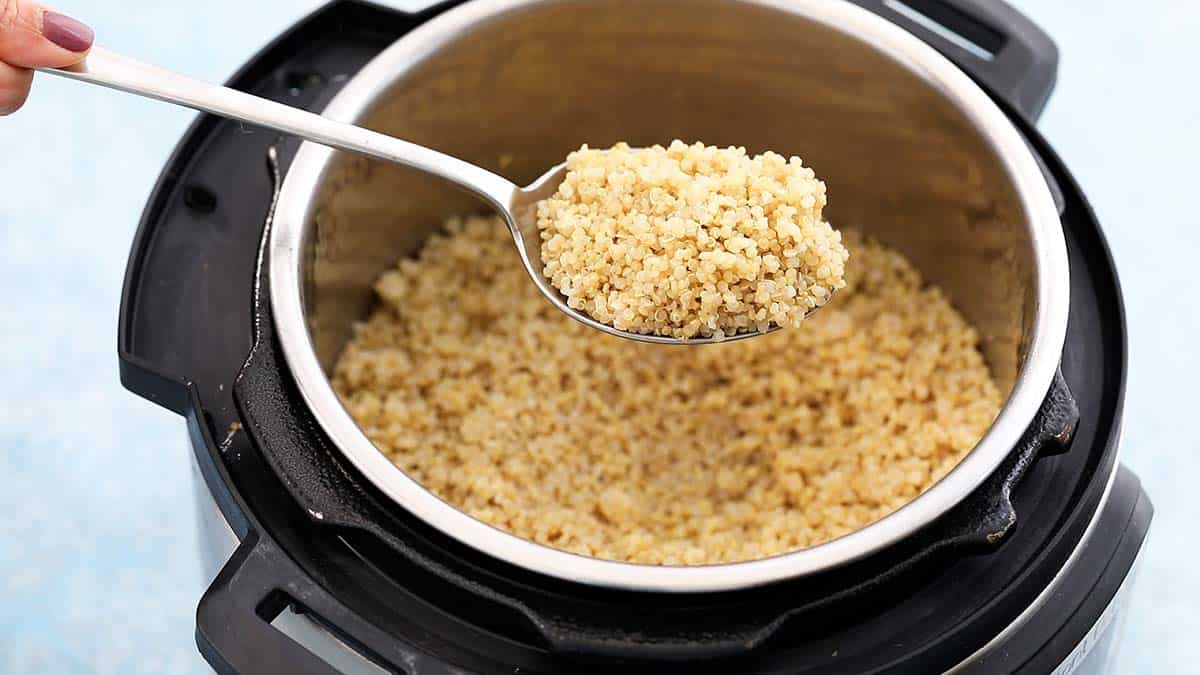
Cook quinoa in the Instant Pot on High Pressure for 1 minute, followed by a 15-minute natural pressure release. This 1-minute cook time works well for white, red, black, or tri-color quinoa when using a 1:1 liquid-to-quinoa ratio.
Even though the cook time is only 1 minute, the Instant Pot still needs about 6 minutes to heat the liquid and build pressure before the countdown begins. From start to finish, the whole process takes about 20 to 25 minutes. The residual heat and natural pressure release continue steaming the quinoa, helping the grains finish cooking and turn light and fluffy.
Once the 15-minute natural release is complete, carefully switch the steam valve to “Venting” to release any remaining pressure. Open the lid and fluff the quinoa gently with a fork.
Yes, I recommend rinsing quinoa before cooking it in the Instant Pot, even if the package says it’s “pre-washed.”
Quinoa naturally has a protective coating called saponin, which can give the grains a bitter, soapy, or slightly metallic taste. Many commercial brands rinse quinoa before packaging, but a quick rinse at home removes any remaining saponin along with fine dust, giving you cleaner-tasting quinoa with a nuttier flavor.
To rinse quinoa, place the dry grains in a fine-mesh strainer and run cold water over them while rubbing the grains together with your hand for about 30 to 60 seconds. Drain thoroughly before cooking.
One important detail: rinsed quinoa holds onto a small amount of water. For my method, using a 1:1 water-to-quinoa ratio helps prevent that extra moisture from making the quinoa mushy.
No, you don’t need to soak quinoa before cooking it in the Instant Pot. The high heat and steam pressure cook the grains quickly, so soaking beforehand isn’t necessary.
However, I do recommend rinsing the quinoa thoroughly for at least 30 seconds before cooking. This helps remove any remaining saponin, which can give quinoa a bitter or soapy taste.
Mushy quinoa usually means it absorbed too much water or cooked for too long. Since the Instant Pot is a sealed environment with very little evaporation, even a little extra liquid can make a big difference in the final texture.
Here are the most common reasons your Instant Pot quinoa turned out mushy:
1. Too much water: Using a traditional stovetop quinoa-to-water ratio can add more liquid than you need in the Instant Pot. Since very little water evaporates, the quinoa can absorb too much moisture and become soft and mushy. For my method, I use a 1:1 water-to-quinoa ratio for light, fluffy grains.
2. Not draining the quinoa well: If you rinse the quinoa and transfer it to the Instant Pot while it’s still dripping wet, that extra water can throw off the liquid ratio. Drain it thoroughly before adding it to the pot.
3. Cooking or resting it too long: Leaving quinoa on the Keep Warm setting or letting it sit in the pot well beyond the recommended 15-minute natural pressure release allows the residual heat and steam to continue softening the grains.
4. Skipping the fluffing step: Once the pressure has been released, open the lid and fluff the quinoa gently with a fork. Leaving the lid closed allows condensation to collect, which can add extra moisture and make the quinoa at the bottom of the pot softer.
One cup of dry quinoa makes approximately 3 cups of cooked quinoa.
As quinoa cooks, the grains absorb water and expand to roughly three times their original size and weight. That gives you about 6 side-dish servings, depending on the portion size.
Want To Save This Recipe?
Variations
The possibilities is endless when it comes to this base recipe. Here are a few ways to add more seasoning to your recipe.
- Replace water with chicken stock for an instant boost of flavor.
- I love to saute minced garlic in butter along with the quinoa.
- Try seasoning with herbs and spices like Italian seasoning, dried parsley, garlic powder, dried oregano or freshly minced herbs.
- Stir in basil pesto and chicken stock instead of water.
How do you cook quinoa in the Instant Pot?
You can find full printable recipe below, but here is a quick overview of the procedure along with step-by-step photos.
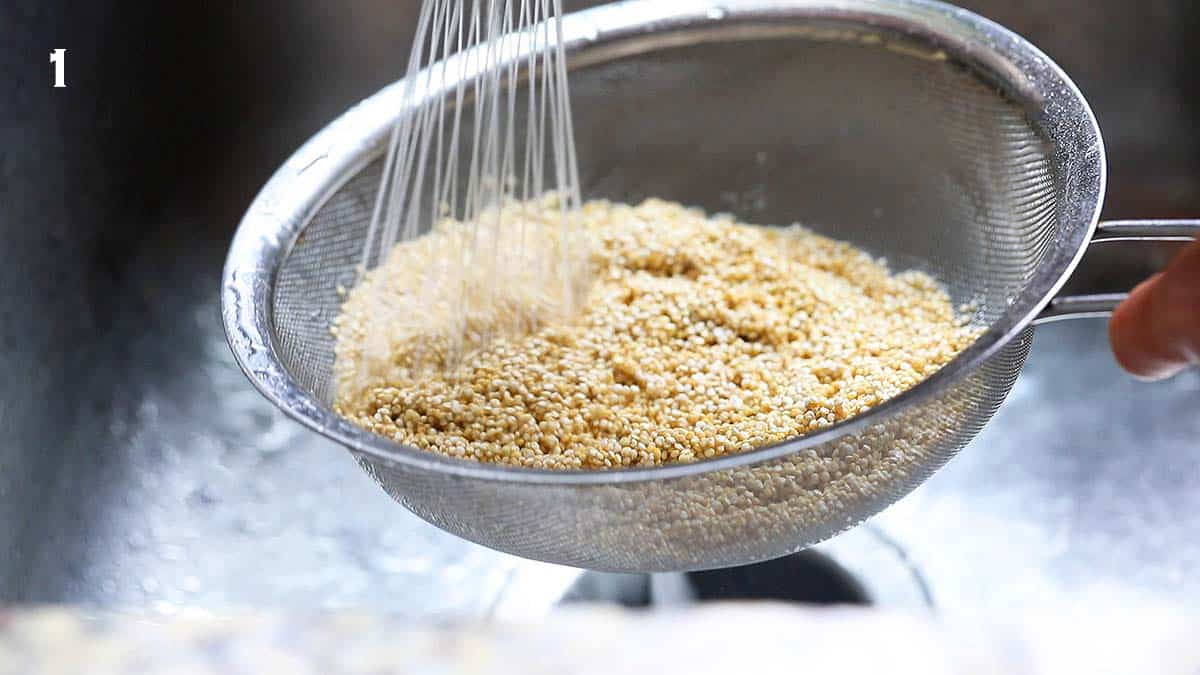
- Rinse - Place quinoa in fine mesh strainer and rinse it in cold water for at least 30 seconds or until the water runs clear, then shake off the water.
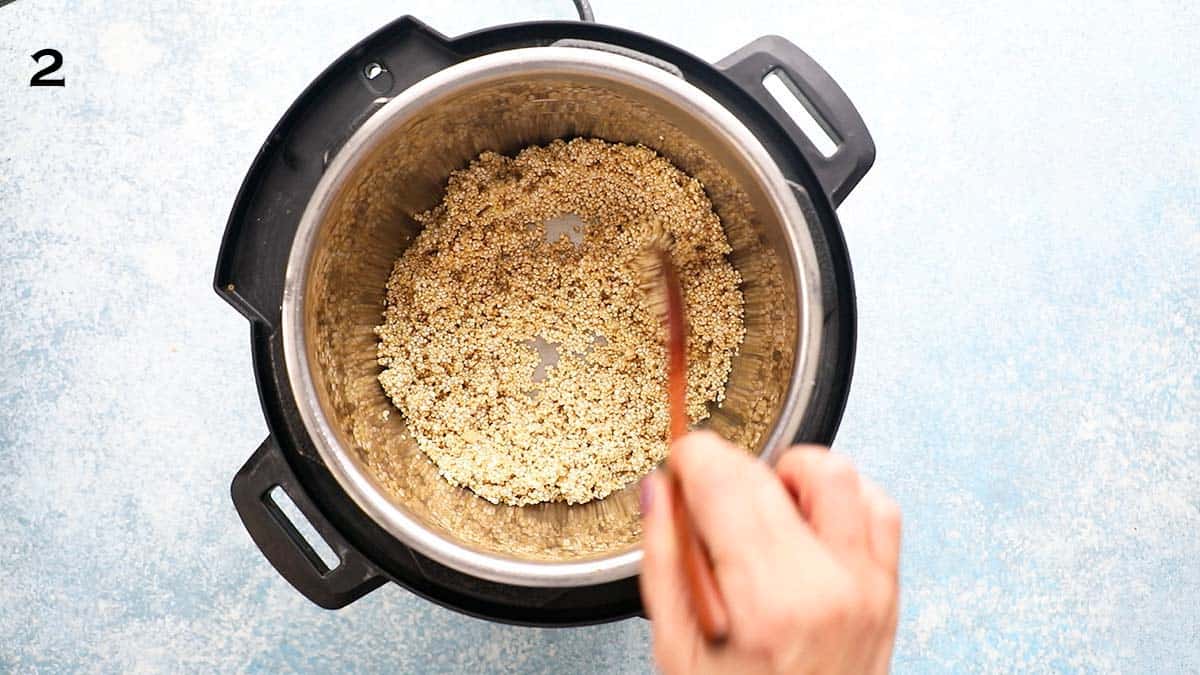
2. Toast - Set instant pot to saute setting and wait until indicator says "hot". When hot, add one tablespoon unsalted butter and let melt. Add drained quinoa and saute for about one minute to toast the grain.
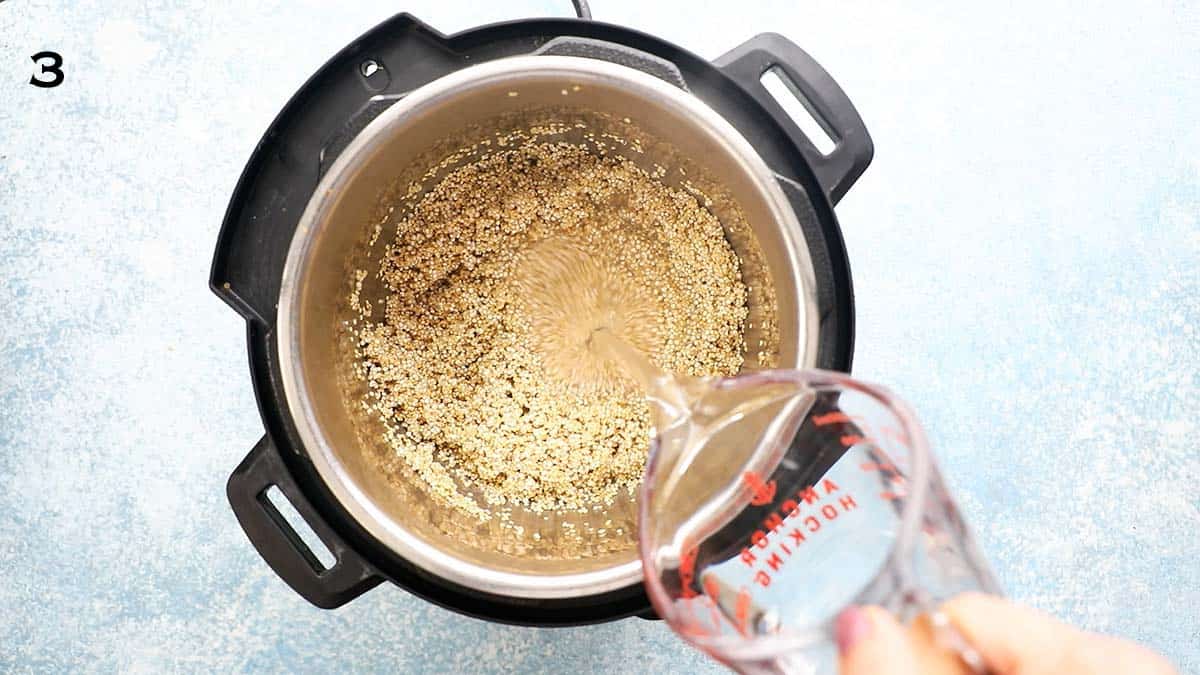
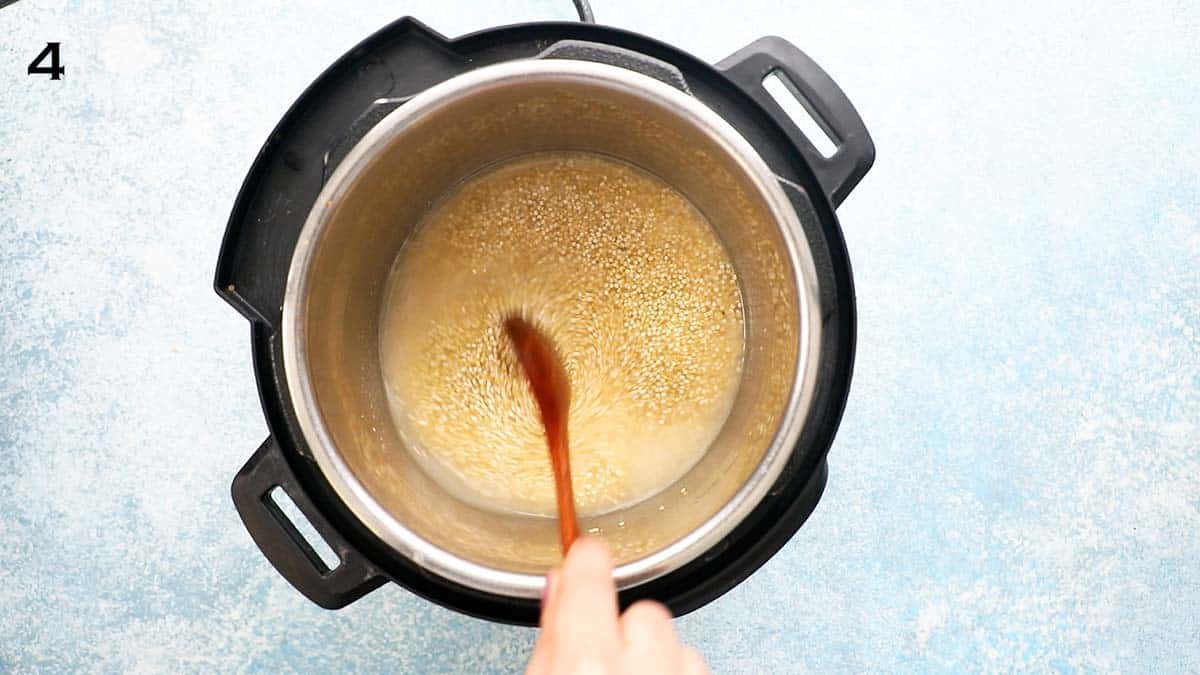
3 & 4. Add one cup of water, salt and give a good stir, removing any grains on the sides.
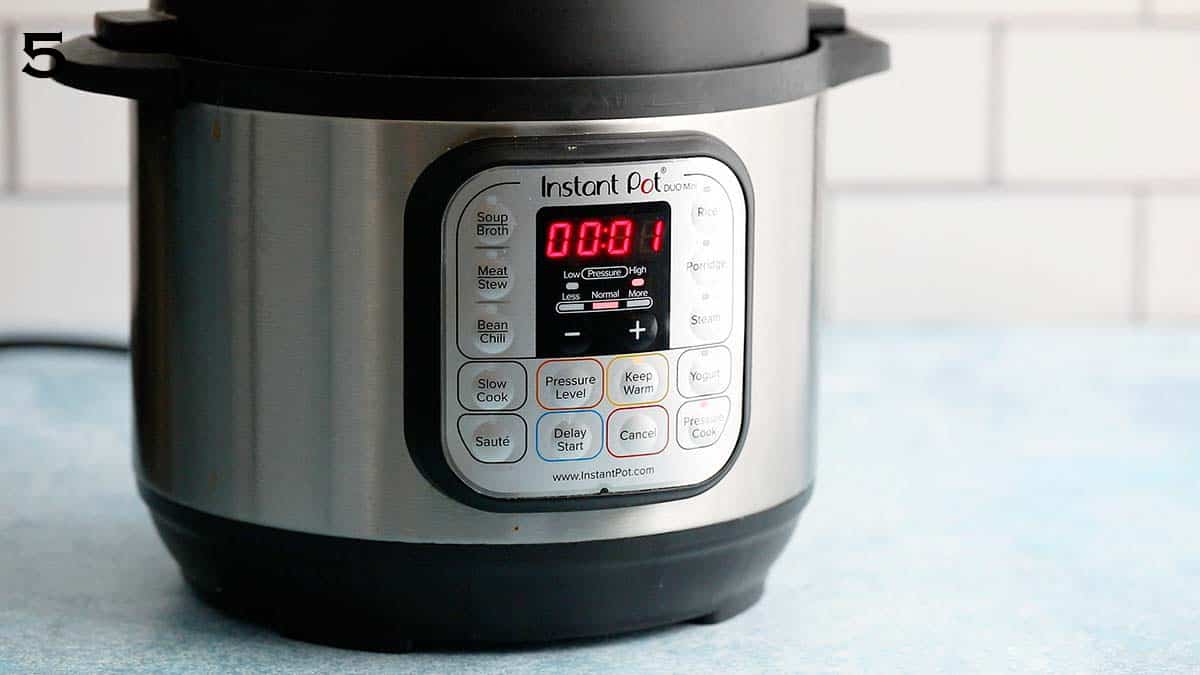
5. Cook - Secure the lid, making sure the valve is set to sealing position and pressure Cook on high for 1 minute and let the pressure to release naturally for 15 minutes. Remove the lid and fluff the quinoa with a fork
How to serve cooked quinoa?
You can serve it in place of rice or any other grain, make this quinoa salad with black beans, gluten free zucchini fritters and even use it in baked casseroles. It’s an easy way to add heartiness and adds a good source of plant-based protein.
- The simplest way to serve this instant pot quinoa recipe is as a side dish for any protein.
- It’s a great base for healthy burrito bowls.
- It is a complete source of protein and makes a great addition in salad recipes for a complete filling meal.
- Do you know you can repurpose leftovers to make a satisfying breakfast? Try this creamy quinoa porridge or heat up leftovers with some milk and a sweetener of your choice in a saucepan, over low heat, until warmed through. Ladle into bowl and serve with fresh berries and chopped, toasted nuts.
Storage and Reheating
- In the fridge - Refrigerate leftovers in an airtight container for up to five days.
- In the Freezer - This instant pot quinoa freezes amazingly well. I like to divide leftovers into single serve portions and freeze them in quart size zip lock bags for up to 2 months. When you're ready to use it, thaw at room temperature, transfer to a bowl, fluff with a fork and microwave until warmed through.
MADE THIS RECIPE AND LOVED IT? 💚 Please leave a ⭐️STAR rating and COMMENT below- I love to hear your feedback! Tag me with your creations on Instagram and find me on Facebook.
Hi, I’m Maria! I share easy, flavor-packed dinners, high-protein meals, and irresistible baking ideas. If you’ve ever asked, “Don’t know what to cook tonight?” you’re in the right place. And yes—there’s plenty here for breakfast, snacks, and dessert too. More about maria ->

Kelly @ Kelly Lynns Sweets and Treats
I like the idea of topping this with a fried egg!!! You are killing it again with these awesome lunch ideas! The IP chicken looks so juicy and full of flavor.
Maria Doss
Thank you Kelly, you can never go wrong with fried egg:)
Katherine | Love In My Oven
If I still had to bring lunches to work I would be on this!! Looks so good, Maria
heather (delicious not gorgeous)
ooh what a tasty meal prep! love that you keep the buns on the side - soggy buns are sad buns (;