


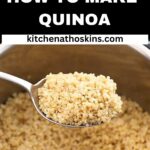
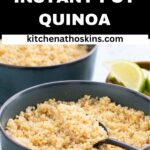

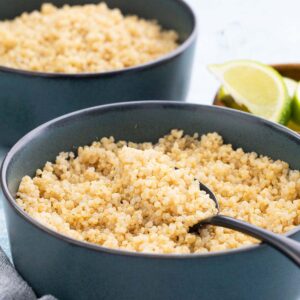
This Instant pot Quinoa is perfectly fluffy, light, tender, flavorful without any stock and never mushy! Learn how to make the fluffiest quinoa in about 20 minutes, that comes out perfect every single time.
Looking for ways to use the cooked quinoa, try my quinoa breakfast bake or the quinoa and black bean salad recipe next!
Quinoa pronounced “keen-waa”, is incredibly versatile, nutritious and tasty grain. Although, technically a seed of the of the Chenopodium plant, it is part of the amaranth family and is not a grain. It's called a psuedograin, which means that it’s eaten in the same way as whole grains.
It was originally cultivated in the Andes region of South America, but, is now grown throughout the world. It’s fluffy, tasty, and fun to make into side dishes.
It's popularity has grown steadily over the years for its short cooking time, nutritious value, hearty texture, and nutty taste. It's a complete source of protein meaning, it contains all of the essential amino acids your body needs. It's also gluten-free and high in fiber.
Quinoa can be tricky to cook! It’s easy to come out mushy, soggy, clumpy, water logged or bitter. In this instant pot quinoa recipe tutorial, we show you exactly how to cook it the easy way.
Our pressure cooker method is fool-proof and will result in the most perfectly tender, light and fluffy grains. No need to wait for water to come to boil over a stove top, or watching it cook like this instant pot sushi rice.
You’ll find quinoa in many colors, from white, brown, red, black to tri colored and are interchangeable in cooking. The most commonly available, white variety, offers the mildest flavor, softest texture, and fastest cooking time.
Red and black varieties are chewier, stronger in flavor, have increased phytonutrients, require a longer cooking time, although they make a vibrant addition to your salad recipes.
Quinoa makes an excellent substitution for rice! It is more nutrient-dense than both white or brown rice with more protein, fiber, iron, zinc, and also keeps you full longer.
Soak or Rinse?
It is generally recommended to rinse quinoa before cooking to remove any bitter tasting compound called saponin from the outer coating. Place it in a fine-mesh sieve and rinse it under cold water until the water runs clear for about one minute.
Soaking is not necessary, but some people prefer to soak it for a few hours or overnight to help with digestion and nutrient absorption. It may also help lower its phytic acid content, which may inhibit nutrient absorption, remove the natural coating and reduce cooking time.
If you do decide to soak quinoa, rinse it first and then let it soak in cold water for at least 30 minutes before cooking. Be sure to use double the amount of water, to allow for expansion as it soaks.
Pro tip: Toast your quinoa! The toasting in butter, enhances the flavor so much that it doesn't require any additional stock to taste delicious.
Jump to:
Ingredients
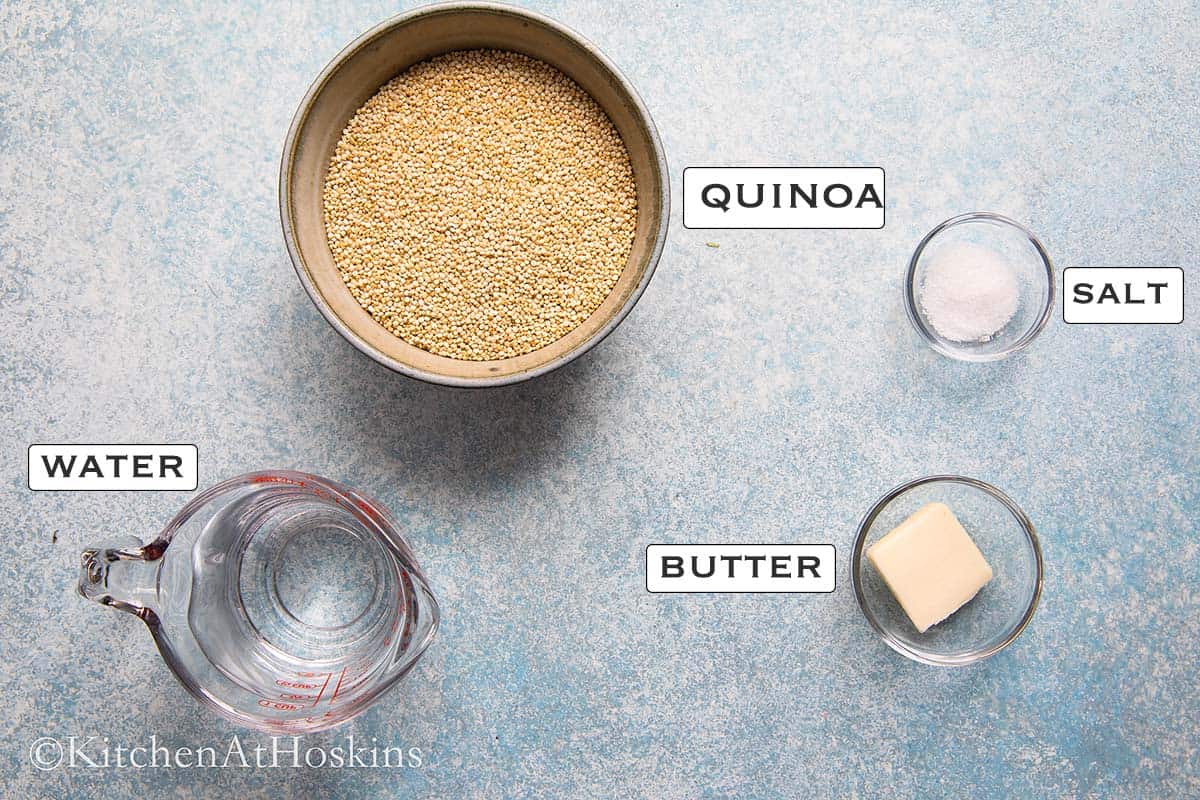
Scroll down to the recipe card below for full information on ingredients and amounts.
- Quinoa. Use white, black, red, or a mix variety, although we like to use white for a soft, tender texture and mild flavor.
- Butter. While an instant pot quinoa recipe requires only two ingredients, the addition of butter for toasting brings a burst of flavor that elevates the dish to a whole new level.
Want To Save This Recipe?
Variations
The realm of possibilities is endless when it comes to this base recipe. Here are a few ways to add more seasoning to your recipe.
- Replace water with chicken stock for an instant boost of flavor.
- I love to saute minced garlic in butter along with the quinoa.
- Try seasoning with herbs and spices like Italian seasoning, dried parsley, garlic powder, dried oregano or freshly minced herbs.
- Stir in basil pesto and chicken stock instead of water.
How to make fluffy quinoa?
You can find full printable recipe below, but here is a quick overview of the procedure along with step-by-step photos.
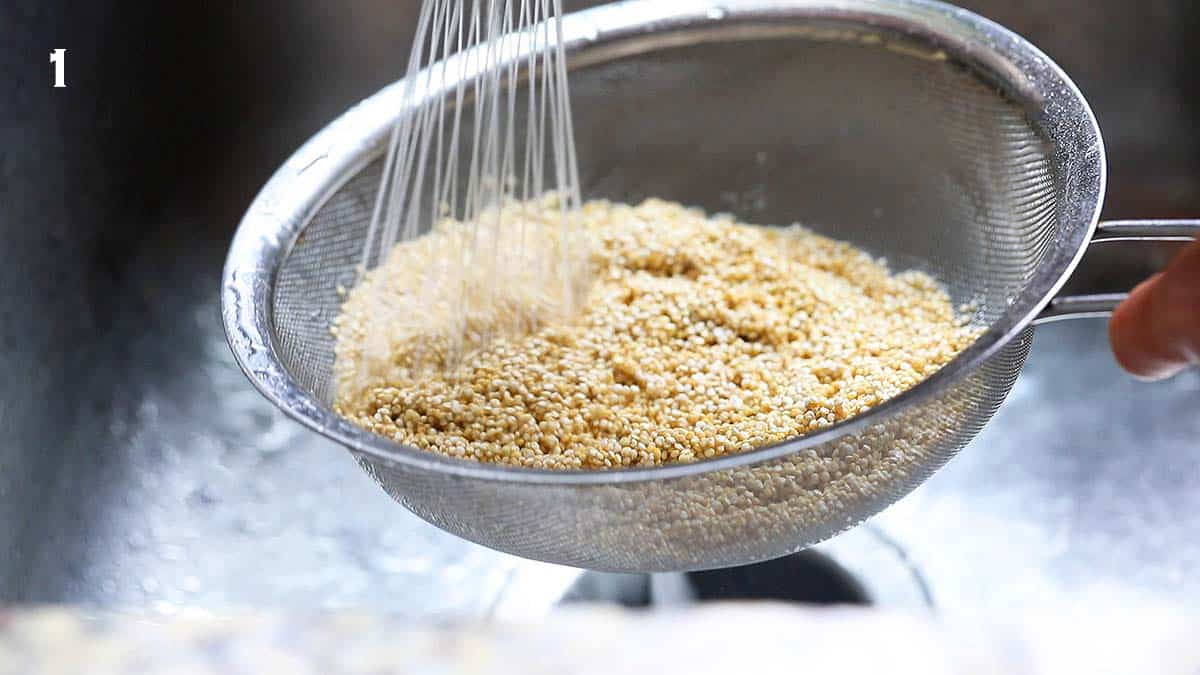
- Rinse - Place quinoa in fine mesh strainer and rinse it in cold water for at least 30 seconds or until the water runs clear, then shake off the water.
Tip: Why rinse quinoa? It removes the bitter tasting compound called saponin, a natural insecticide that protects the plant and any impurities or dust.
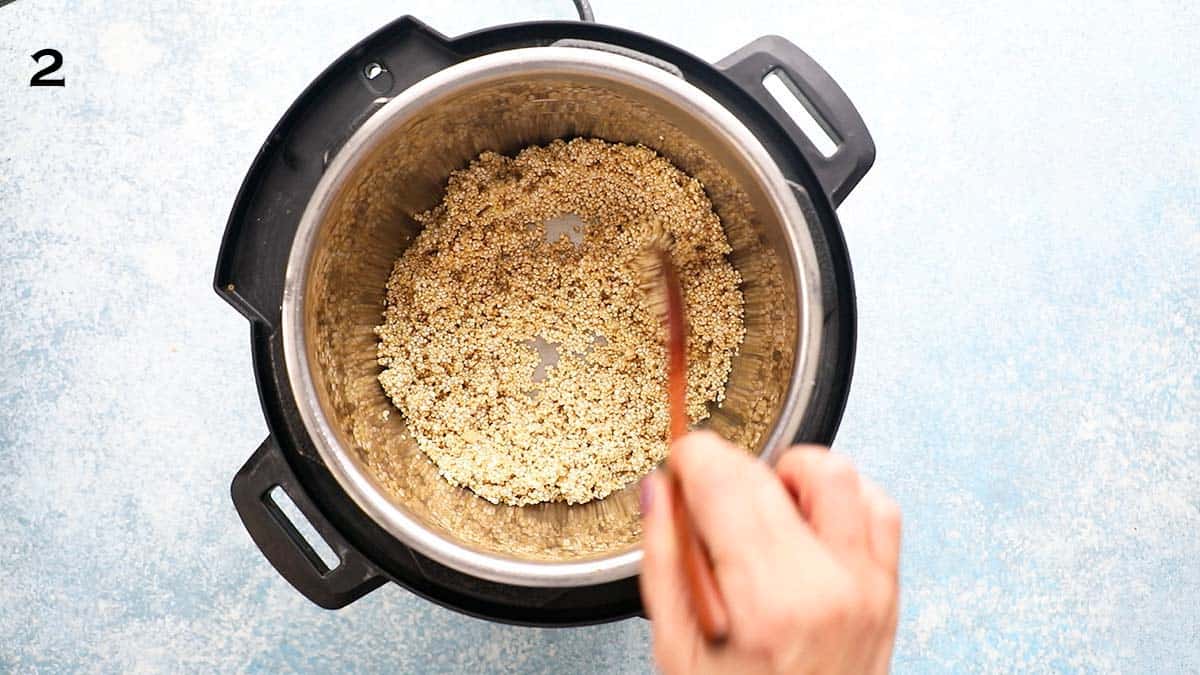
2. Toast - Set instant pot to saute setting and wait until indicator says "hot". When hot, add one tablespoon unsalted butter and let melt. Add drained quinoa and saute for about one minute to toast the grain.
Tip: Toasting will give the grains a nutty flavor and taste, and also helps to cook light and fluffy without being sticky or gummy.
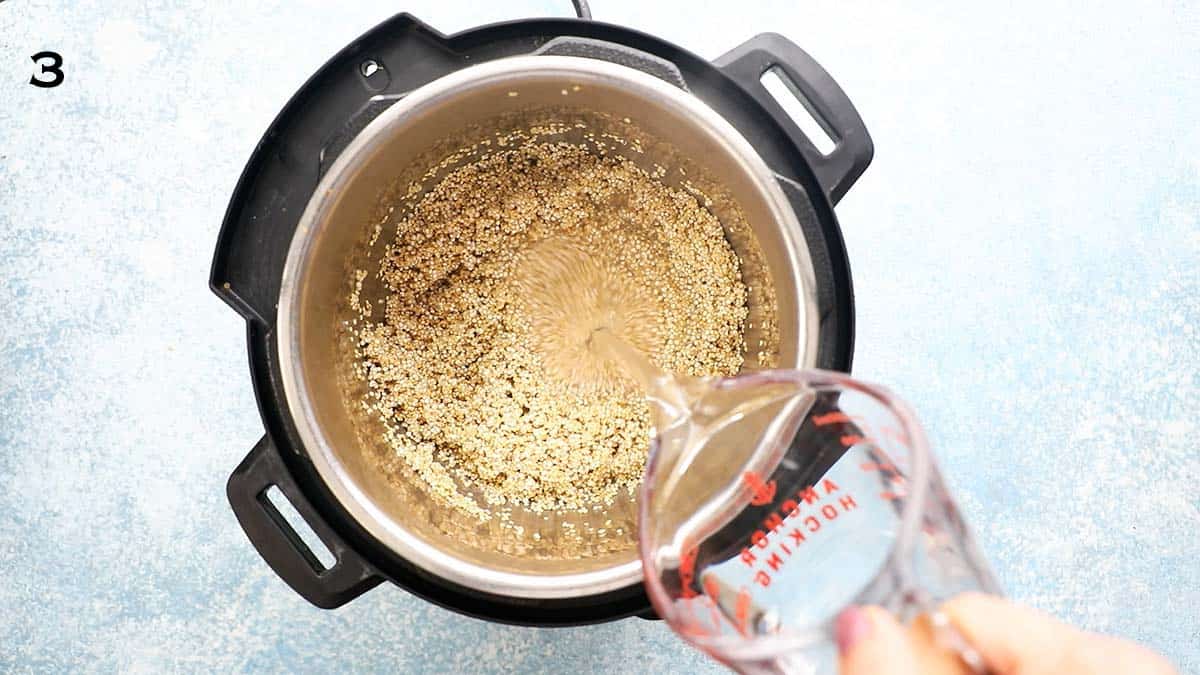
3 & 4. Add one cup of water, salt and give a good stir, removing any grains on the sides.
Pro tip: Water ratio - Cooking quinoa in instant pot requires less water when compared to the stovetop method. I found that the base ratio of 1 cup water for 1 cup quinoa is perfect because there is less evaporation of water during the pressure cooking process.
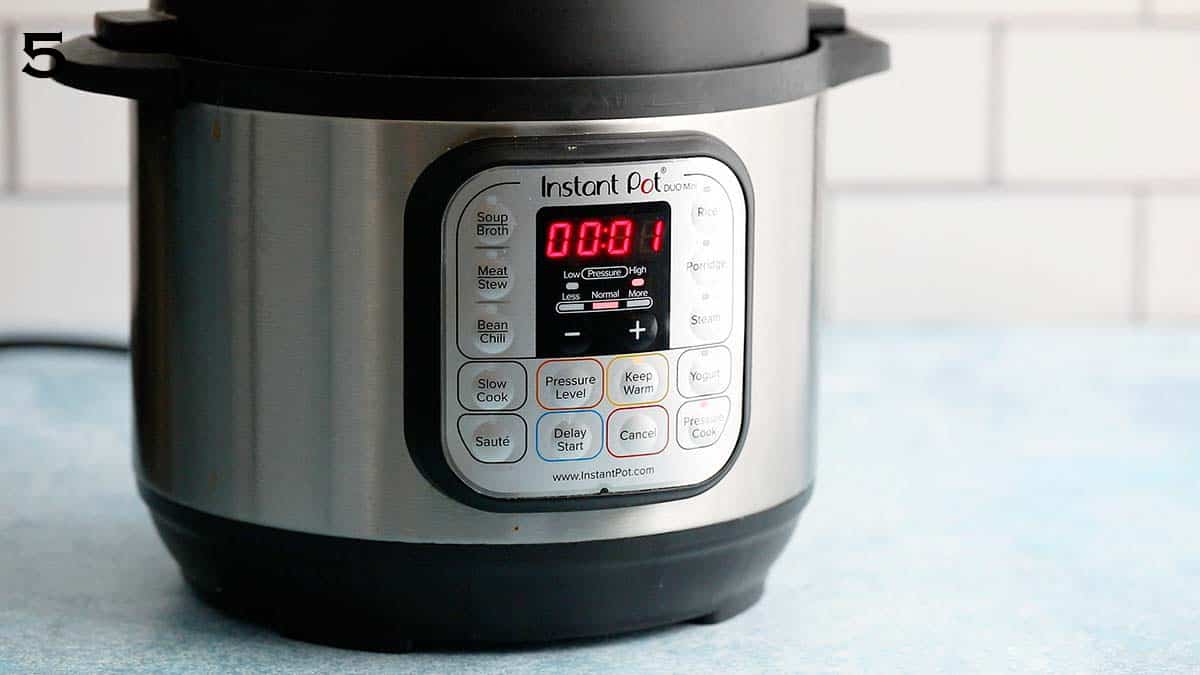
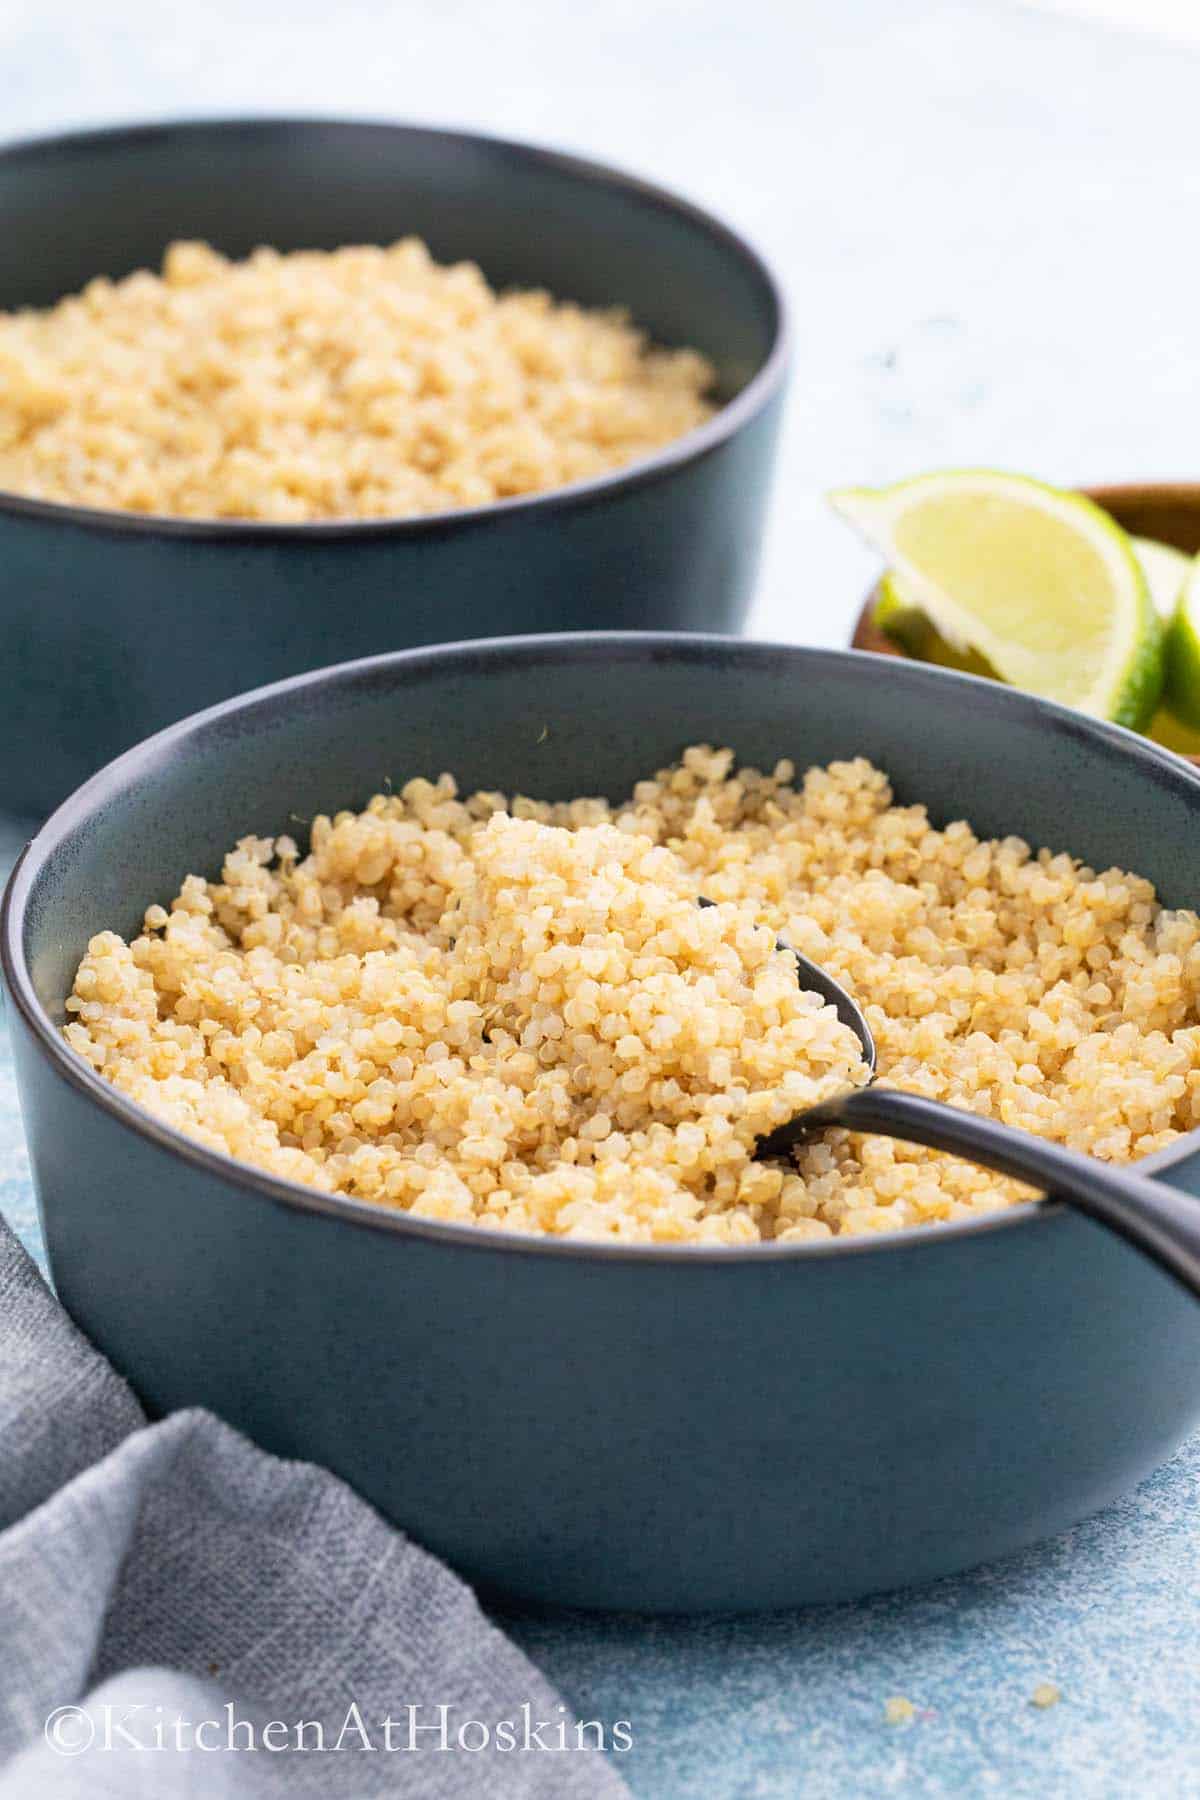
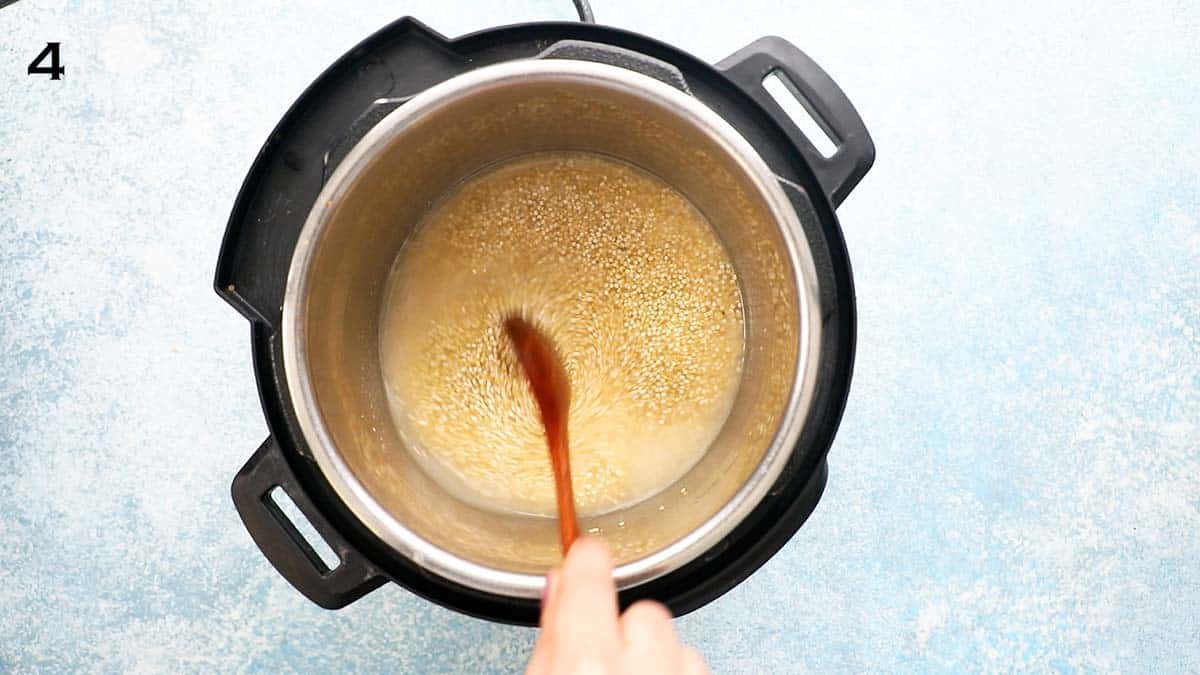
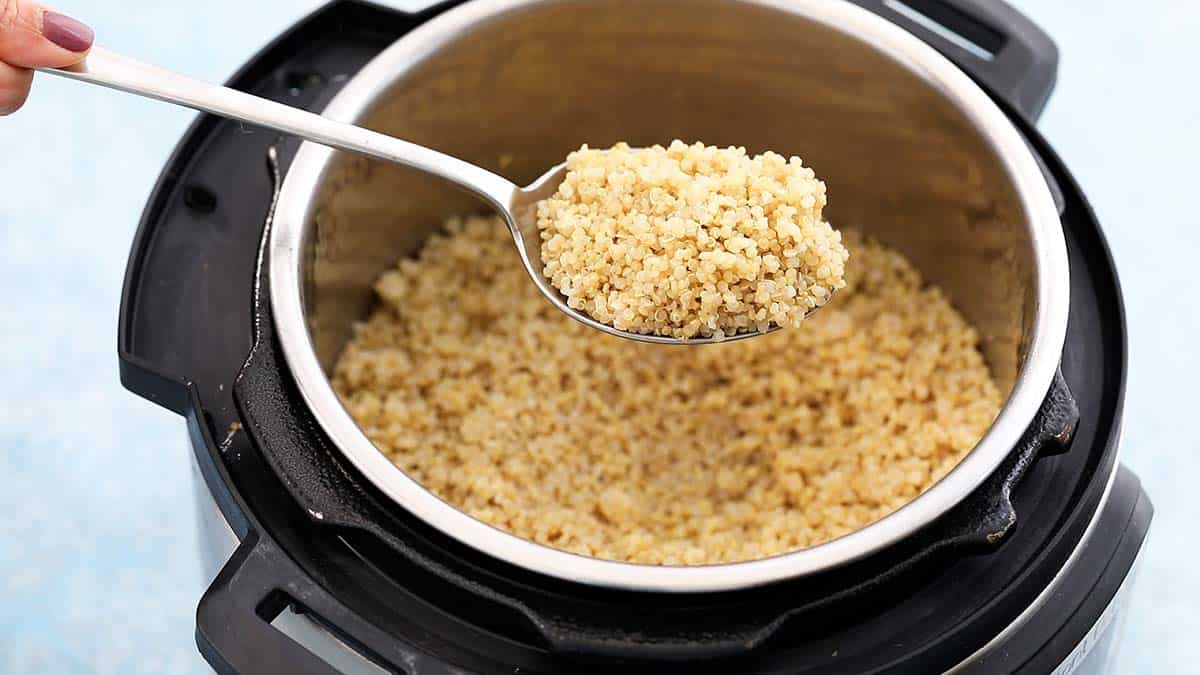
5. Cook - Secure the lid, making sure the valve is set to sealing position and pressure Cook on high for 1 minute and let the pressure to release naturally for 15 minutes. Remove the lid and fluff the quinoa with a fork
How to serve?
You can serve it in place of rice or any other grain, make this quinoa salad with black beans, gluten free zucchini fritters and even use it in baked casseroles. It’s an easy way to add heartiness and adds a good source of plant-based protein.
- The simplest way to serve this instant pot quinoa recipe is as a side dish for any protein.
- It’s a great base for a healthy burrito bowls.
- It is a complete source of protein and makes a great addition in salad recipes for a complete filling meal.
- Do you know you can repurpose leftovers to make a satisfying breakfast? Try this creamy quinoa porridge or heat up leftovers with some milk and a sweetener of your choice in a saucepan, over low heat, until warmed through. Ladle into bowl and serve with fresh berries and chopped, toasted nuts.
Storage and Reheating
- In the fridge - Refrigerate leftovers in an airtight container for up to five days.
- In the Freezer - This instant pot quinoa freezes amazingly well. I like to divide leftovers into single serve portions and freeze them in quart size zip lock bags for up to 2 months. When you're ready to use it, thaw at room temperature, transfer to a bowl, fluff with a fork and microwave until warmed through.
Helpful tips
- Do not skip rinsing - It gets rid of the natural coating, called saponin, which can make it taste bitter. You can find boxed varieties that are "pre rinsed", but it doesn't hurt to give an additional rinse to get rid any dirt or bitterness.
- Total cooking time - Although the instant pot setting is for only 1 minute, the total cook time is about 20 minutes which includes sautéing, coming to pressure and warm time.
- Yield - One cup dry quinoa yields about three cups cooked quinoa.
- Reduce or omit salt if using salted butter.
Recipe FAQs
If you forget to rinse the grains, then the cooked quinoa might have some bitterness and a soapy taste. The bitter tasting compound prevents animals or birds from eating the grains in the wild.
However, you can find pre packaged quinoa that is labeled as "pre rinsed" and rinsing will not be necessary. But, I prefer to give them a rinse to remove any dirt.
Yes, adding more liquid or cooking longer than suggested will end up cooking the grains mushy and sticky.
Absolutely! Although this adds tons of flavor, you can choose to skip the step, if you'd like it healthier or short of time. However, make sure to brush the inside of your instant pot stainless steel insert with vegetable oil or spray a coating of non-stick cooking spray before adding the quinoa and water.
More instant pot dinner recipes

Instant Pot Quinoa
Ingredients
- 1 cup quinoa
- 1 tablespoon unsalted butter
- 1 cup water
- ¼ teaspoon salt (or use according to taste)
Instructions
- Set instant pot to saute setting and wait until indicator says "hot". (I like to rinse quinoa and gather remaining ingredients in the mean time)
- Place quinoa in a fine mesh strainer and rinse it under cold running water for at least 30 seconds or the water runs clear. Let quinoa drain completely. Tip: The water will be white-ish at first and then gradually become clear.
- Add butter when it displays "hot" and let melt. Add rinsed and drained quinoa, saute for 1 to 2 minutes. Press cancel, stir in water and salt. Close and lock lid, making sure the valve it set to sealing position. Tip: Toasting will give the grains a nutty flavor and taste, and also helps to cook light and fluffy without being sticky or gummy.
- Pressure cook on high for 1 minute (it will take about 6 minutes for the Instant Pot to pressurize before cooking begins).
- Once the timer goes off, allow it to be in warm mode for 15 minutes, then release any remaining pressure. Carefully remove lid, gently fluff using a large fork and serve warm.
Notes
Nutrition
Nutritional information, based on third-party calculations, should be seen as estimates, not guarantees, as various factors like product types, brands, processing methods, and more can alter the nutritional content in recipes.
Did you make this recipe? I’d love your feedback! Please let me know by leaving a comment, a star rating or review below.
All contents and images are my original work, unless and otherwise mentioned. Please do not use my recipes or images without linking back to www.kitchenathoskins.com. If you wish to republish a recipe, please rewrite in your own words and don’t forget to include a link back to the original recipe.
Some of the links above are affiliate links, which pay me a small commission for my referral at no extra cost to you! I am a participant in the Amazon Services LLC Associates Program, an affiliate advertising program designed to provide a means for us to earn fees by linking to Amazon.com and affiliated sites. Thank you for supporting kitchenathoskins.com.


Kelly @ Kelly Lynns Sweets and Treats
I like the idea of topping this with a fried egg!!! You are killing it again with these awesome lunch ideas! The IP chicken looks so juicy and full of flavor.
Maria Doss
Thank you Kelly, you can never go wrong with fried egg:)
Katherine | Love In My Oven
If I still had to bring lunches to work I would be on this!! Looks so good, Maria
heather (delicious not gorgeous)
ooh what a tasty meal prep! love that you keep the buns on the side - soggy buns are sad buns (;