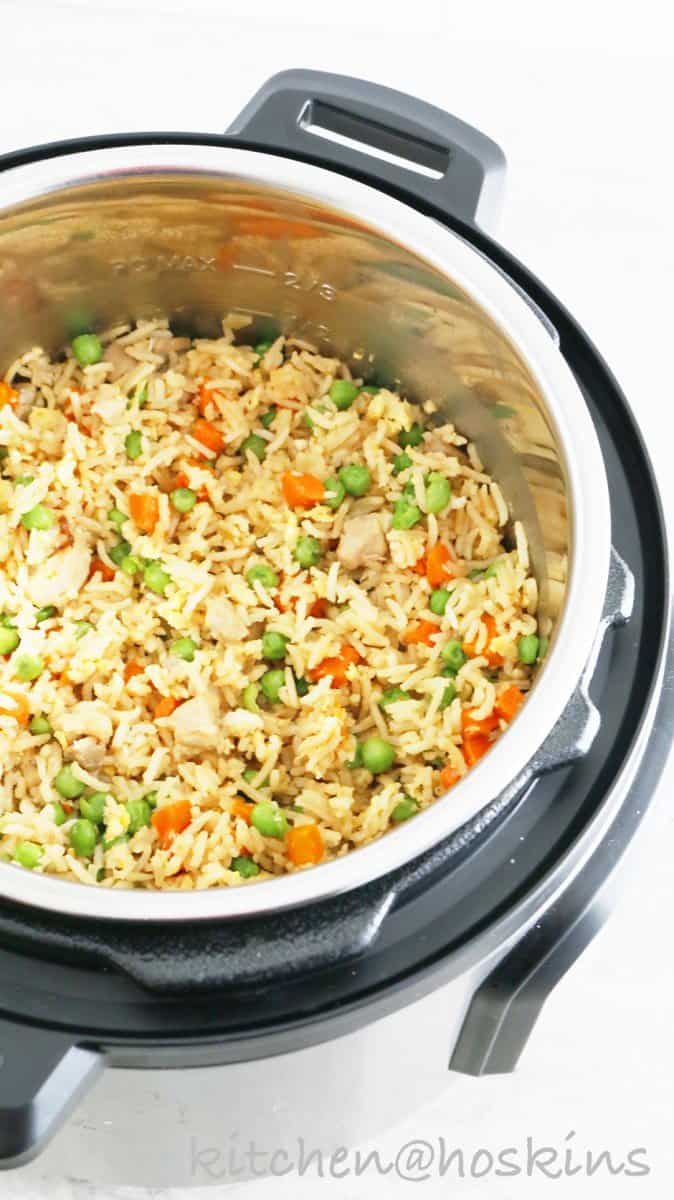
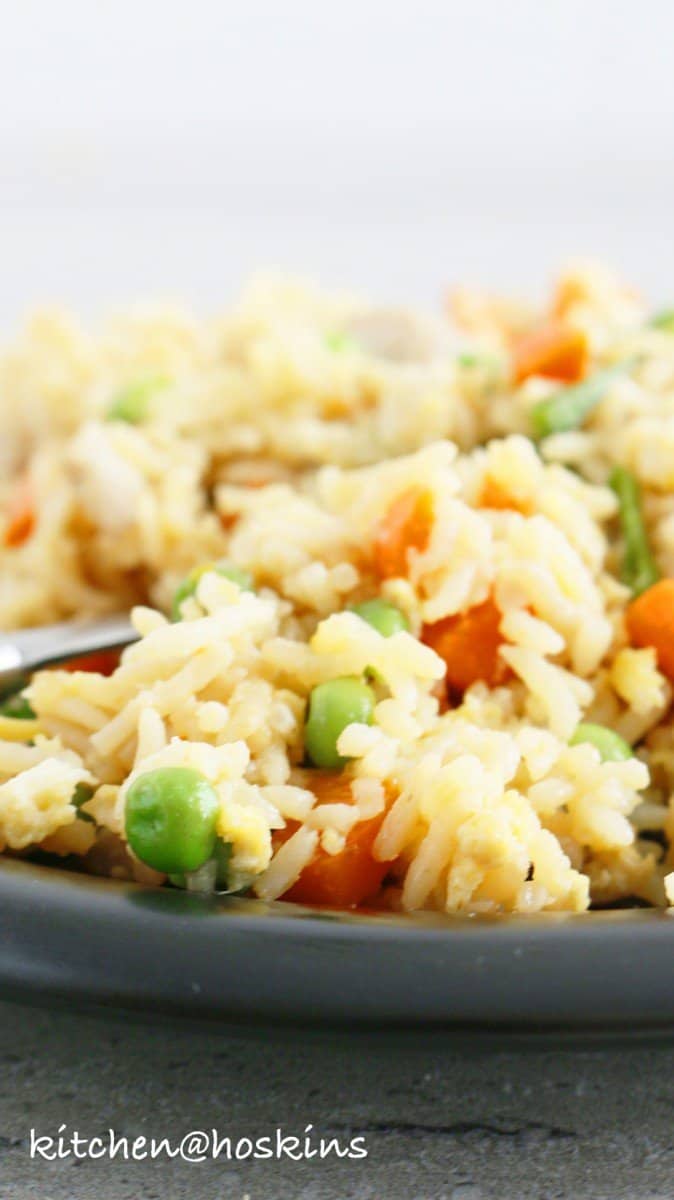
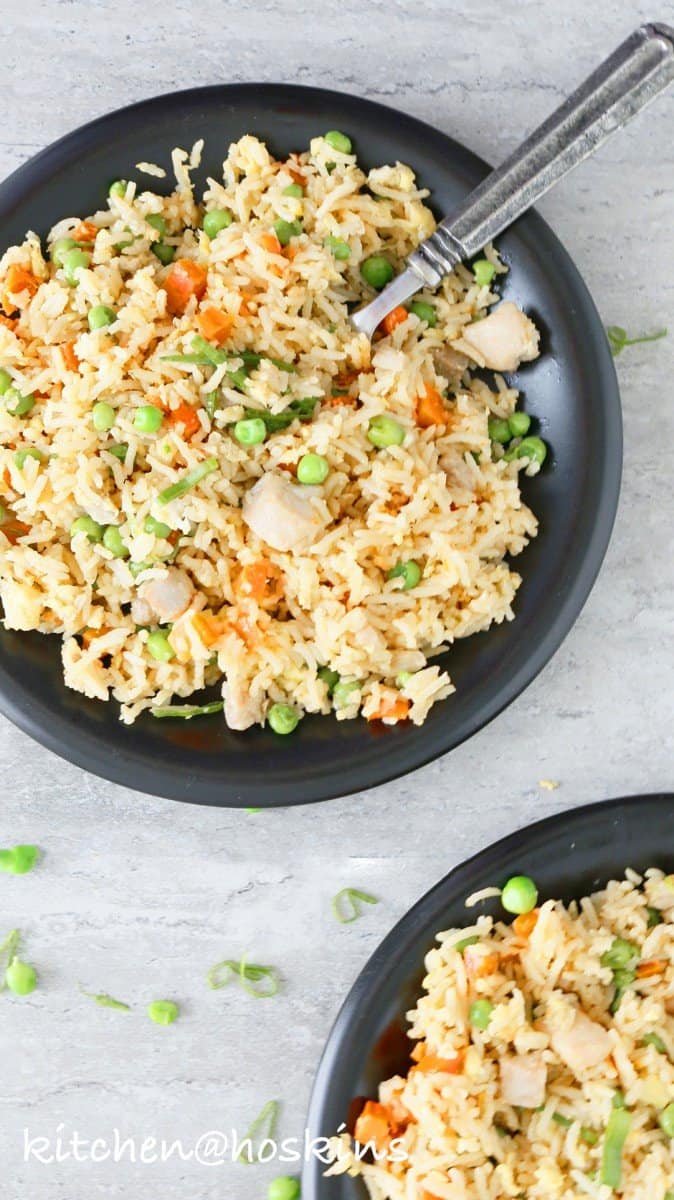
Chinese take-out right in your Instant pot. Packed with chunks of tender chicken, scrambled eggs, carrots and peas, this Instant pot chicken fried rice is easier and healthier. No more take-outs!!!
I'm having a love affair with my Instant pot these past few months. Check out all these amazing Instant Pot Recipes
It took a while to get going ( I mean, mine was still in the original packaging for at least 2 months after purchase). But, once I realized the convenience, there is no stopping.
My favorite part of a fried rice in an instant pot is that it does not require cooked, cooled leftover rice. No planning needed! You might also love this easy pesto rice made in the instant pot.
I'm all set to make chicken fried rice when the craving hits or in need a quick fix for school lunch box. An absolutely perfect side dish for all your favorite Chinese dishes or just a simple meal in itself.
(Hint: tis delicious with a fried egg on top <---- simple yet satisfying)
Why Instapot chicken fried rice?
Instant pot was a game changer. I began with cooking white rice and slowly exploring more variations. So simple and is a great base for all your Mexican meals.
Ever since, I have been putting my instant pot to good use. Chicken makes it's appearance at least three nights a week in our home. So, chicken fried rice instant pot was a no brainer. My favorite part is that you don't have to depend on leftover rice to enjoy hot pressure cooker chicken fried rice whenever your craving hits.
It is so convent that it is perfect for weekday meals and a balanced one as well <--- carbs, protein and veggies, all in one.
Wanna another reason? If I haven't sold this recipe to you already:) Leftovers make great lunch box for next day.
How to make chicken fried rice in instant pot?
Step-1 : Heat oil in instant pot, scramble eggs and transfer
Step-2: If using frozen peas, add frozen peas in the now empty pot and cook for about a minute until thawed. Transfer
Step-3: Add a touch more oil, saute chicken, then onion and garlic.
Step-4: Add rinsed and drained rice, saute for about 20 seconds.
Step-5: Stir in chicken stock and chopped carrots.
Step-6: Cook ---> There are two different methods given. Scroll below for more details.
Want To Save This Recipe?
Step-7: Stir in soy sauce, toasted sesame oil, ground black pepper, scrambled eggs and peas.
Instant pot fried rice for the win!
How to make non-mushy fried rice in Instant pot?
It totally depends on your rice, yes! Many, many readers have had huge success with this recipe and there are a few who have had mushy rice. Reason? it depends on the basmati rice you are using. Not all brands, packages of rice are the same though they all say basmati rice in the package ---> Some need more water and some less. Some need more cooking time and some less.
How do we solve this? I came up with two different cooking methods for you (you are welcome!). So, which method is right for you?
Cooking method-1
- If you have tried this recipe already and you have had great success. Just stick to this.
- If you cook different rice recipes in your Instant pot and use the rice setting and love the way the rice gets cooked , then this is right for you.
Cooking method-2
- If you have tried this recipe before and had a mushy outcome, then go for this.
- If you are not sure about your rice or cooking method.
Another important note for cooking rice in instant pot -----> It depends on the size of your Instant pot.
I tried making this recipe in a 3-quart Instant pot and a 8-quart Instant Pot. Result? Fried rice in 8-quart was much more firmer that the 3-quart. So, if you a own a larger Instant Pot, then use that for firmer rice.
Few notes on making this instant pot fried rice recipe:
- Rinse rice in a strainer and let it hang out for couple of minutes to drain as much water as possible. As I explain in instant pot rice recipes, this step is important to not only wash the rice, as well as remove excess starch <--- less mushier rice
- Do not double the recipe. It's just too much to work with and makes the rice overcooked in the process.
- I used 1 cup of 33% less sodium chicken stock and the salt was perfect along with soy sauce. But, if you have regular sodium chicken stock, then I'd suggest using ¾ cup stock + ¼ cup water.
Can I make pressure cooker chicken fried rice with brown rice?
One of my reader made it with great success. Here is how she made it:
Followed cooking Method #1 AND doubled the recipe (she used the Duo Plus 8 qt and the rice setting was 12 minutes as well).
"The recipe came out PERFECT. I added a level teaspoon of pepper (for the original recipe, I would do ½ a teaspoon) and an additional teaspoon or two of soy sauce. Tasted it, and it really is just perfect!"
I love you guys!!!

Instant Pot Chicken Fried Rice
Ingredients
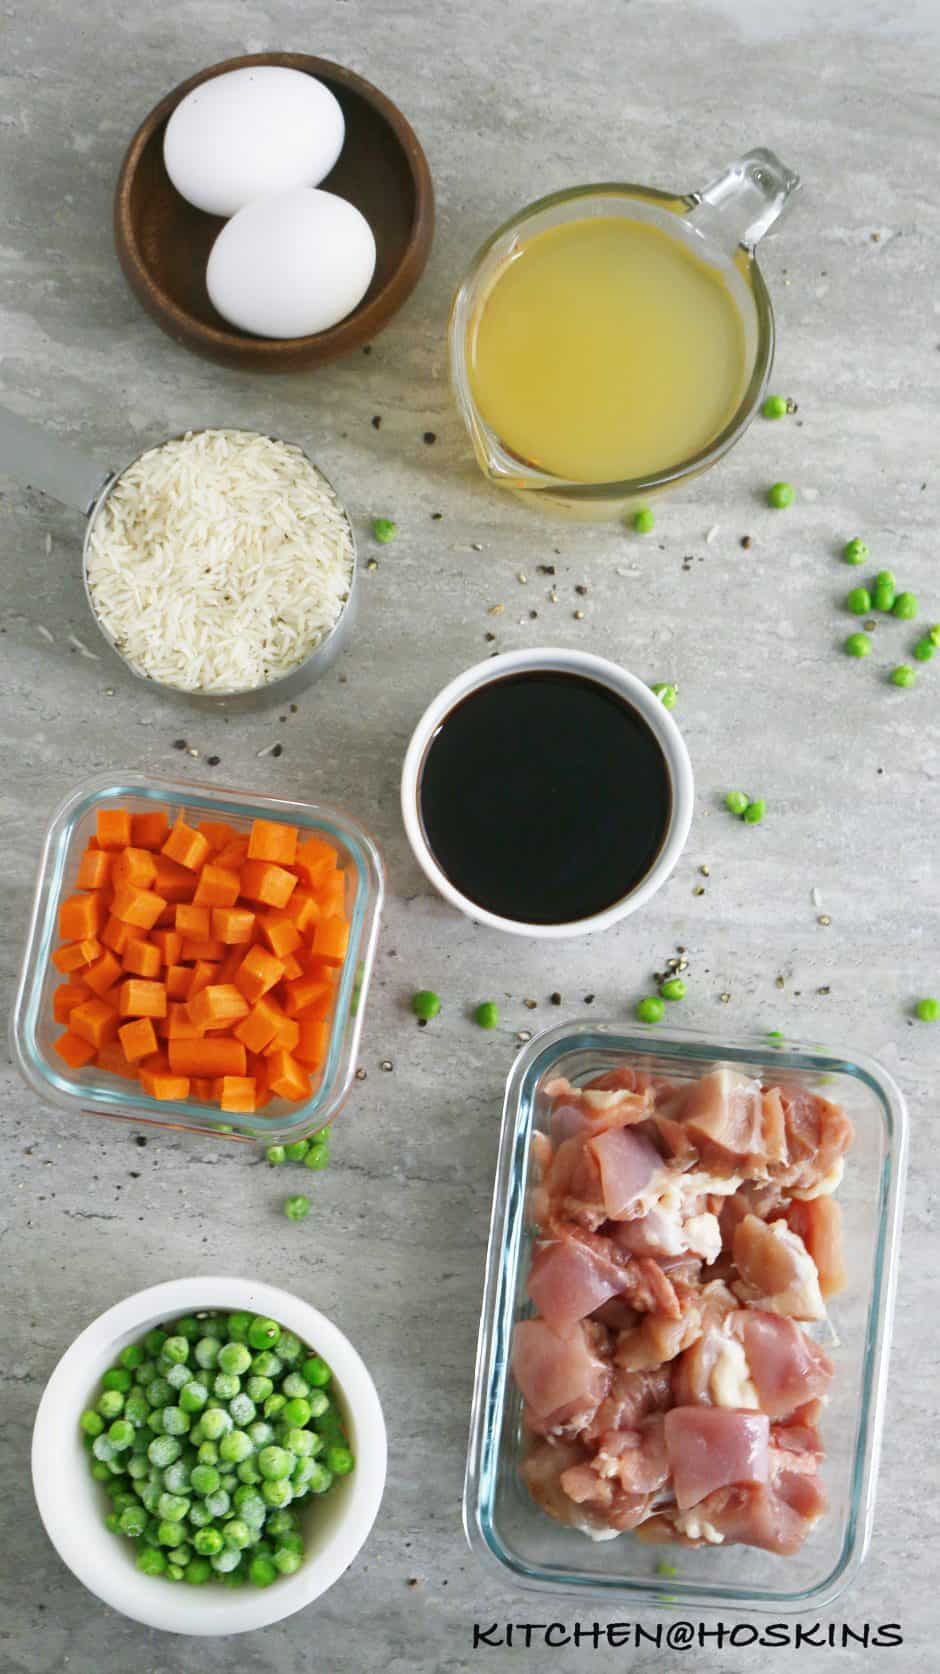
- 3-4 tablepsoons vegetable oil
- 2 large eggs, whisked to combine
- 1 cup frozen peas
- 2 boneless skinless chicken thighs, cut into bite size chunks
- 1 cup chopped onion
- 3 garlic cloves, minced
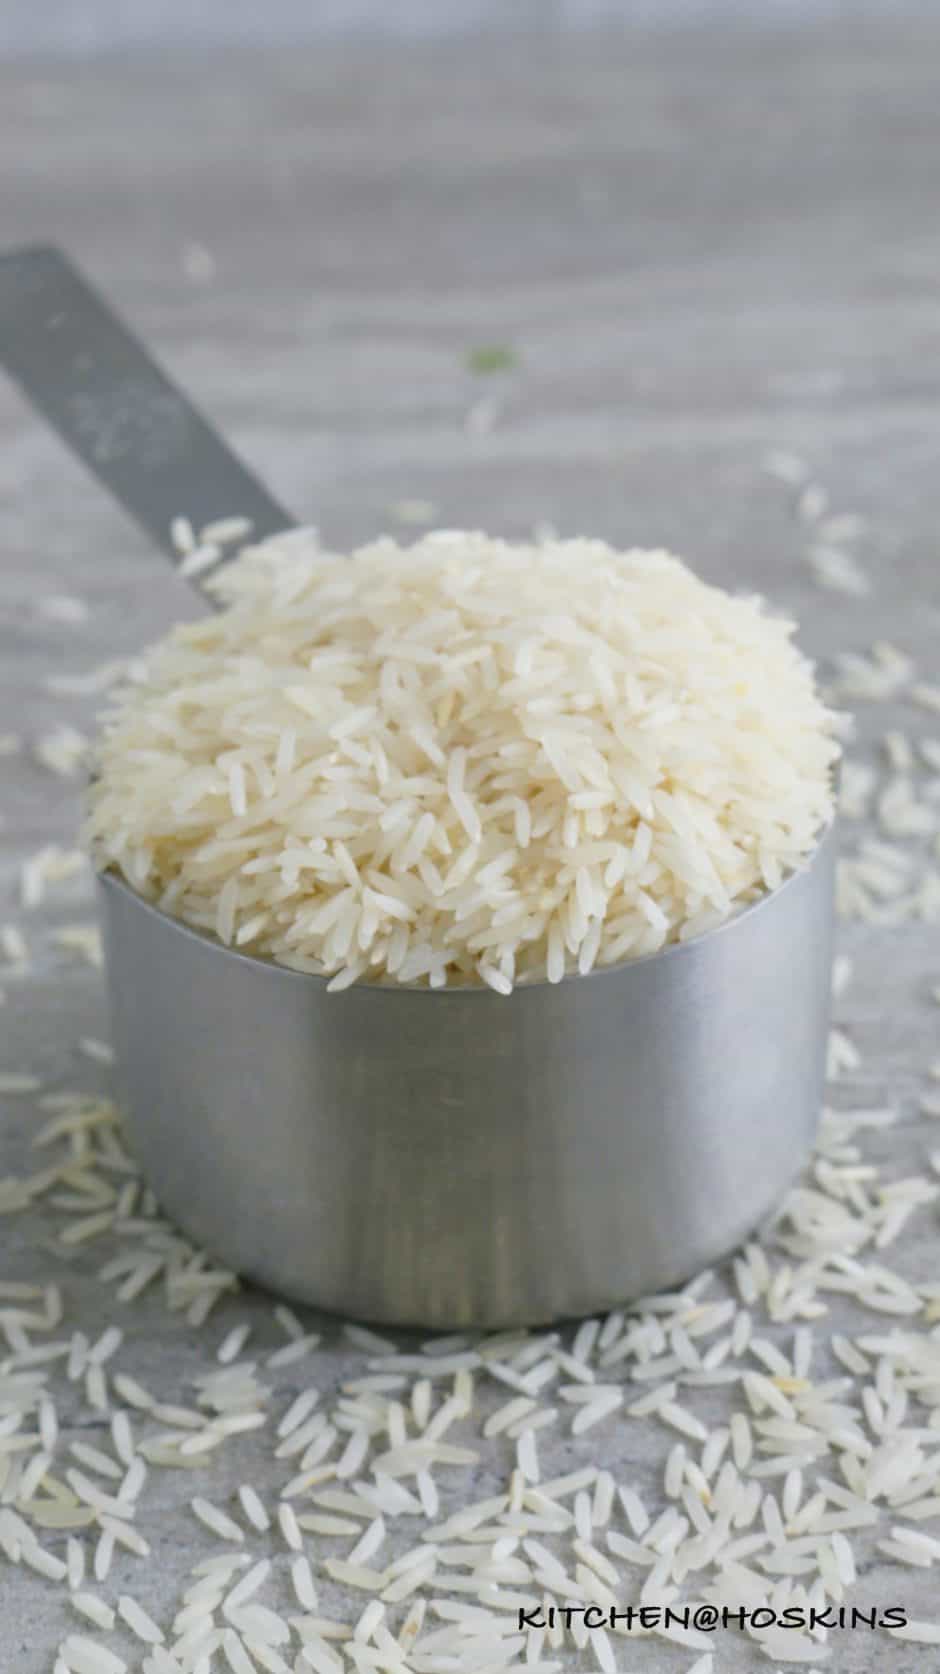
- 1 cup white basmati rice, rinsed and drained well
- 1 cup (33% less sodium) chicken stock refer notes
- 2 medium carrots, peeled and chopped into ¼ inch cubes
- 3 tablepsoons soy sauce (more or less as desired)
- ½ teaspoon toasted sesame oil
- ground black pepper to taste
Instructions
- Set instant pot in saute mode. When hot, add 1-2 tablespoons vegetable oil. Add eggs and scramble, remove on to a plate when done. (You don't have to continuously stir eggs. Stir 'em every 20 seconds or so, until cooked. This will yield larger pieces of scrambled eggs)Into the now empty pot (still in saute mode), add frozen peas. Saute, until thawed completely . The moisture from peas will help in loosening the eggs sticking to the bottom of the pan. Try scraping most of it. Transfer peas to the plate.
- Add 1-2 tablespoons oil to the now empty instant pot, Add chicken in a single layer, cook undisturbed for 2 minutes. Stir around and then add chopped onions and garlic, cook (stirring occasionally) for another 2-3 minutes.
- Add rinsed and drained rice and saute for about 20 seconds and then stir in chicken stock and carrots. Scrape sides, close Instant pot, lock lid, set valve to sealing, press cancel. (Refer notes below to see which method is right for you).
- Cooking Method-1 : Select rice mode. (This is an automatic setting and mine took 12 minutes). When cook time is done, let the Instant pot be in warm mode for 5 minutes. When 5 minutes is done, turn valve to vent and let pressure release.Press cancel and open lid. Stir in cooked eggs, peas, soy sauce, sesame oil and ground pepper.
- Cooking Method-2 : Cook for 3 minutes on manual mode. When cook time is done, let it be in warm mode for 10 minutes (for al dente rice) and 15 minutes (for more softer rice) When cooking time is done, turn valve to vent and let pressure release.Press cancel and open lid. Stir in cooked eggs, peas, soy sauce, sesame oil and ground pepper.
- Some readers have suggested that doubling the recipe results in slightly overcooked rice. So, I'd suggest using the recipe as is.
- Remove pot insert from the instant pot base and place on a wire rack to cool for 5-10 minutes, before serving. Enjoy hot Instant pot chicken fried rice for lunch/dinner or cool and pack into meal prep containers for the week.
Notes
- If you have tried this recipe already and you have had great success. Just stick to this.
- If you cook different rice recipes in your Instant pot and use the rice setting and love the way the rice gets cooked , then this is right for you.
- If you have tried this recipe before and had a mushy outcome, then go for this.
- If you are not sure about your rice or cooking method.
Nutrition
Nutritional information, based on third-party calculations, should be seen as estimates, not guarantees, as various factors like product types, brands, processing methods, and more can alter the nutritional content in recipes.
Some of the links above are affiliate links, which pay me a small commission for my referral at no extra cost to you! Thank you for supporting kitchenathoskins.com
All contents and images are my original work, unless and otherwise mentioned. Please do not use my recipes or images without linking back to www.kitchenathoskins.com. If you wish to republish a recipe, please rewrite in your own words and don’t forget to include a link back to the original recipe.
Karen
This recipe is delicious! I did double the recipe and stuck with cooking method number 1- auto rice setting for 12 minutes and it turned out perfect! So glad I doubled the recipe because my husband ate three bowls full 😋
Rachael Jones
Could you share the calories per serving? Thank you!!!
Maria Doss
Hi Rachel, It is 369 calories per serving, Maria
Tanya Cunningham
Can you use a 10 qt
Maria Doss
Absolutely!
Vicki
Can this be frozen?
Maria Doss
Hi Vicki, Yes! Freeze for up to a month and thaw overnight in the refrigerator and then microwave to re heat. Hope it helps, Maria
Sandra Powell
This is so delicious, I have made it several times. I’m doing it again tonight.
Maria Doss
That’s so great to hear, so glad you loved it - Maria ♡