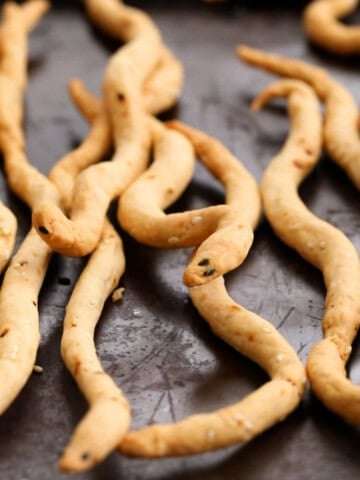

These Halloween Bone Cookies are easy to make without cookie cutters! It is an easy, unique, fun, homemade Halloween cookie recipe for kids!
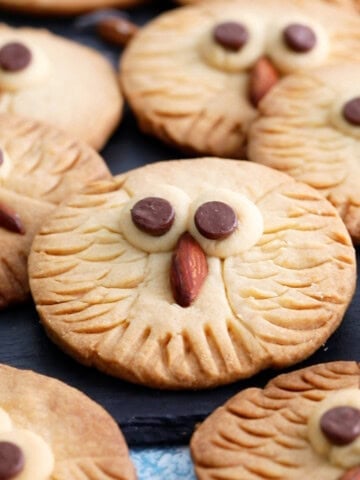
If you are looking for more Halloween cookie recipes, try our owl cookies or the chocolate thumbprint cookies next!

Why You'll Love These Halloween Bone Cookies

These bone cookies are so much fun to make! The dough has a soft, playdough-like texture, making this a fun Halloween baking activity for kids.
They’re classic buttery shortbread cookies that bake up crisp, tender, and melt-in-your-mouth delicious. Plus, shaping the dough into little bones is easy enough for kids to help with!
Looking for more fun Halloween food ideas? Be sure to check out my other Halloween recipes!
-maria doss
Jump to:
How to make Halloween bone cookies?
You can find full printable recipe below, but here is a quick overview of the procedure along with step-by-step photos.


Tips For Success
- Chill the dough: After shaping the bone cookies, refrigerate them for several hours or overnight. This firms up the dough and helps prevent the cookies from spreading too much while baking.
- Imperfect is perfect: Don’t worry about making perfectly smooth bones. Cracks, uneven edges, and slightly “broken” bone ends make them look even spookier!
- Use gel food coloring: For a deep blood-red icing, use gel food coloring rather than liquid. You’ll need about ½ ounce, or roughly half a container, depending on the brand and how intense you want the color. I recommend using Wilton's Red Gel.
- Storage: Store the decorated cookies in an airtight container at room temperature for 4 to 5 days.
- Freezing: Freeze the baked and cooled cookies without icing for up to 2 months. Thaw at room temperature, then decorate with the blood-red icing.
More Spooky Halloween Cookie Ideas

Halloween Bone Cookies
Ingredients
- ½ cup unsalted butter, at room temperature
- 1 cup + 2 tablespoons confectioners sugar, divided
- 1 teaspoon vanilla extract
- ⅛ teaspoon salt
- 1 cup + 5 tablespoon all purpose flour
- 2 teaspoons milk
- red gel food coloring as needed
Instructions
- Beat butter and sugar. Add ½ cup butter, ½ cup + 2 tablespoon confectioners' sugar, 1 teaspoon vanilla extract and ⅛ teaspoon salt to a medium bowl and beat with an electric beater for two minutes, until smooth and creamy.
- Finish dough. Add 1 cup + 5 tablespoon flour and 2 teaspoon milk, then beat on low speed until the dough comes together. Gently knead the dough a few times by hand until smooth. It should feel firm but pliable—not too soft or stiff. If the dough feels too soft, knead in 1 tablespoon of additional flour.👉 When measuring the milk, fill each teaspoon to the brim without adding extra. Too much milk will make the dough softer, which can cause the bone shapes to spread while baking.
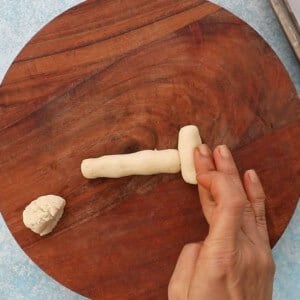
- Shape. Take a level 1 tablespoon of dough and roll it into a ball. Then roll it into a 3-inch log to form the bone's center.

- Finish shaping. Take another level tablespoon of dough and divide it in half. Roll each piece into a thick log for the ends. Attach them to each end of the center log, gently pinching and pressing the seams together to secure.👉 Don’t worry about making them perfectly smooth—cracks and little imperfections make the bones spookier! 👉 When shaping the bones, keep both the center and the ends no more than ½-inch thick. If they’re too thick, they won’t crisp up properly while baking.
- Chill. Repeat with the remaining dough, then place the bones on a parchment-lined baking sheet, spacing them about 1 inch apart. Refrigerate the baking sheet for several hours or overnight before baking.
- Bake. Preheat the oven to 350°F (177°C). Bake the cookies for 23 to 28 minutes, rotating the pan halfway through, until they turn a deep golden brown. Transfer the baking sheet to a wire rack and let the cookies cool completely. 👉 Achieving that deep golden color is key for a crisp texture—if you remove them too early while still pale, they won’t crisp up properly.
- Make icing. In a small bowl, mix ½ cup confectioners’ sugar with about 1 teaspoon of water and a dash of red food coloring to create a blood-colored icing with a dripping consistency. Adjust the water and food coloring as needed to achieve a deep, rich red—I used more than half of a small bottle for the best effect.
- Decorate. Place the cookies on a wire rack set over a baking sheet to catch any drips. Using a small spoon, randomly drizzle the icing over the cookies to create a spooky effect. Let them sit for a couple of hours, or until the icing is completely set.



Notes
Nutrition
Nutritional information, based on third-party calculations, should be seen as estimates, not guarantees, as various factors like product types, brands, processing methods, and more can alter the nutritional content in recipes.


More Cookie Recipes for Halloween
Looking for fun and spooky Halloween-themed food ideas? These creative and delicious cookie recipes for Halloween are perfect for parties, trick-or-treat snacks, or just getting into the spooky spirit!
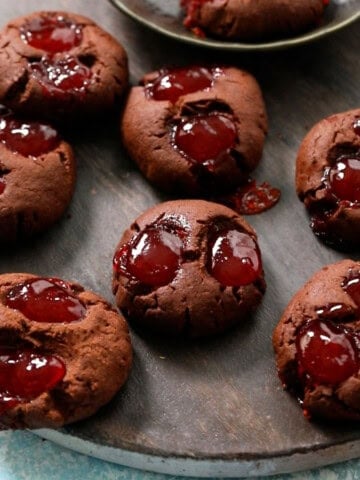
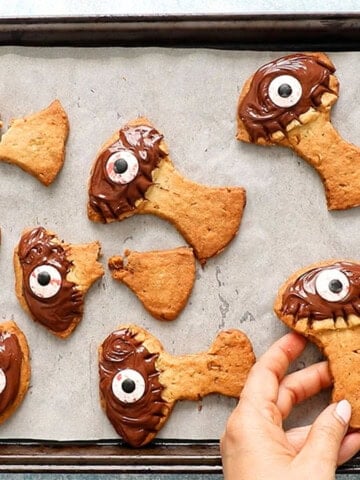
- Chocolate thumbprint cookies are made with a simple sugar cookie dough, indented to resemble skulls and filled with red strawberry jam! It is a unique, fun, creative, spooky cookie idea for Halloween!
- Spooky Halloween tree cookies are an easy Halloween baked good to impress your kids. They are buttery, crisp, and amazingly tender!
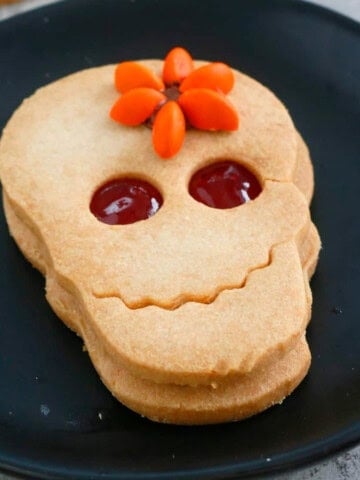
- These Halloween skull cookies are cute, easy, and a unique Halloween cookie recipe. They’re skull-shaped Linzer cookies, filled with jam and topped off with an adorable M&M flower.
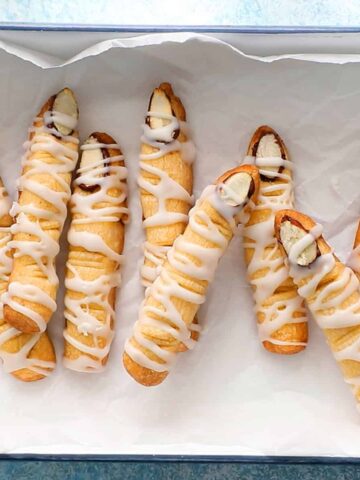
- These Halloween finger cookies with almond nails are easy to make.
- These candle cookies are made using buttery, crisp chocolate shortbreads and are shockingly easy to make.
MADE THIS RECIPE AND LOVED IT? 💚 Please leave a ⭐️STAR rating and COMMENT below- I love to hear your feedback! Tag me with your creations on Instagram and find me on Facebook.
Hi, I’m Maria! I share easy, flavor-packed dinners, high-protein meals, and irresistible baking ideas. If you’ve ever asked, “Don’t know what to cook tonight?” you’re in the right place. And yes—there’s plenty here for breakfast, snacks, and dessert too. More about maria ->