These Candle Cookies are made using buttery, crisp chocolate shortbreads and are shockingly easy to make. They are fun, creative and impressive, and no special tools are needed. Recipe includes step-by-step photos!
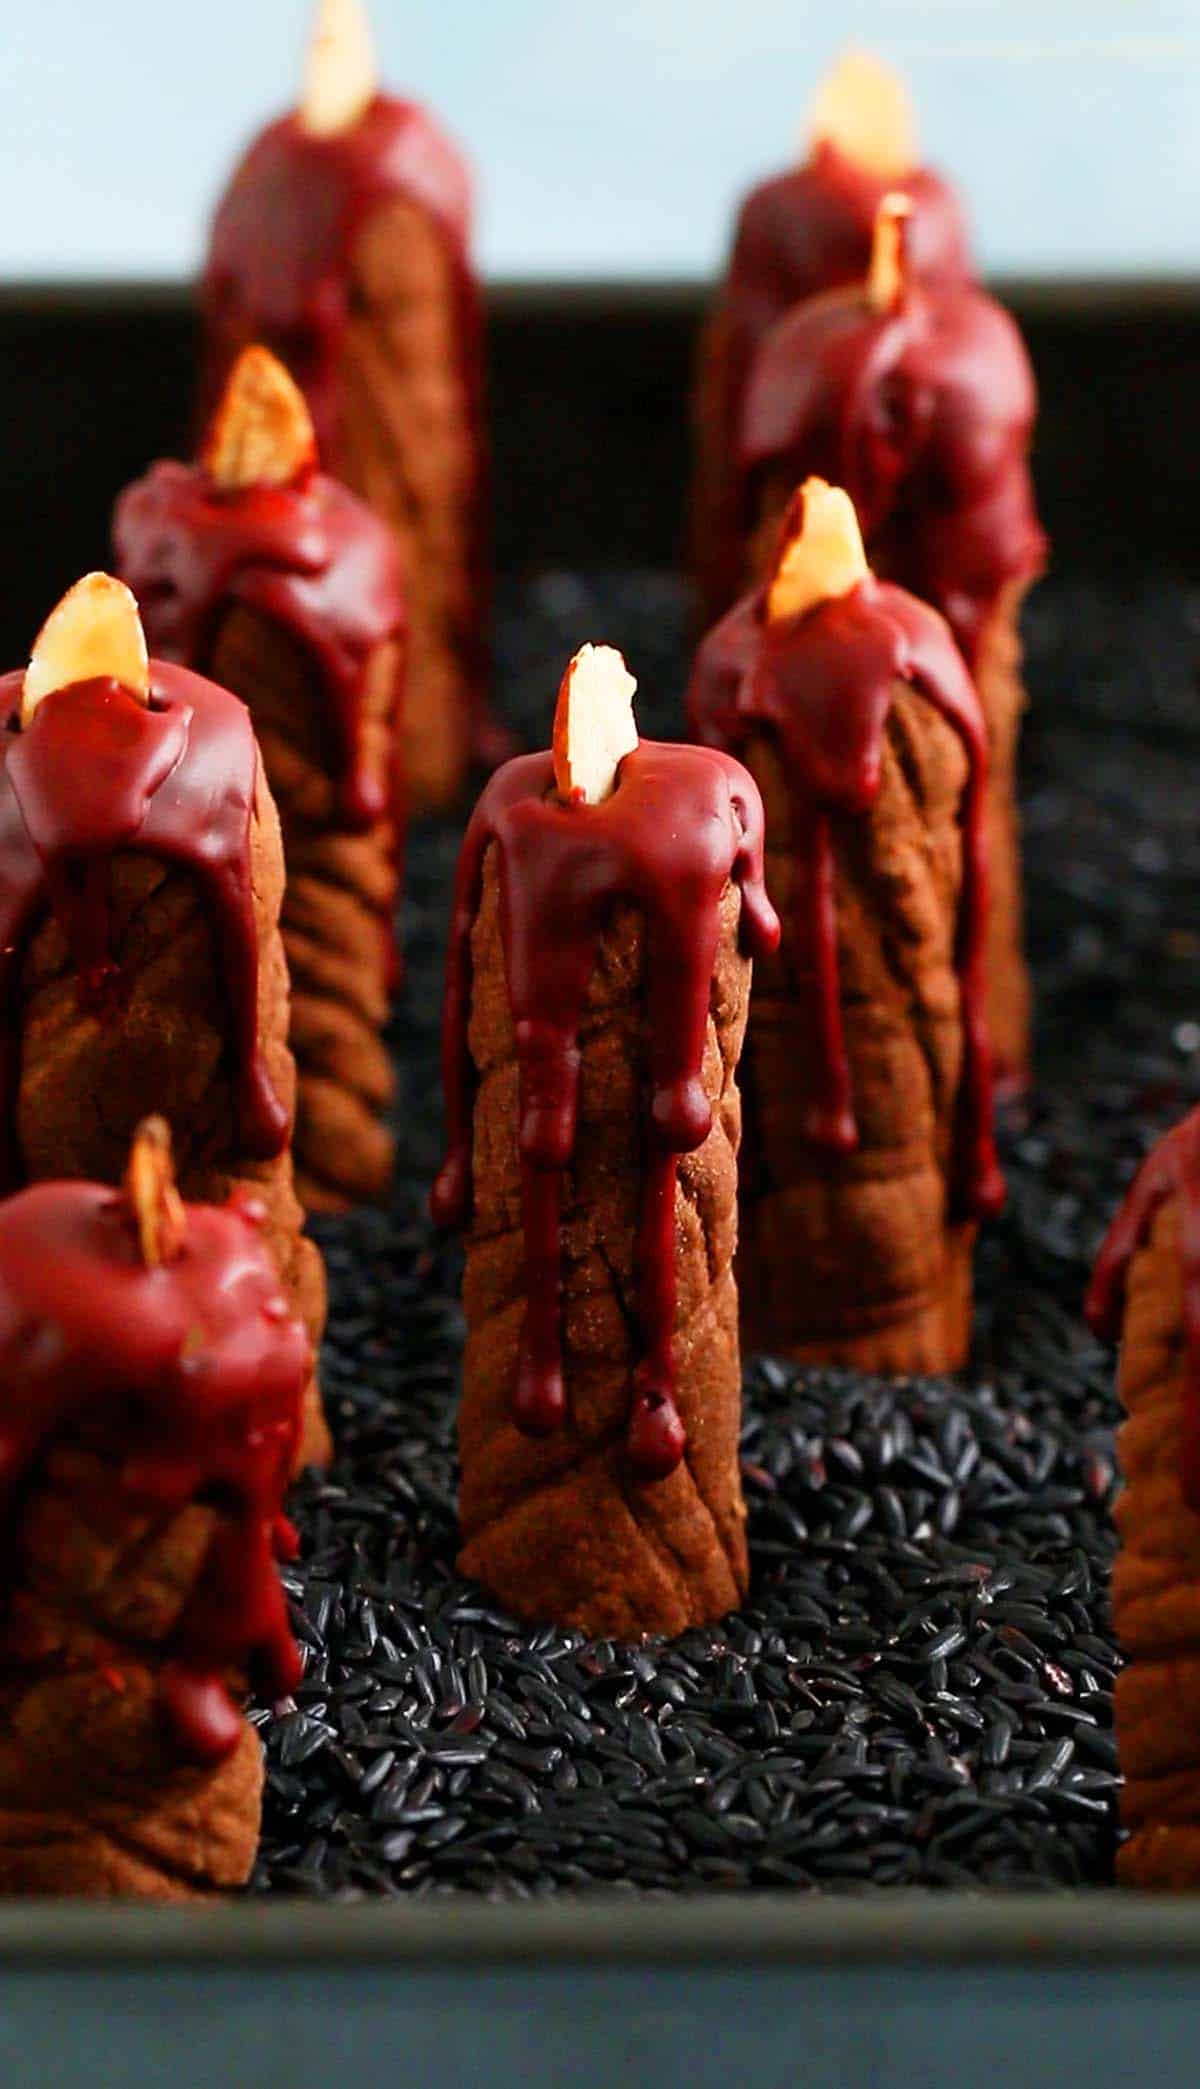
At first glance, these candle cookies resemble elegant candles, with a slender, cylindrical shape and a tapered end, mimicking the wick.
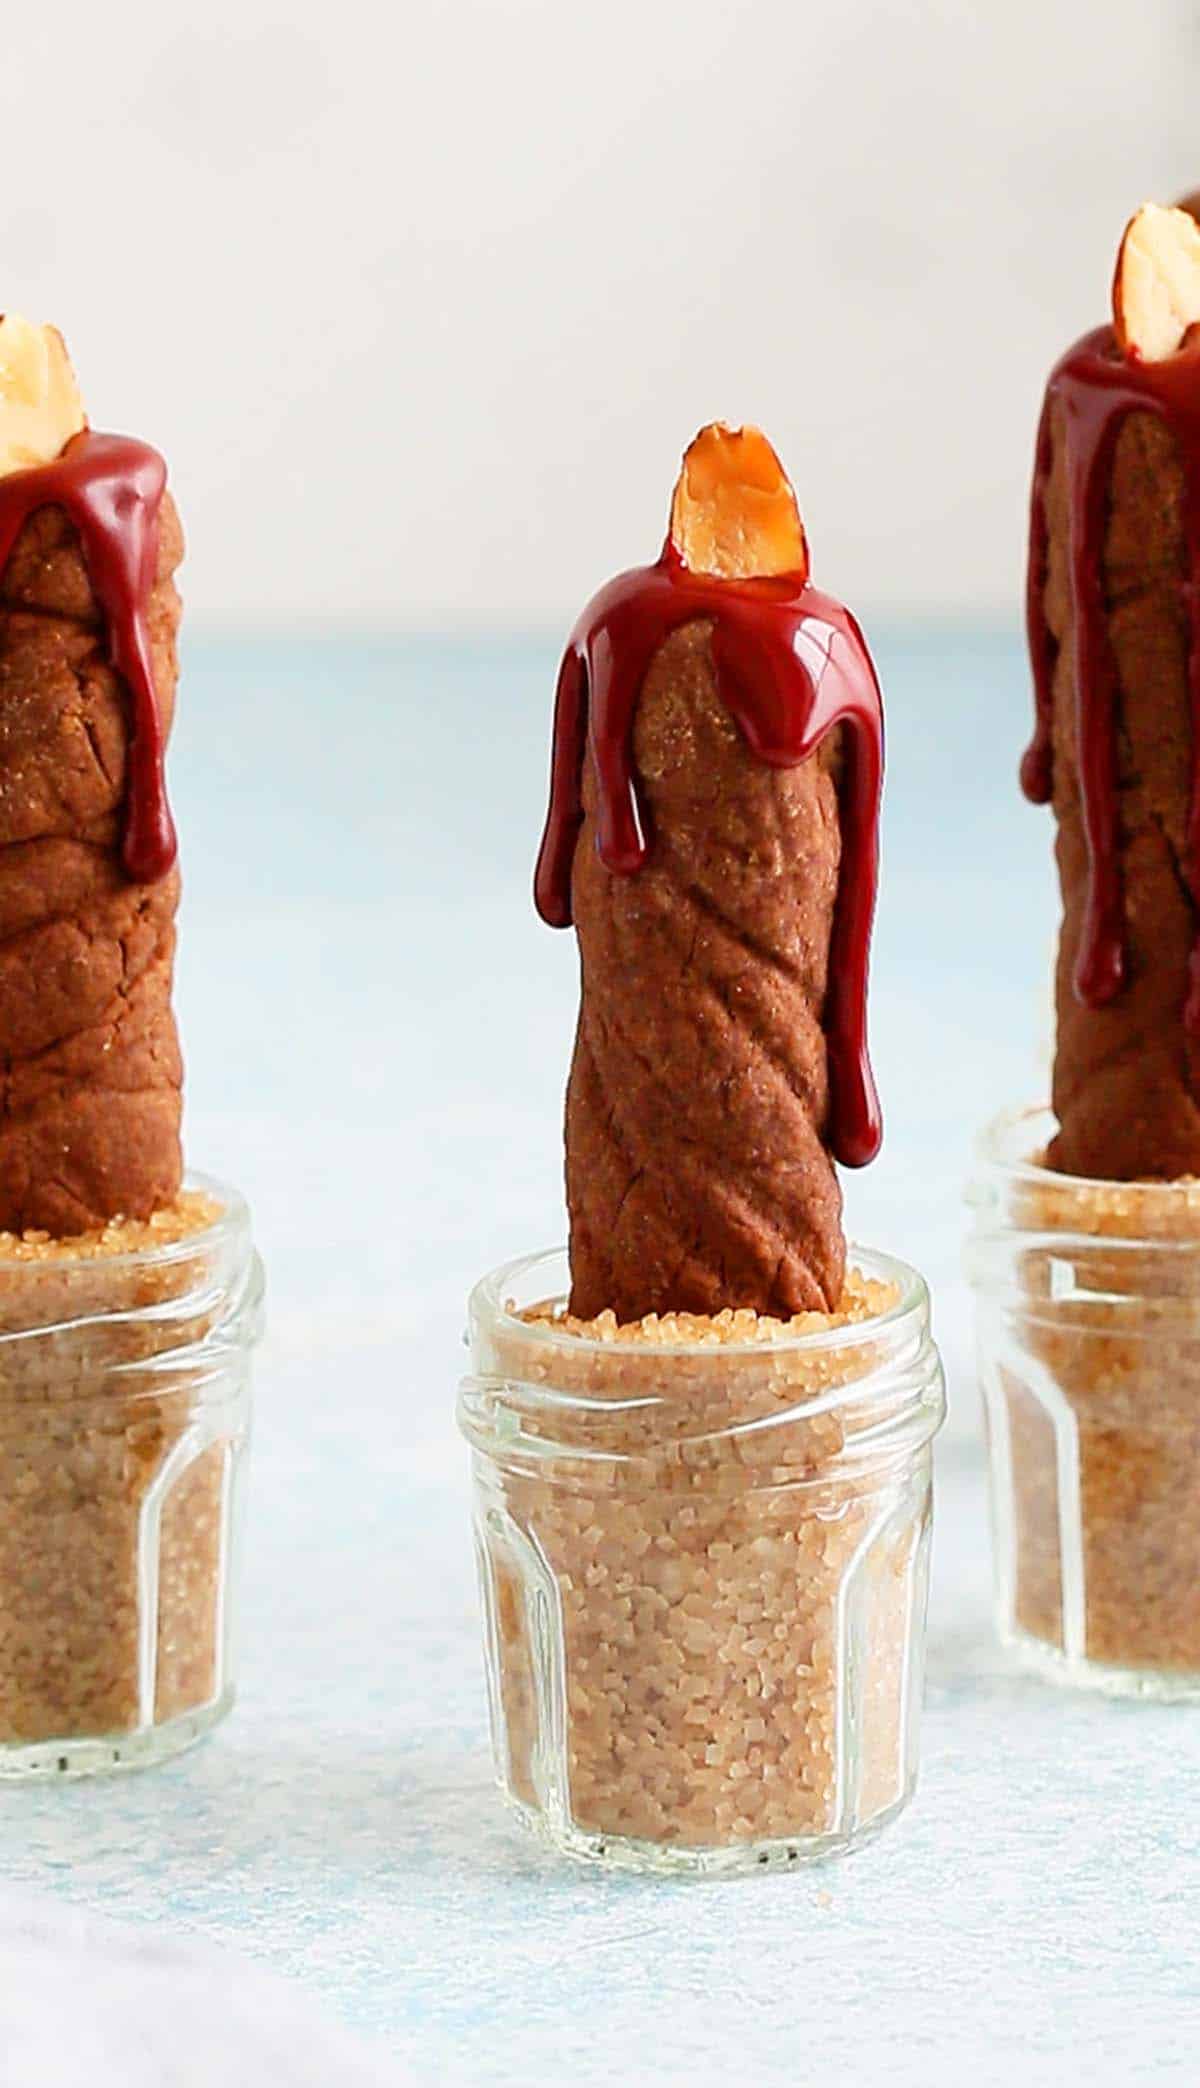
But the candle is actually chocolate shortbread cookies with icing dripping down like a melting candle instead of just being spread on top like the almond flour lemon cookies.
Unlike drop cookies, shortbread cookie dough is ideal for shaping into fun designs. It's like working with edible playdough!
I chose a deep red icing to achieve a bleeding effect for the Halloween season. However, this versatile icing can effortlessly be tinted in various colors for other holidays such as Christmas or Valentine's Day.
Jump to:
Why you'll love them?
- Unique, fun and creative.
- No special tools needed.
- Shockingly easy to make.
- Freezer friendly.
Ingredients
Scroll down to the recipe card below for full information on ingredients and amounts.
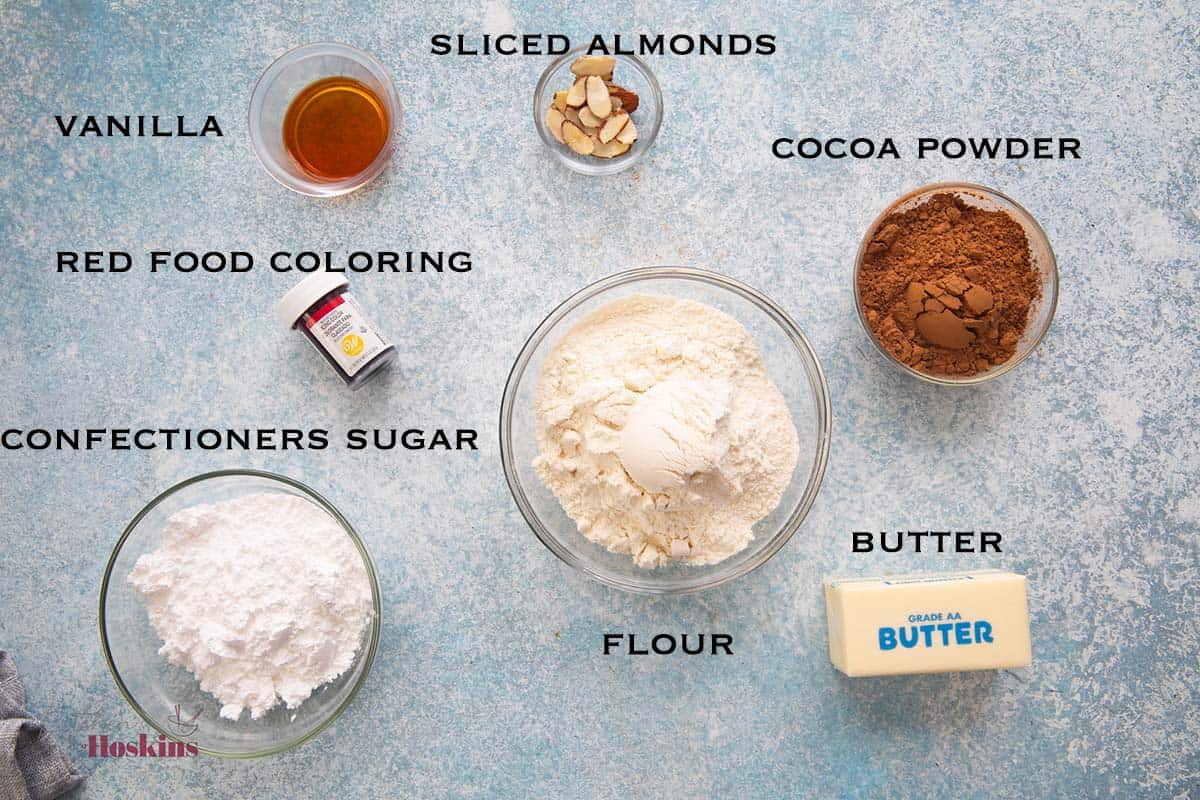
- Flour - Adding to much flour is a common baking mistake. Refer to the informative guide provided in my homemade doughnut recipe to guarantee precise measurement.
- Cocoa powder - As with all cocoa powder recipes, I prefer to use Dutch-processed cocoa, for its milder and more complex flavor.
- Butter - Make sure to use room temperature butter.
- Sugar - Like in my chocolate shortbreads, I like to use confectioners sugar to give a tender, melt-in-your-mouth texture to the candle cookies.
- Food color - I used red food coloring to create a bloody effect. You can skip to maintain a white icing or choose a different color.
- Sliced almonds - To mimic the tip of a burning candle.
Tip: Use gel food coloring and not liquid.
How to make?
You can find full printable recipe below, but here is a quick overview of the procedure along with step-by-step photos.
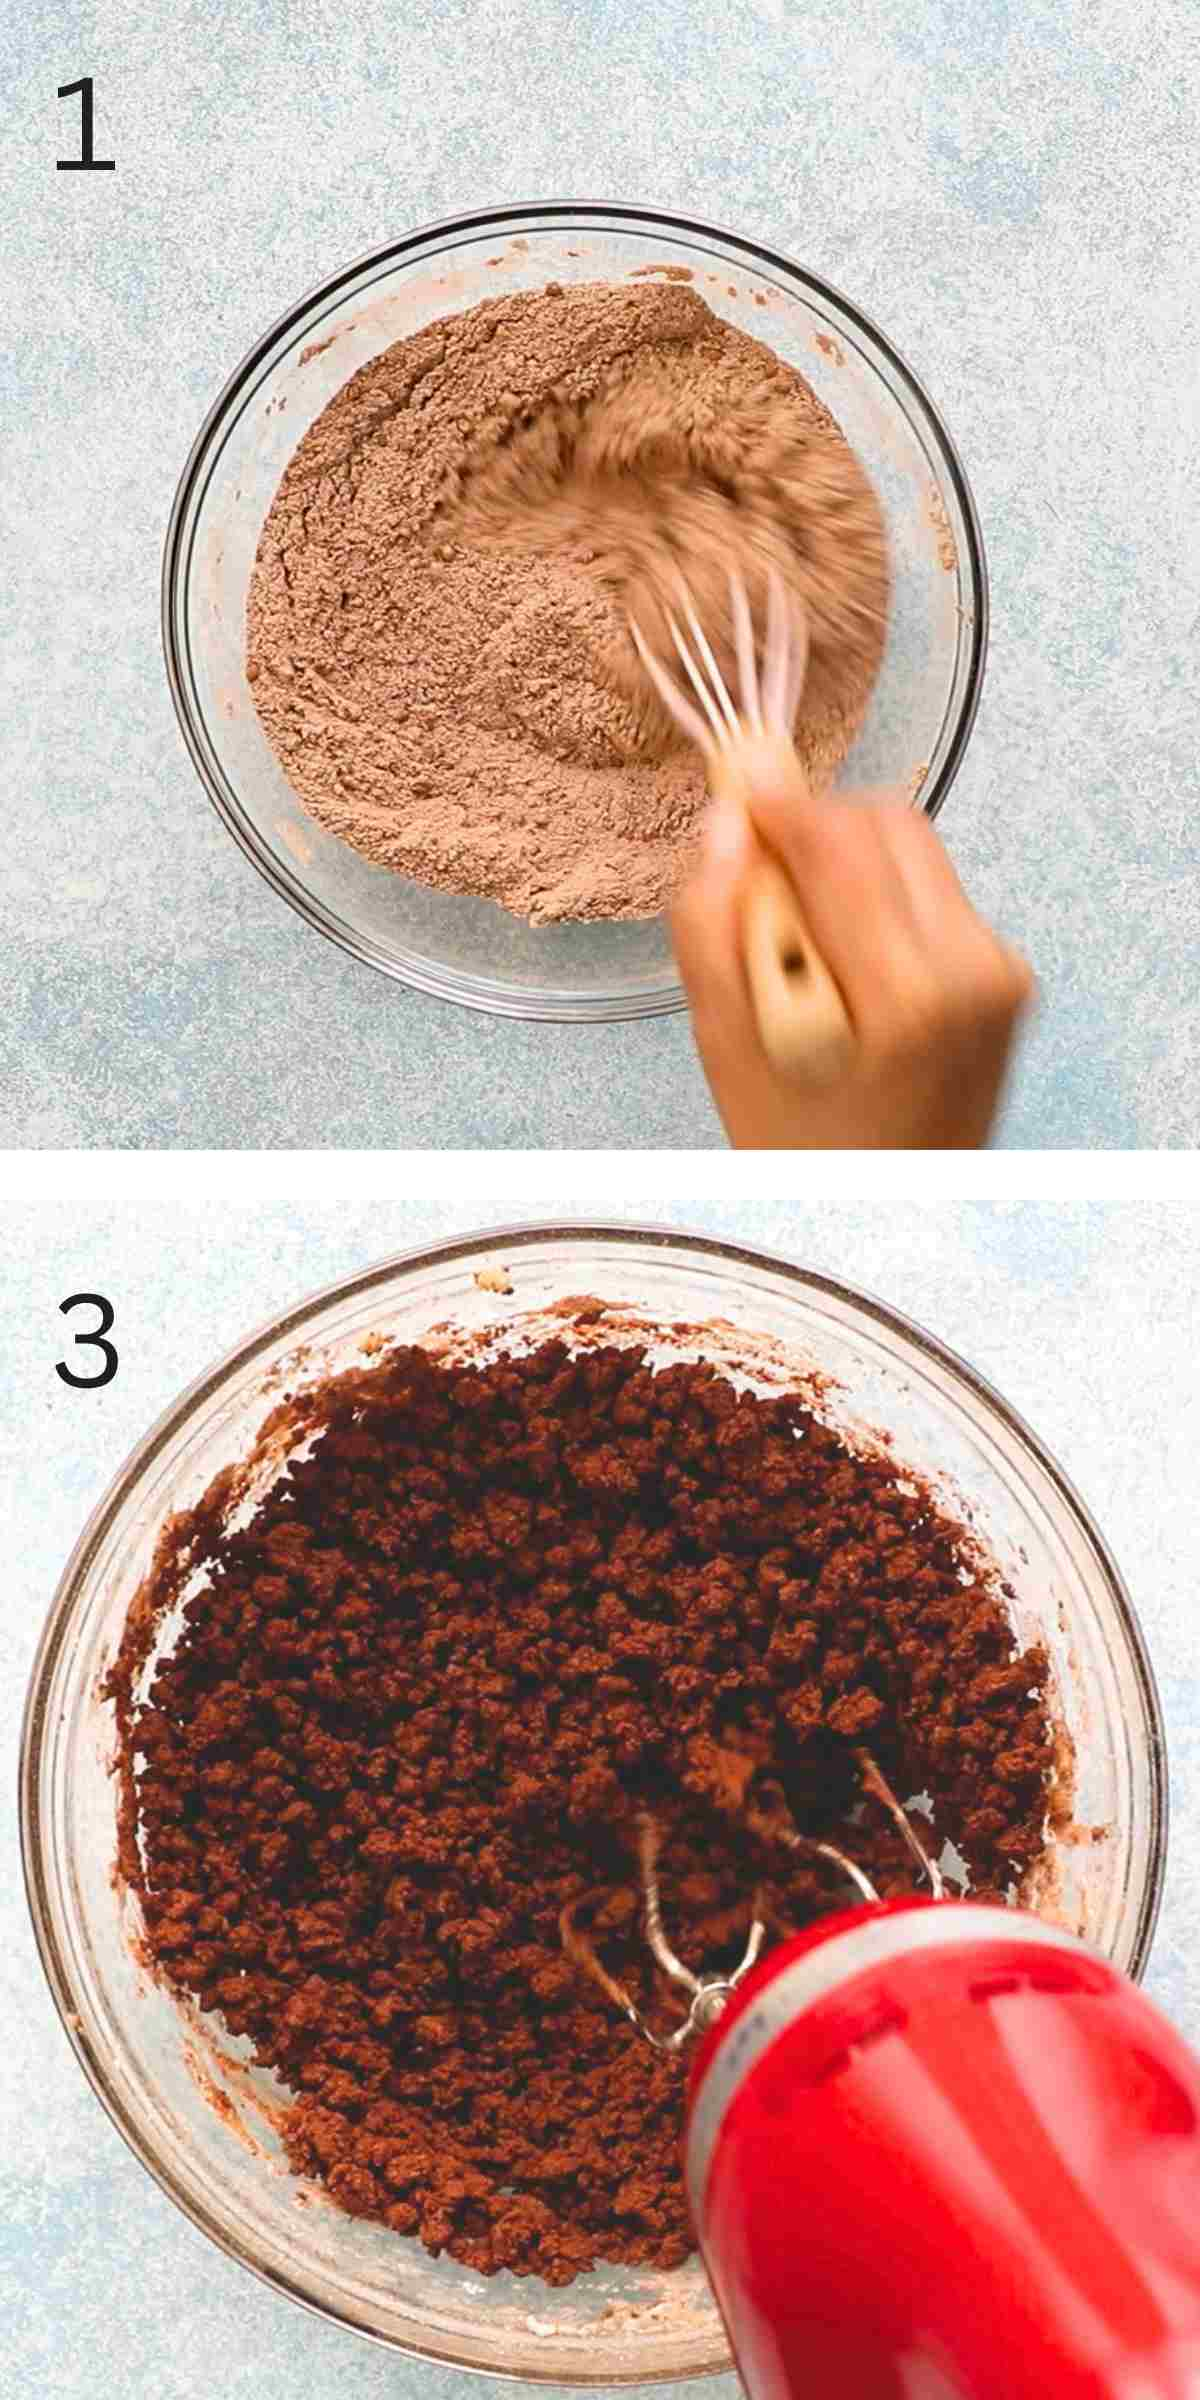
1.Whisk together flour, cocoa powder and salt in a small bowl.
2. Combine butter, confectioners sugar and vanilla extract in a larger bowl. Beat with an electric beater, until smooth and creamy, about one minute.
3. Add the combined flour mixture and milk, beat on medium speed, until it looks crumbly.
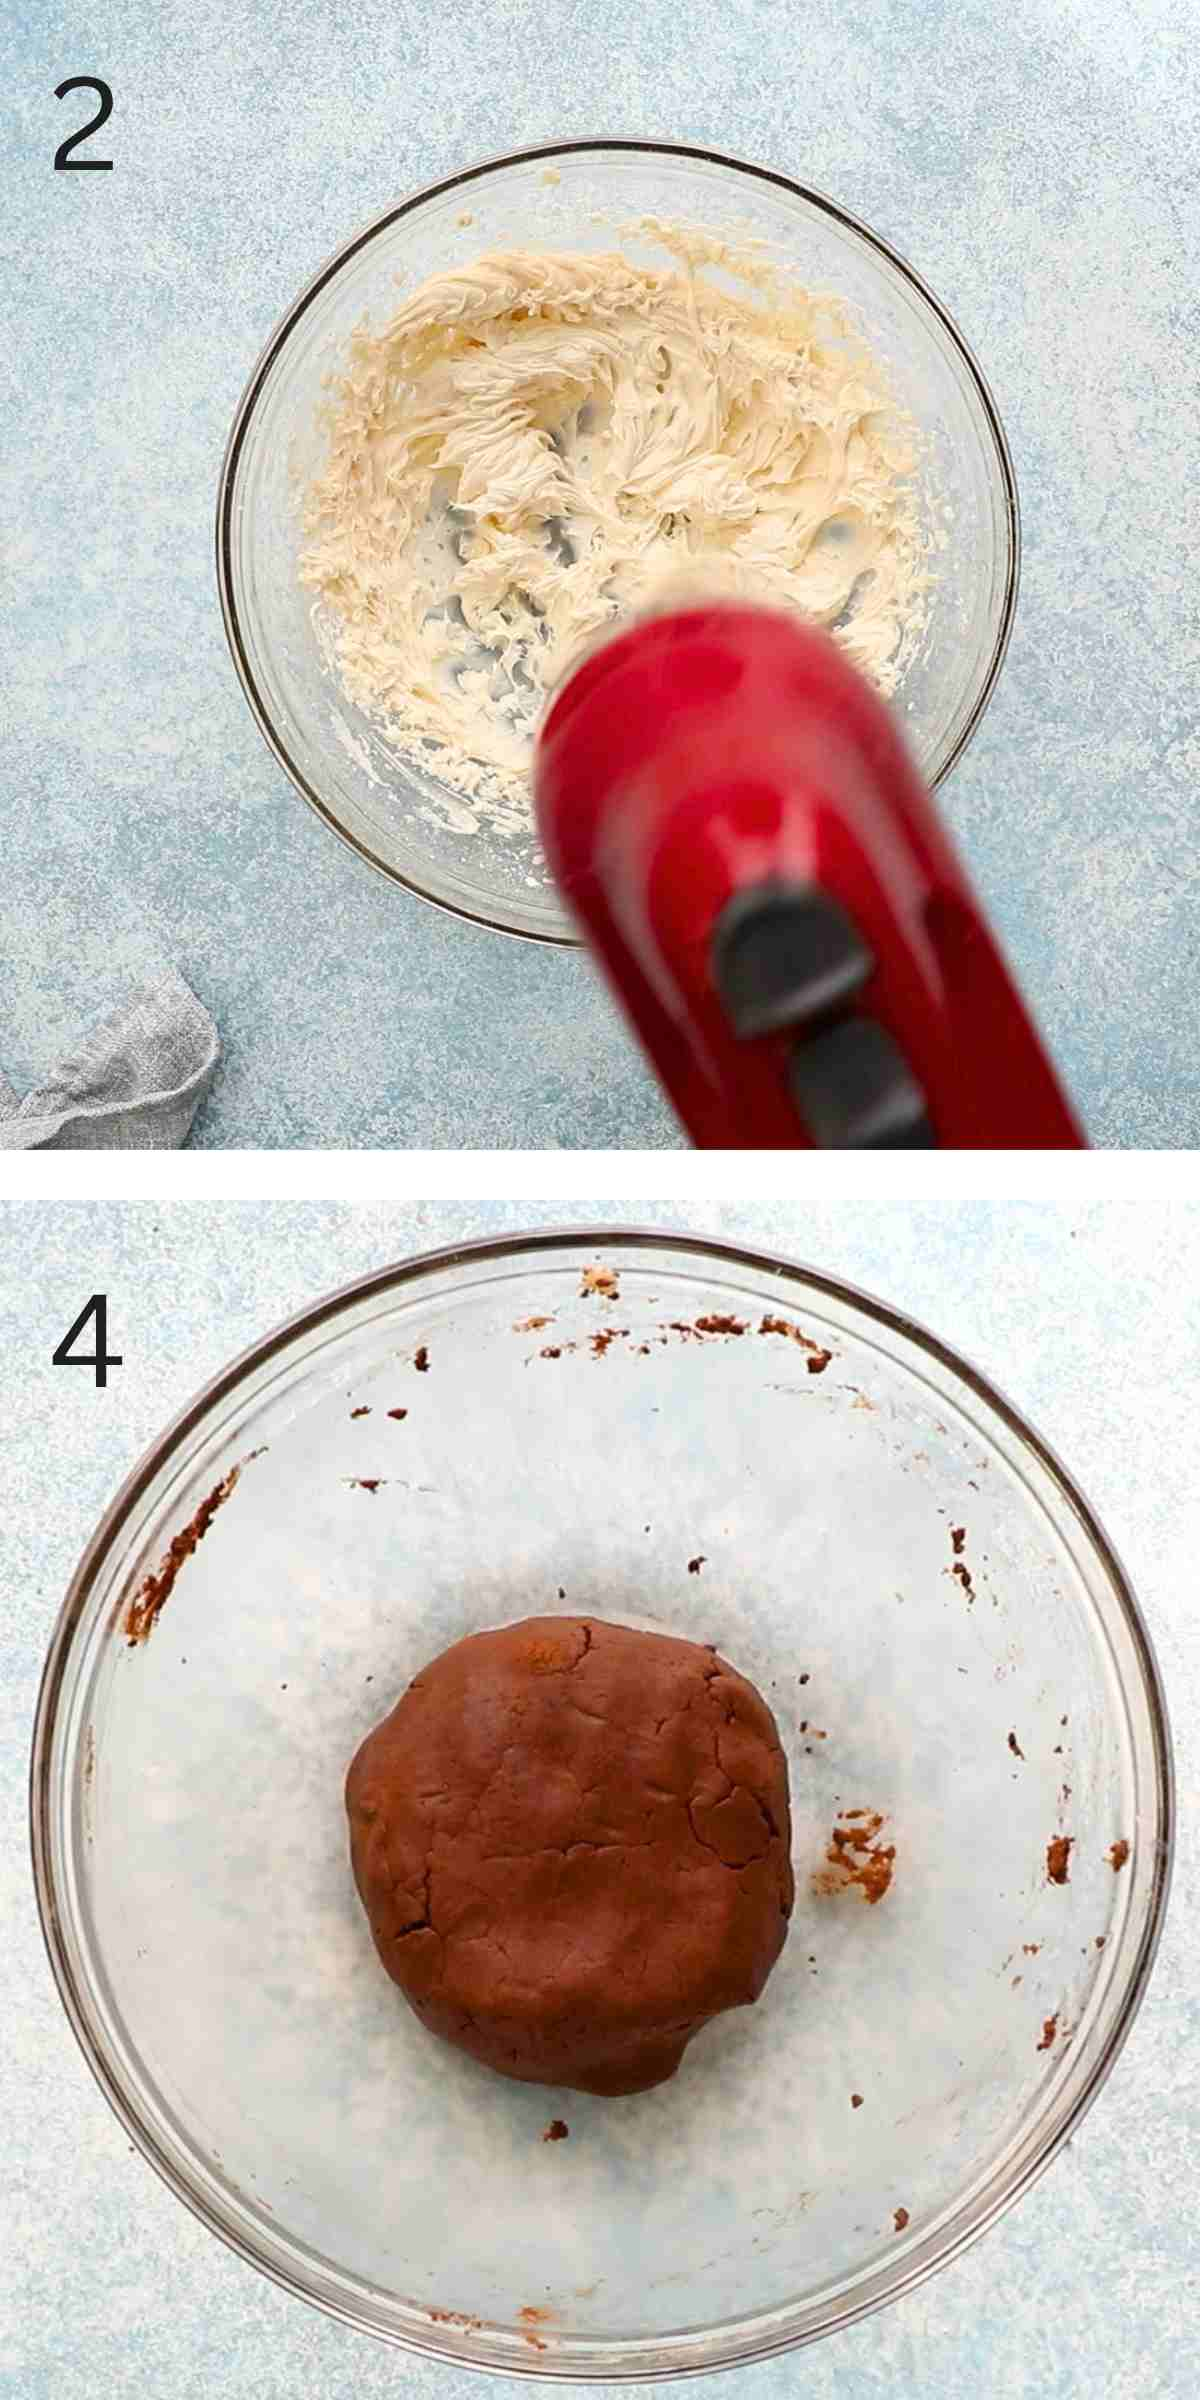
Pro tip: Check for right consistency - Roll about a tablespoon of measure dough in between the palms of your hands. You should be able to form a firm, smooth ball without any cracks. If you see any cracks, mix about a teaspoon more milk.
4. Using your hands, gently shape the dough to form a ball.
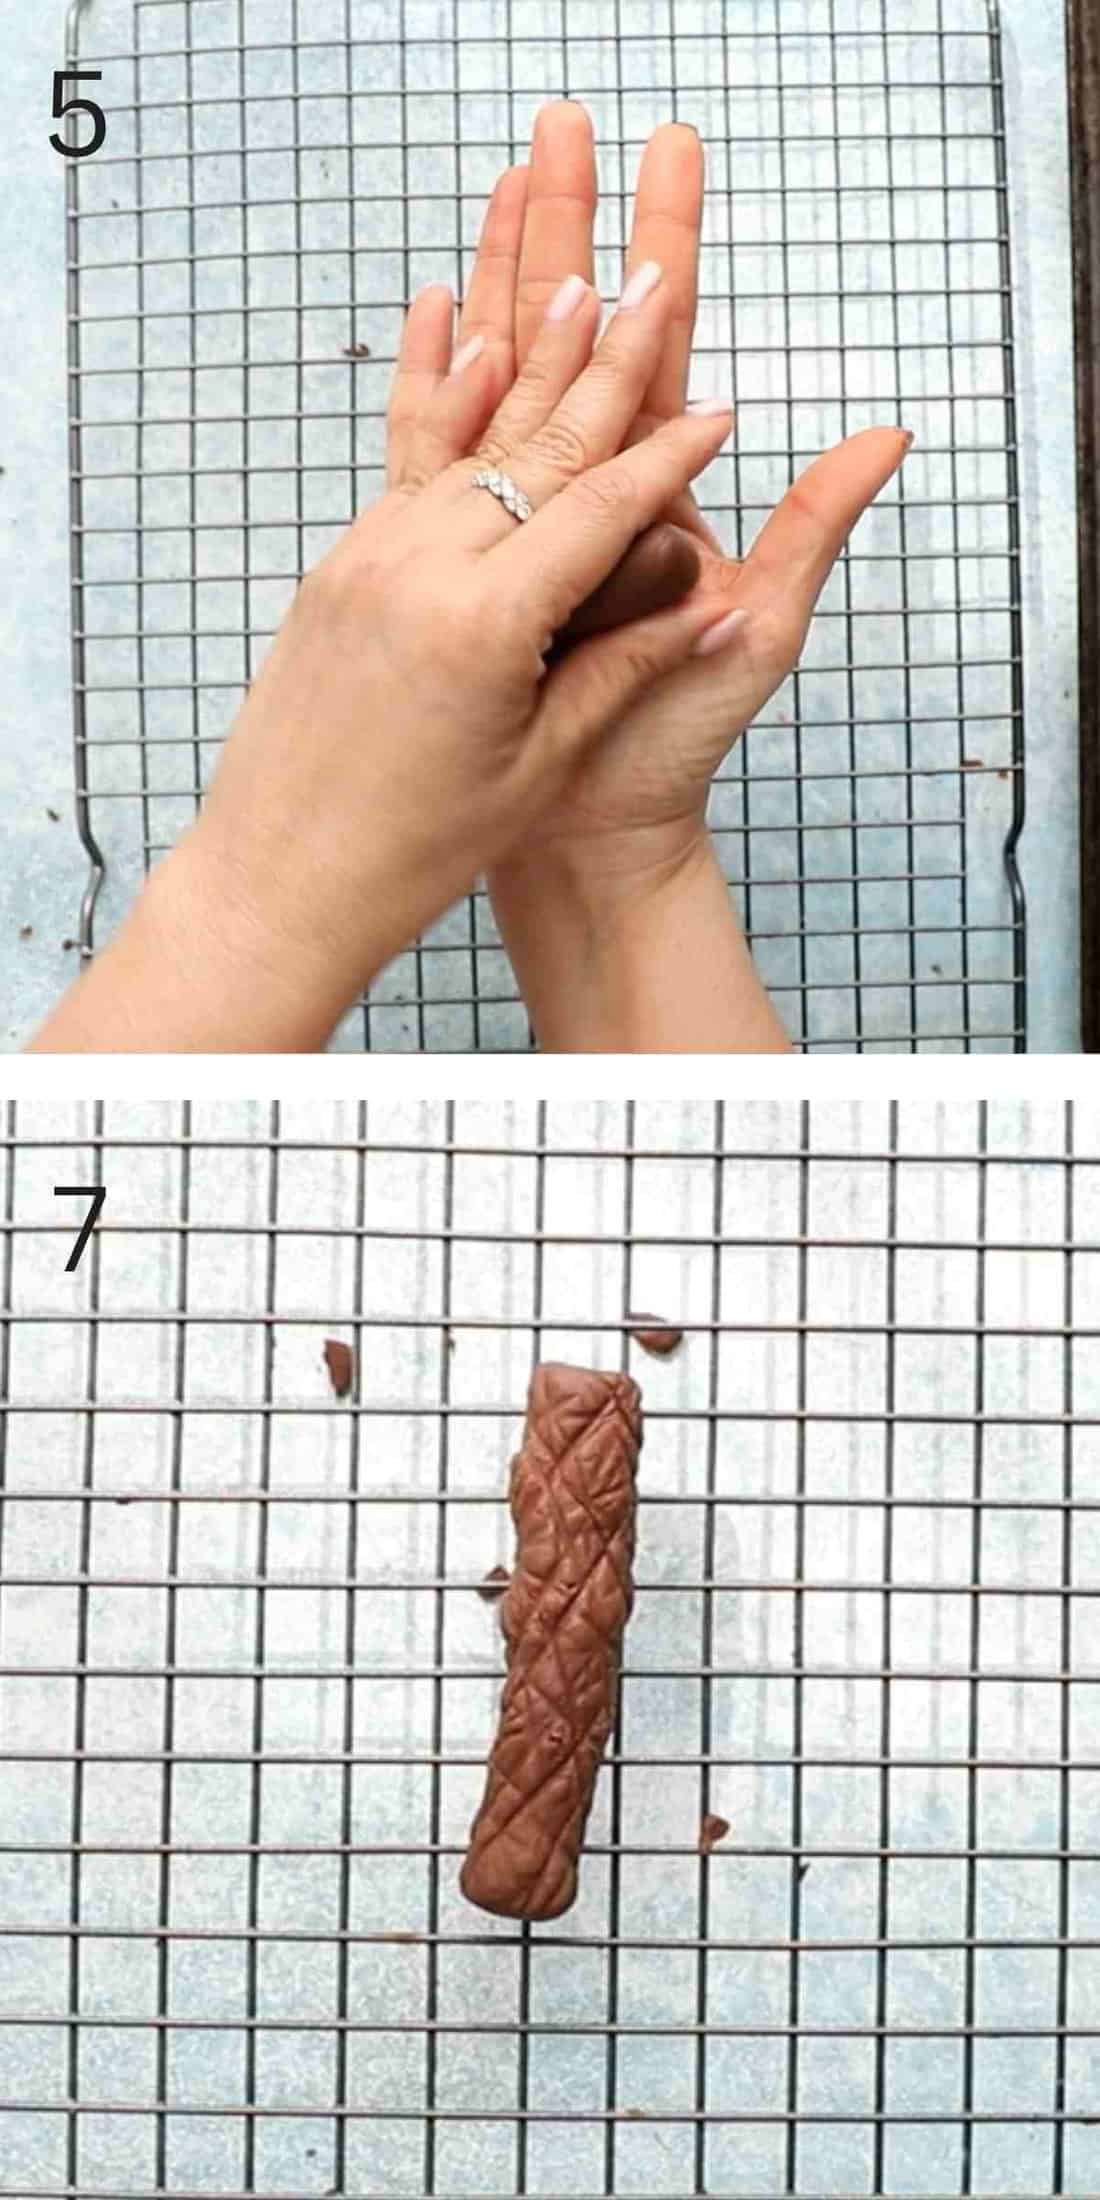
5. Pinch about 2 tablespoons, measure dough, and roll into a very thick log.
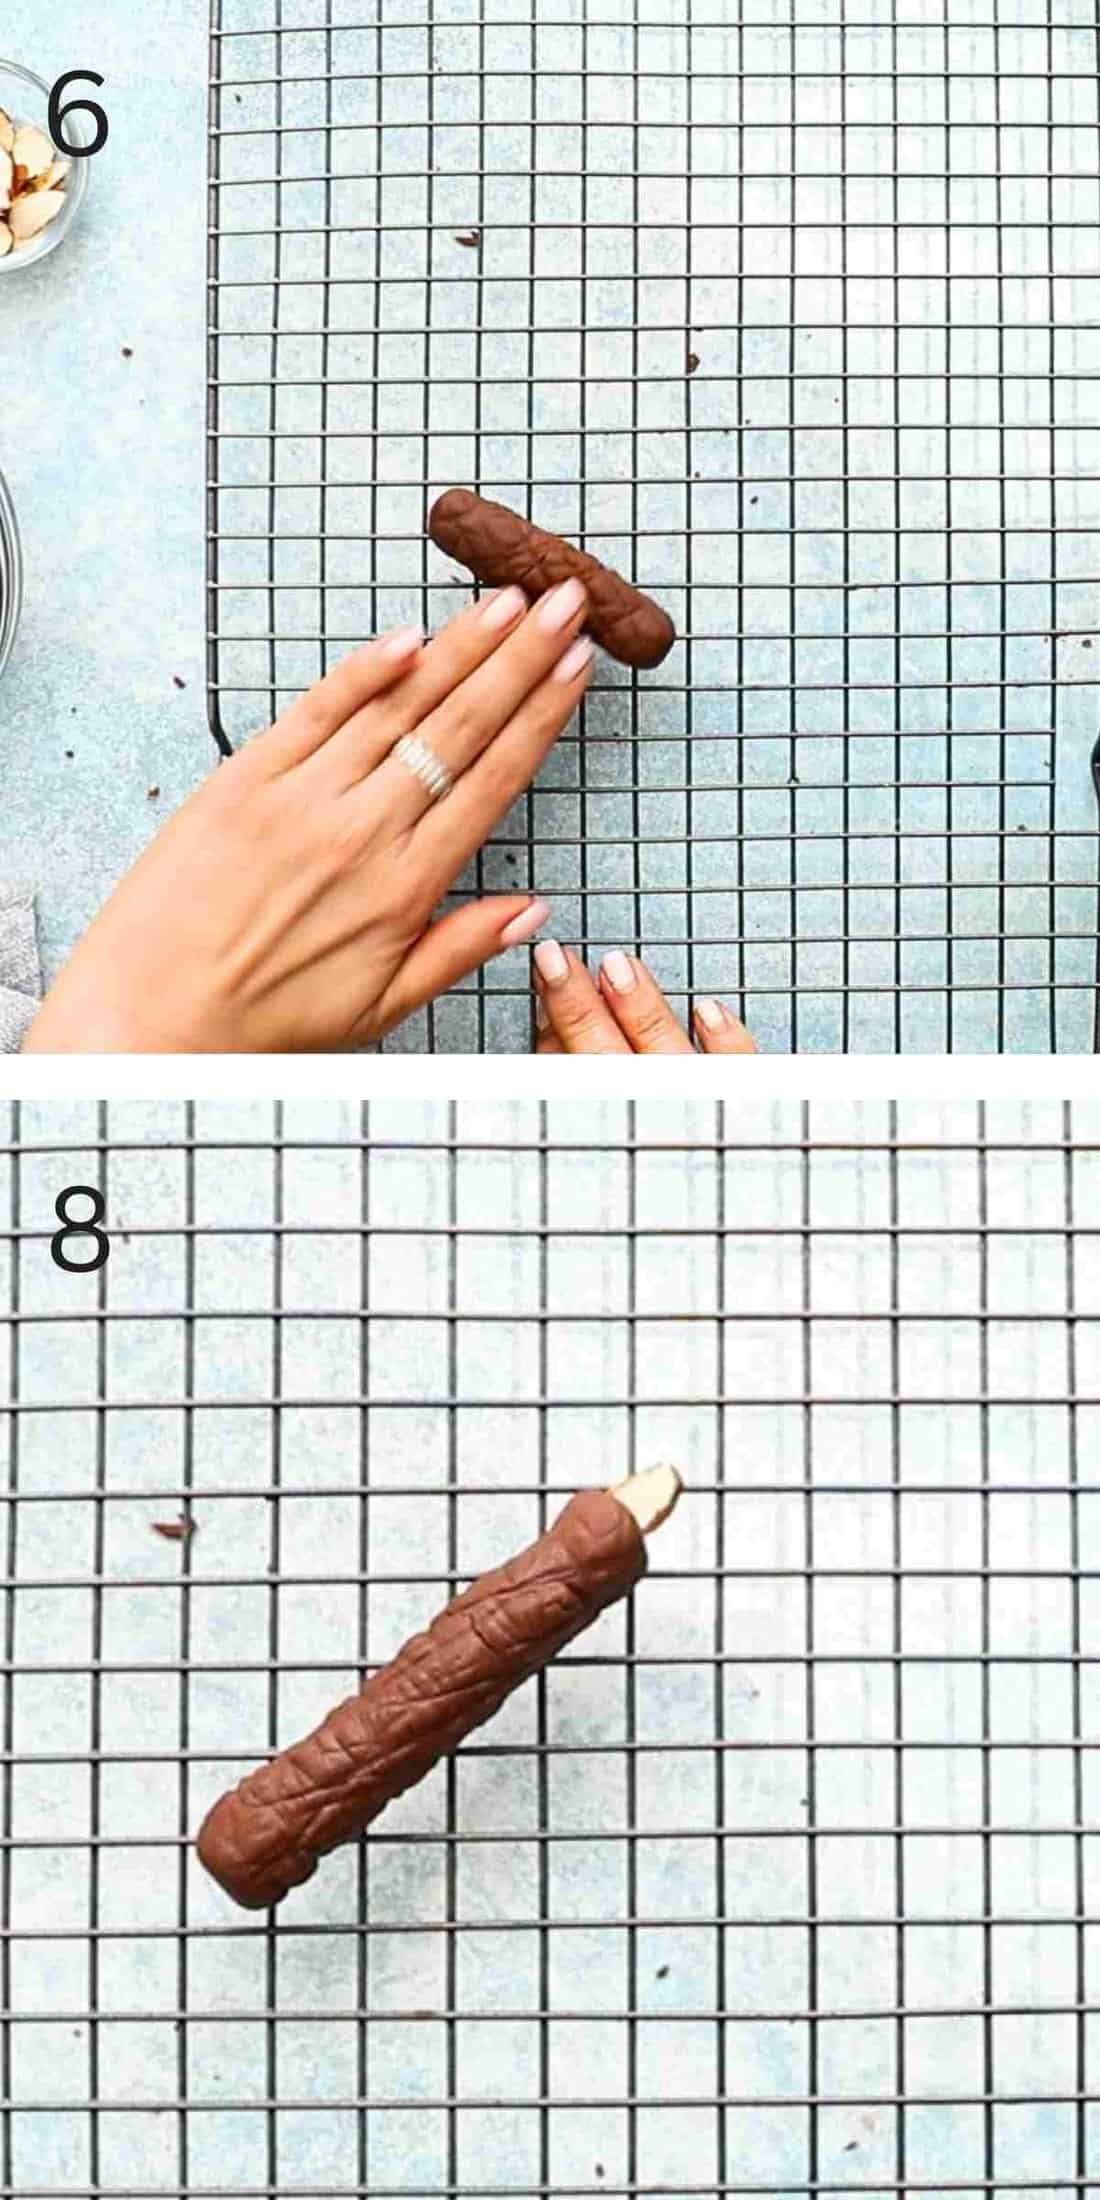
6 & 7. Roll the log gently across a wire rack, applying very little pressure to elongate it to about 3 inches and create an appealing decorative pattern.
Tip: I like to go in different directions to make a pretty pattern.
8. Insert one sliced almond on one end of the log. Repeat process to shape the remaining candle cookies. Place shaped candle cookies in a parchment-lined baking pan, spacing about an inch apart. Place pan in the refrigerator for a few hours or overnight to help the cookies firm up.
Pro tip: I strategically place the cookies so that the almonds are in the middle of the baking pan. This prevents them from overly browning during the baking process.
Want To Save This Recipe?

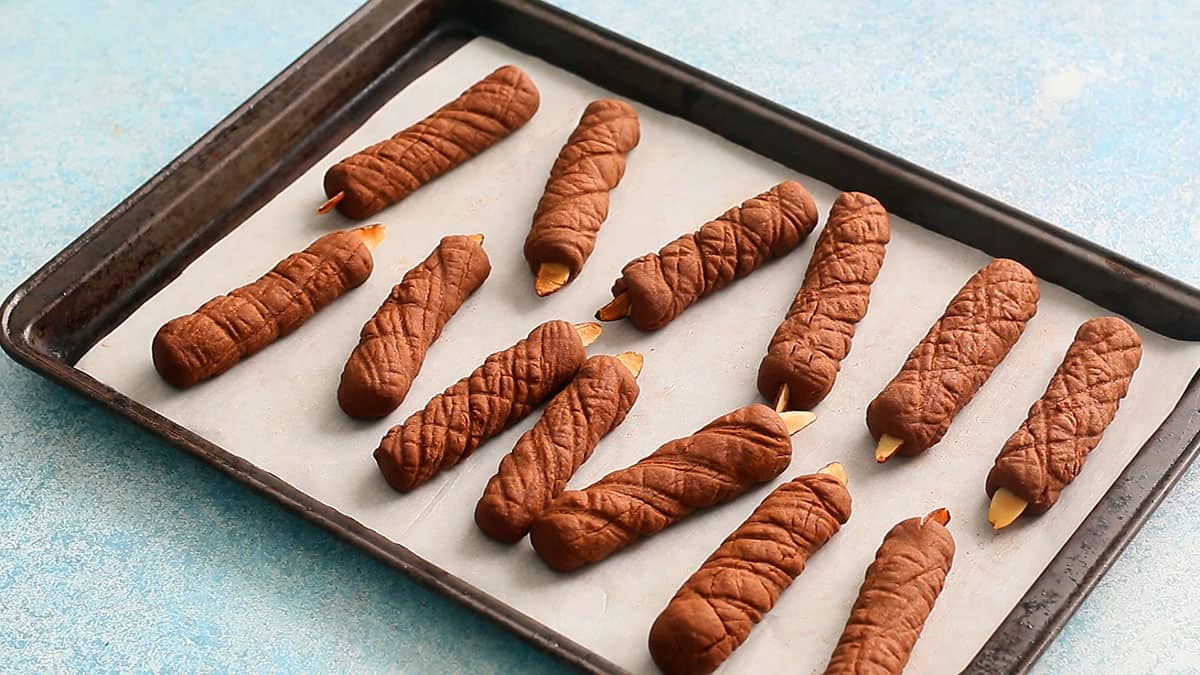
Bake cookies in a preheated 350 degree oven for about 25 minutes or it feels slightly firm to the touch and the cookies look darker in color. Cool completely.
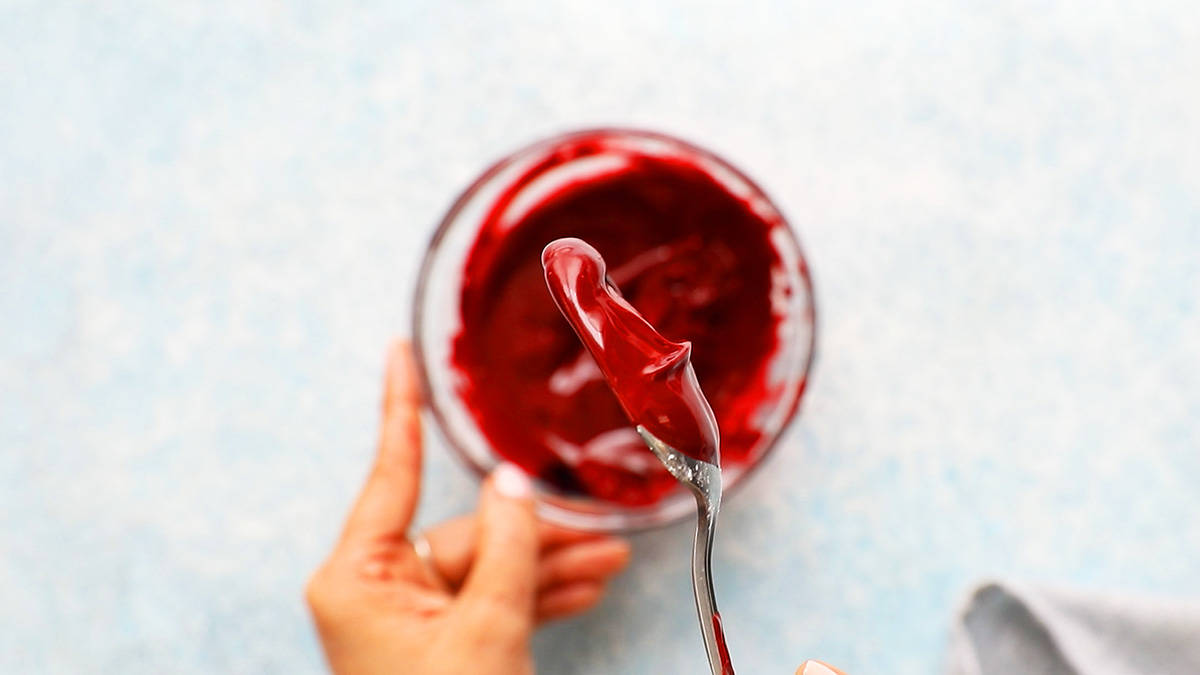
Make icing - Stir together confectioners sugar, water and vanilla extract in a medium bowl to get a very thick but dripping consistency. Adjust water as needed. Mix in some red food coloring to get a deep red color. Transfer icing into a quart size zip lock bag or small piping bag.
Tip: The icing consistency should be thick enough to drip down slowly, without being runny. Too thick? Mix in some water! Too thin? Stir in more confectioners sugar.
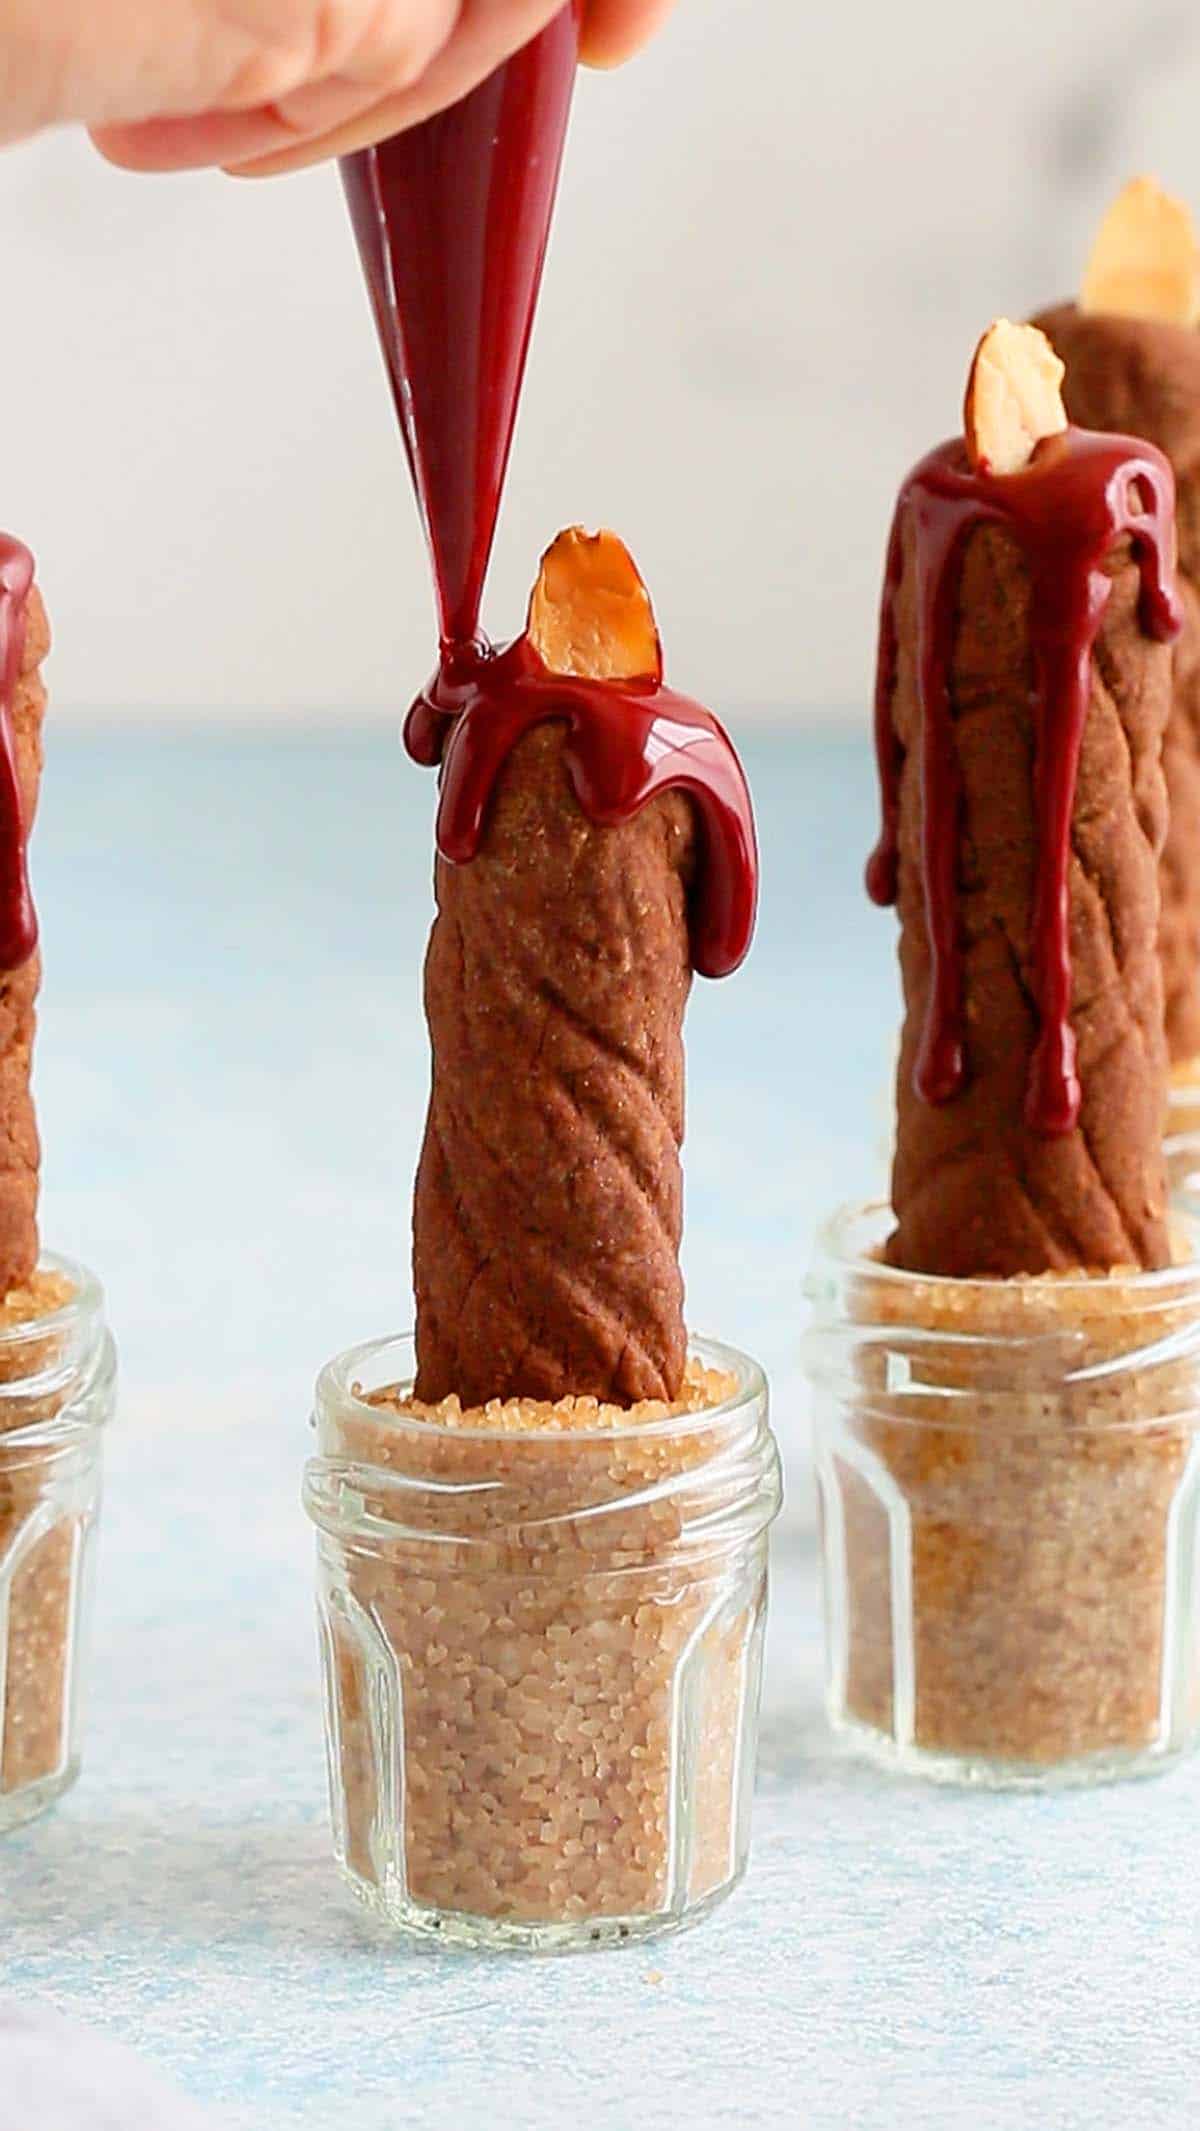
To decorate, place cookies in a upright position and then drizzle some icing around the sliced almond and let it drizzle down the candle. Let stand for a few hours for the icing to harden before serving.
Pro tip: To stand candle cookies upright, fill a baking pan with raw rice, lentils, coffee beans, or raw sugar, and then gently insert the cookies into it.
How to store?
Decorated candle cookies can be stored for up to 3 days in an air tight container.
To freeze - Like the Halloween trees, place baked and cooled candle cookies, without icing in a zip lock and freeze for up to 2 months. Let them thaw at room temperature for a few hours. Prepare icing and decorate one or two days before serving.
Helpful tips
- Use gel food coloring and not liquid.
- Use different color icing as needed.
- Cookie dough should be firm yet be able to be rolled into a log without any cracks.
- The icing consistency should be thick enough to drip down slowly, without being runny.
More cookies

Candle Cookies
Equipment
Ingredients
Cookies
- 1 cup + 2 tablespoons all purpose flour
- ¼ cup + 3 tablespoons cocoa powder
- ⅛ teaspoon salt
- ½ cup unsalted butter, room temperature, 1 stick
- ½ cup + 2 tablespoons confectioners sugar
- 1 teaspoon vanilla extract
- 2 teaspoons milk, or more if needed
- 18 sliced almonds, or as needed
Icing
- 1 cup confectioners sugar
- 3 to 5 teaspoons water
- ½ teaspoon vanilla extract
- 1 pinch salt
- red gel food color, as needed
Instructions
Cookies
- Whisk together flour, cocoa powder and salt in a small bowl.
- Combine butter, confectioners sugar and vanilla extract in a larger bowl. Beat with an electric beater, until smooth and creamy, about one minute.
- Add the combined flour mixture and milk, beat on medium speed, until it looks crumbly.Check for right consistency - Roll about a tablespoon of measure dough in between the palms of your hands. You should be able to form a firm, smooth ball without any cracks. If you see any cracks, mix about a teaspoon more milk.
- Using your hands, gently shape the dough to form a ball. Pinch about 2 tablespoons, measure dough, and roll into a very thick log.
- Roll the log gently across a wire rack, applying very little pressure to elongate it to about 3 inches and create an appealing decorative pattern.Tip: I like to go in different directions to make a pretty pattern.
- Insert one sliced almond on one end of the log. Repeat process to shape the remaining candle cookies. Place shaped candle cookies in a parchment-lined baking pan, spacing about an inch apart. Place pan in the refrigerator for a few hours or overnight to help the cookies firm up.Tip: I strategically place the cookies so that the almonds are in the middle of the baking pan. This prevents them from overly browning during the baking process.
- Preheat oven to 350 degrees F, before baking cookies. Place pan in the oven and bake for about 25 minutes or it feels slightly firm to the touch and the cookies look darker in color. Cool completely.
Decorate
- Make icing - Stir together confectioners sugar, water and vanilla extract in a medium bowl to get a very thick but dripping consistency. Adjust water as needed. Mix in some red food coloring to get a deep red color. Transfer icing into a quart size zip lock bag or small piping bag.Tip: The icing consistency should be thick enough to drip down slowly, without being runny. Too thick? Mix in some water! Too thin? Stir in more confectioners sugar.
- To decorate, place cookies in a upright position and then drizzle some icing around the sliced almond and let it drizzle down the candle. Let stand for a few hours for the icing to harden before serving.Tip: To stand candle cookies upright, fill a baking pan with raw rice, lentils, coffee beans, or raw sugar, and then gently insert the cookies into it.
Notes
Nutrition
Nutritional information, based on third-party calculations, should be seen as estimates, not guarantees, as various factors like product types, brands, processing methods, and more can alter the nutritional content in recipes.
Did you make this recipe? I’d love your feedback! Please let me know by leaving a comment, a star rating or review below.
All contents and images are my original work, unless and otherwise mentioned. Please do not use my recipes or images without linking back to www.kitchenathoskins.com. If you wish to republish a recipe, please rewrite in your own words and don’t forget to include a link back to the original recipe.
Some of the links above are affiliate links, which pay me a small commission for my referral at no extra cost to you! I am a participant in the Amazon Services LLC Associates Program, an affiliate advertising program designed to provide a means for us to earn fees by linking to Amazon.com and affiliated sites. Thank you for supporting kitchenathoskins.com.






Leave a Reply