

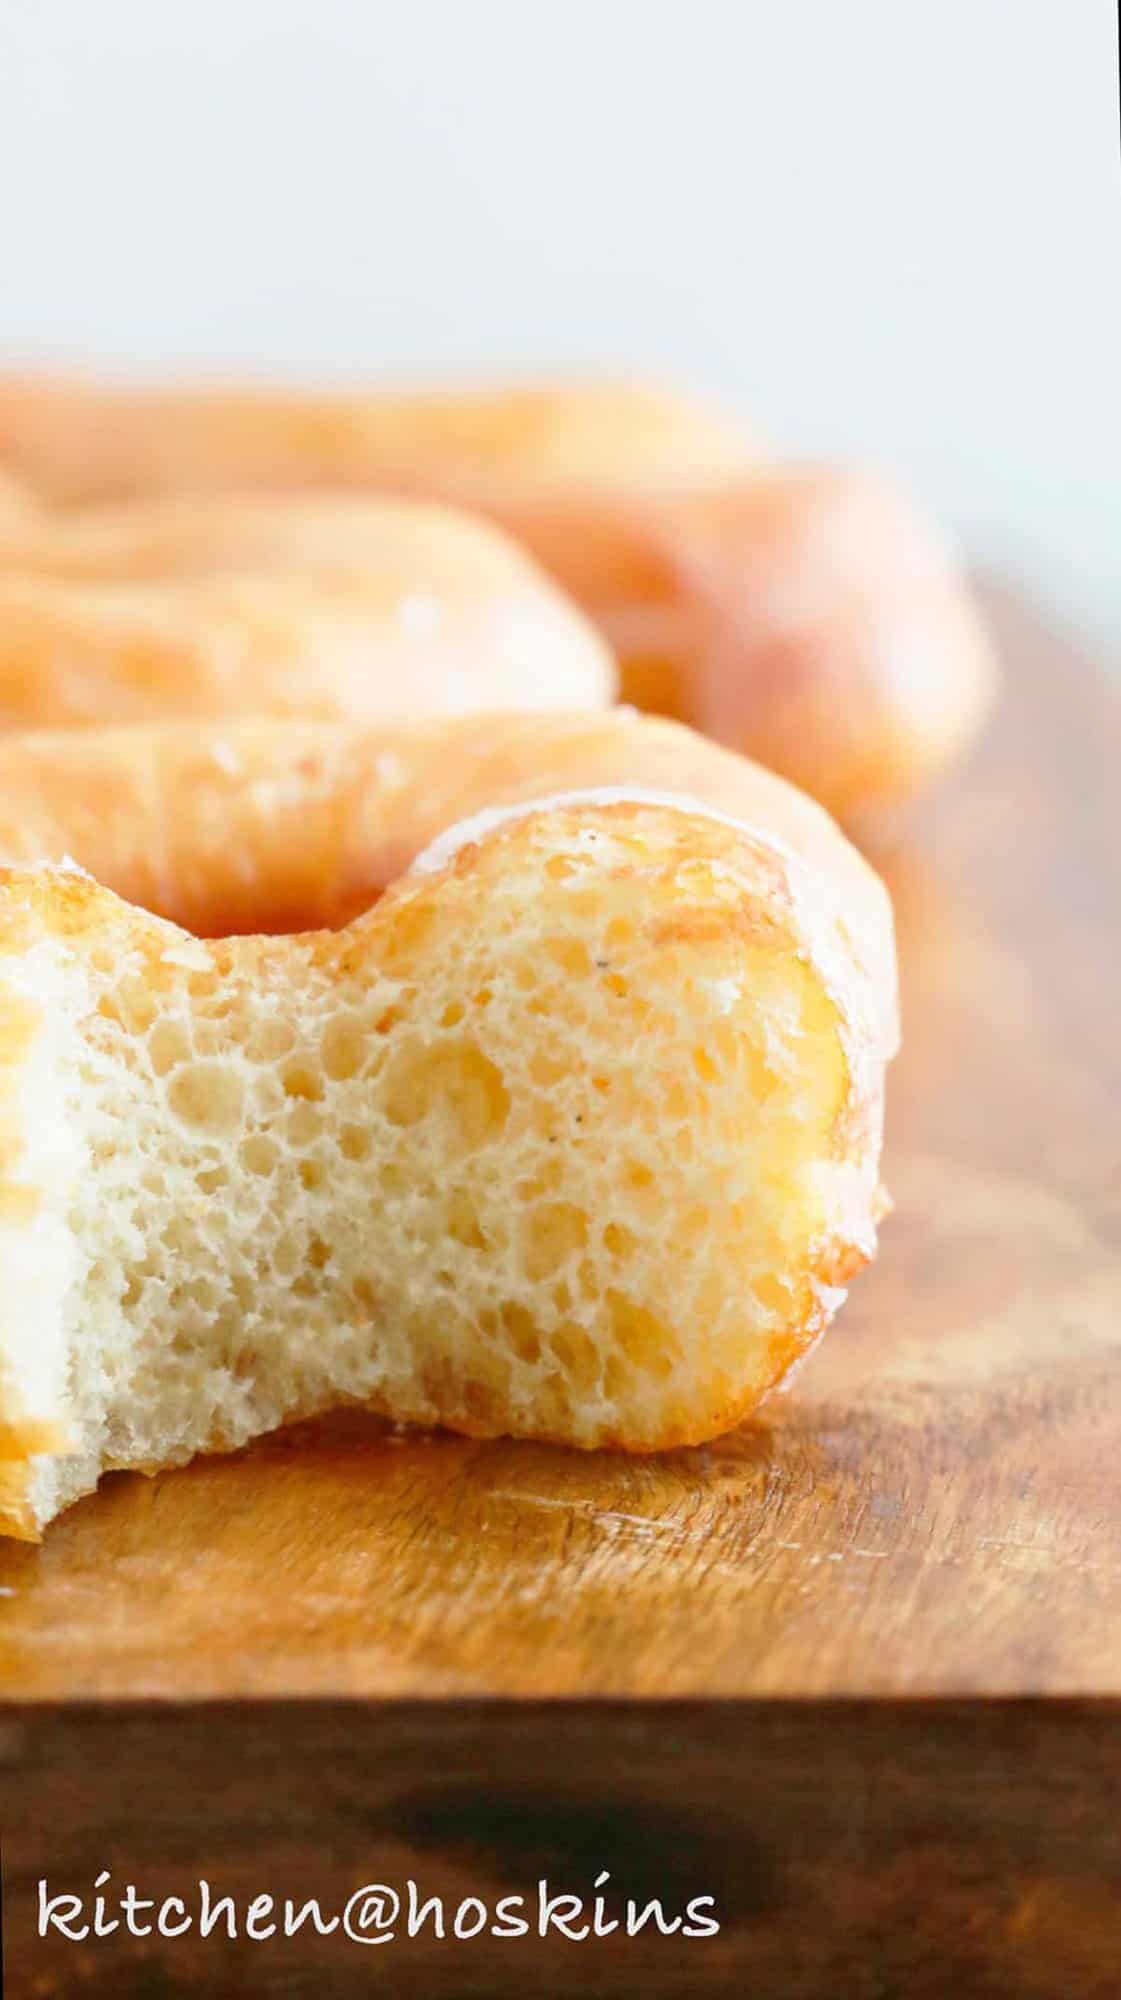
These Homemade Donuts are a wildly popular donut recipe! Ultra soft, light, airy and they are sinfully addictive. I have provided countless tips and tricks to achieve the most amazing doughnuts you'll ever make at home. It's as light as biting into a cloud!
If you love this, you should try my cranberry orange rolls or the easy hot cross buns next!
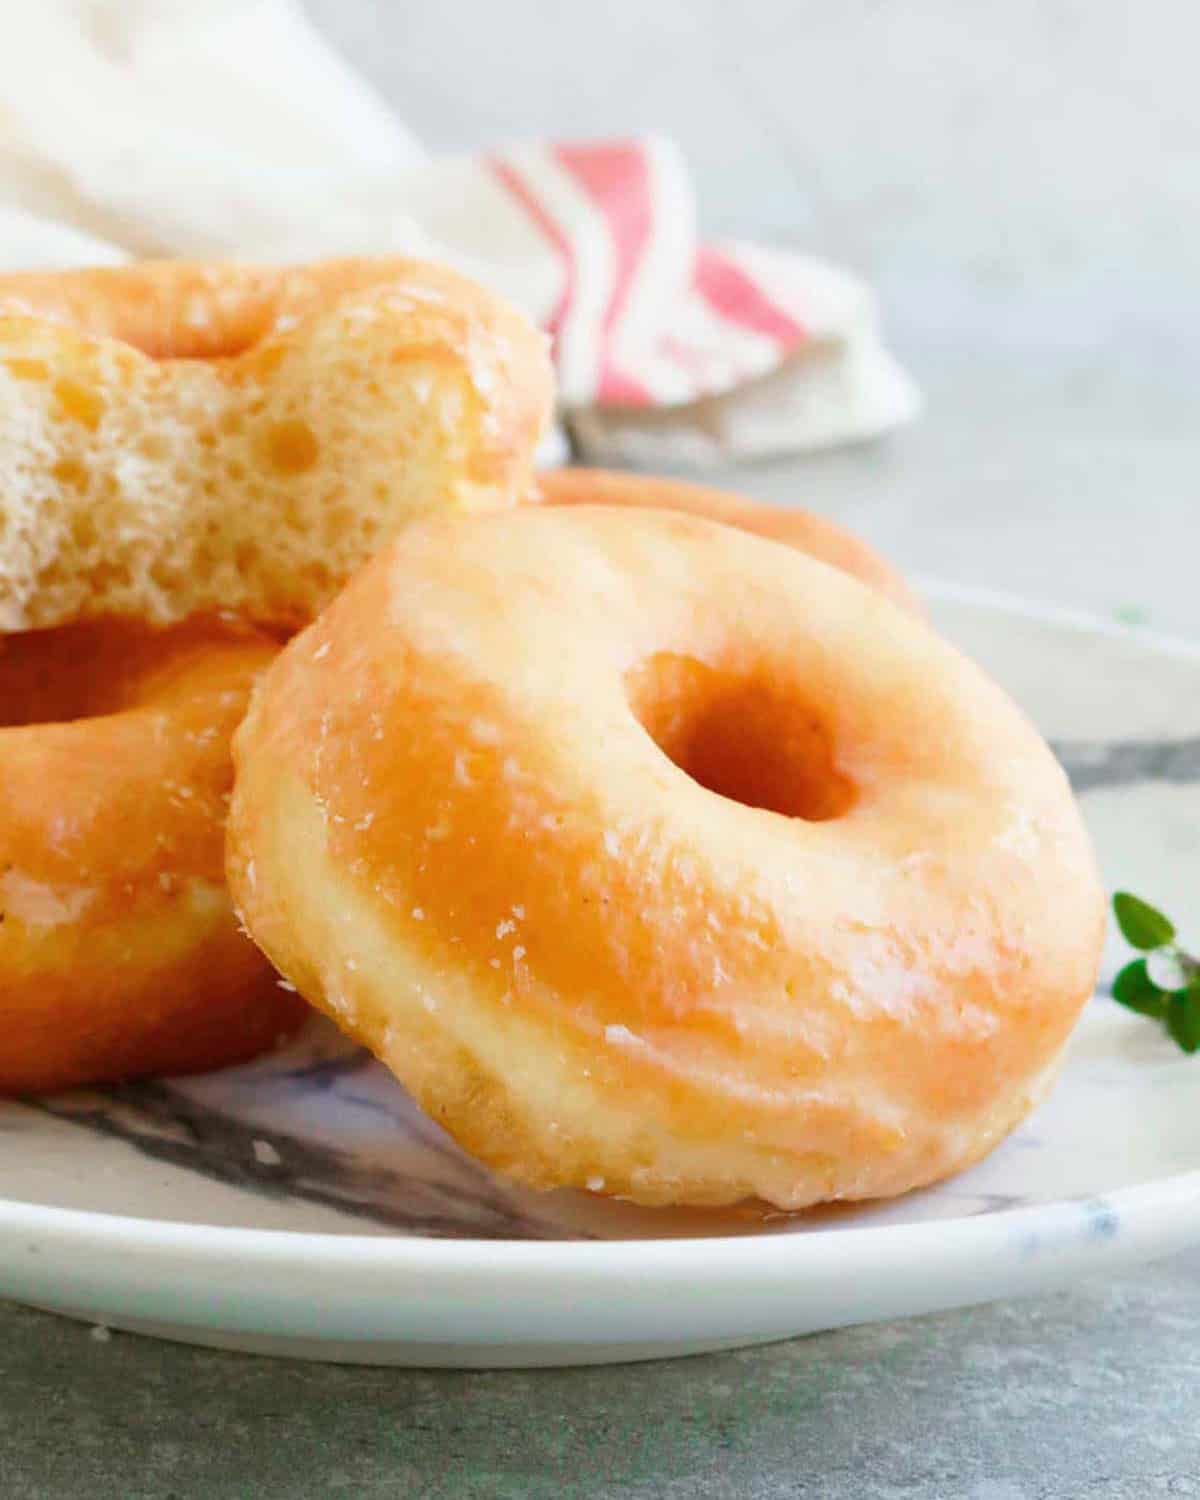
Why you’ll love these light and fluffy donuts?

These are one of those recipes I keep coming back to—soft, light, and ridiculously pillowy, with that airy texture that reminds me of a warm, sweet cloud. If you love Krispy Kreme, you’ll be amazed at how similar these are, especially fresh and warm from your own kitchen.
The thin, sweet glaze melts right into every bite, giving them that classic bakery-style finish. And clearly, I’m not the only one who loves them—this has been our website’s most popular recipe since 2017, with thousands of readers making and loving them!
- maria doss
★★★★★
"OMG!!!! first try absolutely amazing. Totally delicious. Thank you for sharing. Had to use instant yeast but worked perfectly"
- MAGS
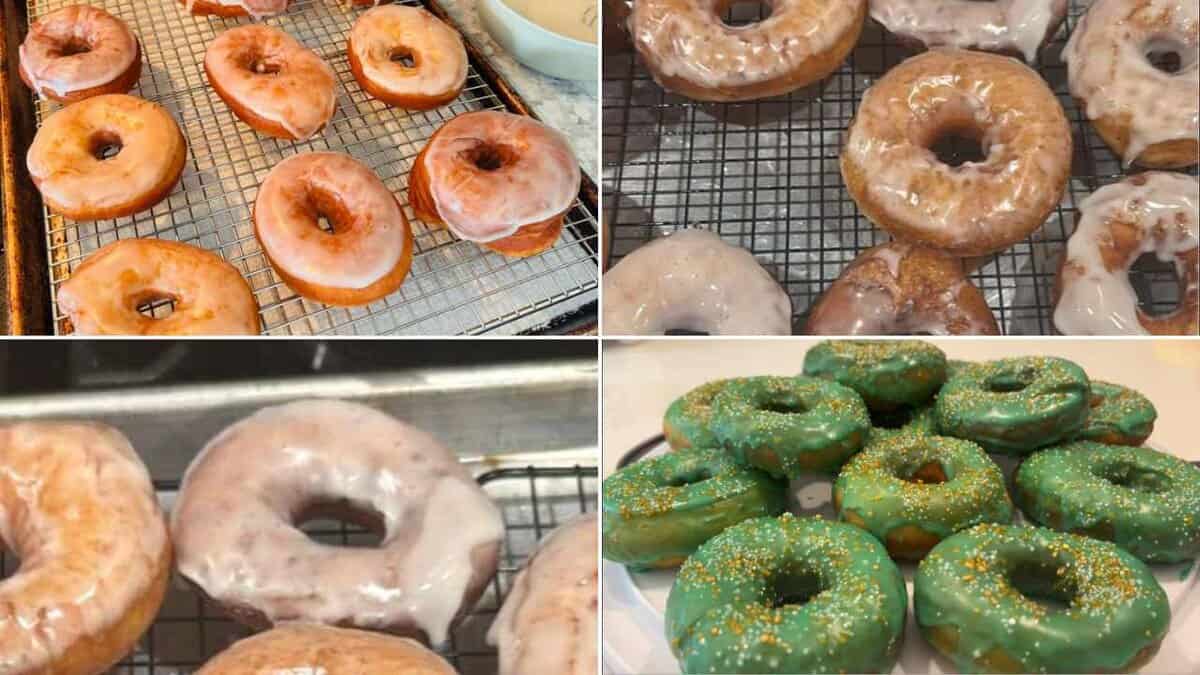
Here are some photos shared by our readers who’ve tried the recipe!
Jump to:
- Why you’ll love these light and fluffy donuts?
- Donut Ingredients
- Common mistakes to avoid when making donuts
- Tips for Success
- More Ways To Use Yeast
- Homemade Donuts Recipe
- How to make donuts at home?
- How to make a donut glaze with powdered sugar?
- Donut Glaze Variations
- Can You Freeze Homemade Donuts?
- Donut FAQs
- More tasty treats
Donut Ingredients
Scroll down to the recipe card below for full information on ingredients and amounts.
- Milk: The amount of milk in your doughnut dough has a direct impact on texture. Using too little milk results in a firmer, drier dough, which produces denser doughnuts—far from the soft, pillowy texture we're aiming for. For best results, use full-fat whole milk, which adds richness, moisture, and a tender crumb thanks to its higher fat content.
- Butter: Butter contributes both fat and moisture to the dough. When heated, the water in butter turns to steam, helping lift the dough from the inside and creating that light, airy interior. The fat also tenderizes the dough, resulting in a softer crumb and a richer flavor.
- Yeast: Fresh, active yeast is key to well-risen doughnuts. Yeast is a living organism that feeds on sugar and creates carbon dioxide, which causes the dough to rise. To keep it active and extend its shelf life, store your yeast in the freezer in an airtight container, and always check expiration dates before making yeast donuts.
- Eggs: Eggs should always be brought to room temperature before mixing into the dough. Cold eggs can shock the dough and slow down yeast activity, which can lead to poor rising and a denser final texture. Room temperature eggs also incorporate more evenly for better structure.
- All-Purpose Flour: All-purpose flour offers just the right balance of protein (10–11%) to create structure without developing too much gluten. Unlike bread flour, which has a higher protein content (12–14%) and can make the yeast donut dough tough, all-purpose flour keeps the doughnuts soft, fluffy, and tender—ideal for that melt-in-your-mouth bite.
- Nutmeg: Nutmeg adds that signature warm, nostalgic flavor found in classic yeast-risen doughnuts. For best results, avoid pre-ground nutmeg, which loses its potency quickly. Instead, use whole nutmeg and grate it fresh—just a small amount goes a long way in enhancing the flavor.
- Oil for Frying: Use a neutral oil like vegetable or canola oil for frying. Avoid oils with low smoke points, like olive oil or unrefined coconut oil—they can burn easily, change the color and texture, and give your doughnuts an off taste.
Common mistakes to avoid when making donuts
Some common mistakes when making homemade donuts include using expired yeast, not allowing the dough to proof long enough, overworking the dough, adding too much flour, and frying at the wrong temperature.
- Yeast not active - Yeast is a living organism that creates air bubbles when activated with liquid, giving dough its rise and fluffiness. Always test yeast to make sure it’s still active before using.
- Proofing the dough - Kneaded donut dough should rise in a warm spot for 1 to 2 hours, or until it doubles in size. After cutting, let the donuts rise again for about 1 hour until they’re fluffy. This crucial step helps achieve the light, airy texture you find in Krispy Kreme donuts.
- Don't overwork the dough - Kneading yeast dough for too long develops excess gluten, which can make the donuts tough and chewy.
- More flour than needed - Measure your all-purpose flour carefully—using too much can make homemade donuts dense instead of light and fluffy.
- Fry at the right temperature - The ideal frying temperature is 330–340°F. If the oil is hotter, the donuts will brown too quickly on the outside before cooking through. Medium heat works best—test with a small piece of dough; it should take about a minute per side to turn golden. Adjust the heat as needed. If you own a deep fry thermometer then this is great time to use.
Avoid these common mistakes, and you'll be rewarded with soft, fluffy donuts—just like Krispy Kreme!
Tips for Success
- Oil temperature - The magic temperature is 330-340 degrees F. Hotter will get the outside brown fast before the homemade donuts have a chance to rise fully in the oil. If you own a deep fry thermometer then this is great time to use. If not, medium heat is perfect and test one doughnut - it should take about a minute on each side to get golden in color. Adjust heat accordingly.
- Color, color, color - PALE GOLDEN AND NOT ANY DARKER! Letting the donuts deep fry until brown will form a crusty outside, and not the light texture we are aiming for.
- Measure flour correctly - Adding too much flour to the homemade donut recipe is the most common mistake and will make your glazed donuts dense. The best way to measure is to fluff your flour in the canister with a spoon, sprinkle it into your measuring cup, and use a knife to level it off.
- Use the right amount of liquid—Too much makes the dough too loose, while too little results in a dry dough where gas bubbles struggle to form.
- Don't overcrowd when deep frying - Adding too many donuts will cause the oil temperature to drop rapidly and your doughnuts might absorb some oil, making them greasy.
- Storage - These are absolutely best when fresh! However, unglazed donuts can be refrigerated, in an airtight container for up to 4 days (warm in the microwave for few seconds before eating). It can be stored in a sealed container at room temperature; beyond that, the glaze becomes sticky.
- Glaze the donuts when warm - Glaze the donuts while they're still warm but cool enough to handle. At this stage, the glaze clings beautifully to the surface and sets into that classic thin, shiny coating. If the donuts are too hot, the glaze will melt and slide right off. If they've cooled completely, the glaze won't stick as evenly or create that smooth finish.
More Ways To Use Yeast
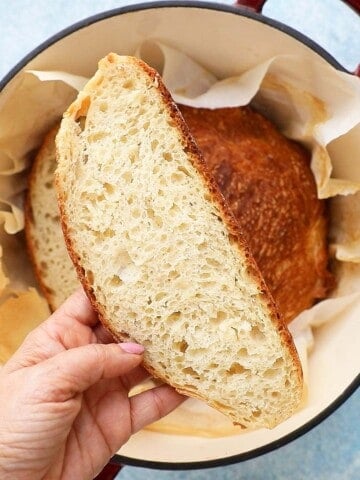

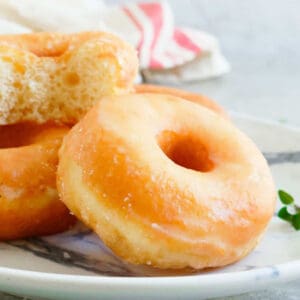
Homemade Donuts Recipe
Ingredients
- 1 ½ cups lukewarm milk (whole milk or 2%)
- 1 stick unsalted butter ( ½ cup ) at room temperature
- 4 ½ teaspoons active dry yeast or Instant yeast
- 3 large eggs at room temperature (NOT COLD)
- 6 tablespoons sugar
- 1 ½ teaspoons salt
- 1 teaspoon freshly grated nutmeg
- 5 ¼ cups + 2 tablespoons all purpose flour divided
- vegetable oil for deep frying
For the glaze
- 3 cups confectioners sugar
- 5 to 6 tablespoons water
- 1 ½ teaspoons vanilla extract
- 2 pinches salt
Instructions
To make doughnuts
- Make a sponge. Combine the first 7 ingredients (milk through nutmeg) and 2 cups flour in the bowl of your stand mixer. Beat on medium speed with a flat beater for 2-3 minutes (dough will look like slightly curdled cake batter).
- Finish the dough. Add the remaining flour ( 3 ¼ cups + 2 tablespoons ) and switch to a dough hook, knead on medium speed for 3 minutes (dough will be very soft).Remove the bowl from the mixer and scrape down the sides of the bowl. Cover the bowl with a clean kitchen towel and place it in the warmest spot in your kitchen. Let the dough rise for about 1½ hours, or until it has doubled in size.Pro tip: Soft dough equals soft doughnuts. Do not be tempted to mix in more flour!
- Cut rounds. Generously dust your counter with flour, then turn the dough out onto the counter and lightly dust the top with more flour. Using a rolling pin, gently roll the dough to ½ to ¾ inch thick, then cut out the donuts with a donut cutter.Gather the scraps and gently press them together, kneading just once or twice—just enough for the dough to hold together. Avoid overworking the dough to preserve the air bubbles that make the donuts light and fluffy. Roll out the dough again and cut out more donuts.
- Rise again. Place doughnuts and holes on two lightly floured cookie sheets, spacing about an inch apart. Cover with a kitchen towel, let rise again for 45 - 60 minutes.
- Prep. When you're ready to fry, pour enough oil into a large Dutch oven so it's about 2 inches deep. Heat the oil over medium-high heat until it reaches 330°F to 340°F (a deep-fry thermometer is very helpful here—see the notes below if you don't have one).Meanwhile, place a wire rack over a large baking sheet. This gives the donuts a place to drain any excess oil.👉 Keep a close eye on the oil temperature—it makes all the difference. If the oil is below 330°F, the donuts will absorb more oil and can turn out greasy. If it's above 340°F, they'll brown too quickly on the outside before the inside has a chance to fully cook and rise, leaving you with a crisp exterior instead of the soft, light, cloud-like texture you're after.
- Deep fry. Carefully add 2 to 4 donuts to the hot oil, making sure not to overcrowd the pan. Fry for 45 to 60 seconds per side, or until they're light golden brown on both sides. Transfer the donuts to the prepared wire rack and repeat with the remaining donuts and donut holes.👉 For the softest, lightest texture, avoid frying the donuts until they're dark brown. A pale golden color is exactly what you're looking for.Tip: To test if the oil is at the right temperature, pinch off a small piece of dough and carefully drop it into the oil. It should turn golden brown in about 40 to 50 seconds. If it browns much faster, the oil is too hot. If it takes much longer, let the oil heat a little more.
Glaze the doughnuts
- 👉 Glaze the donuts while they're still warm but cool enough to handle. At this stage, the glaze clings beautifully to the surface and sets into that classic thin, shiny coating. If the donuts are too hot, the glaze will melt and slide right off. If they've cooled completely, the glaze won't stick as evenly or create that smooth finish.
- Make glaze. In a medium bowl, whisk together all of the glaze ingredients until smooth. Start with 5 tablespoons of water, then add a little more, 1 teaspoon at a time, until the glaze is thin, smooth, and easy to dip.
- Glaze donuts. Working with one doughnut at a time, dip one side of each doughnut into the glaze and return to the wire rack. Let glaze set for about 20 minutes before serving. We never wait that long around here!
- Serving. These soft glazed donuts are at their absolute best while they're still warm. If you have leftovers, they're best enjoyed within 1 day. To bring back that freshness, simply microwave a donut for about 5 to 7 seconds before serving.
Notes
Nutrition
Nutritional information, based on third-party calculations, should be seen as estimates, not guarantees, as various factors like product types, brands, processing methods, and more can alter the nutritional content in recipes.
How to make donuts at home?
You can find full printable recipe below, but here is a quick overview of the procedure along with step-by-step photos.
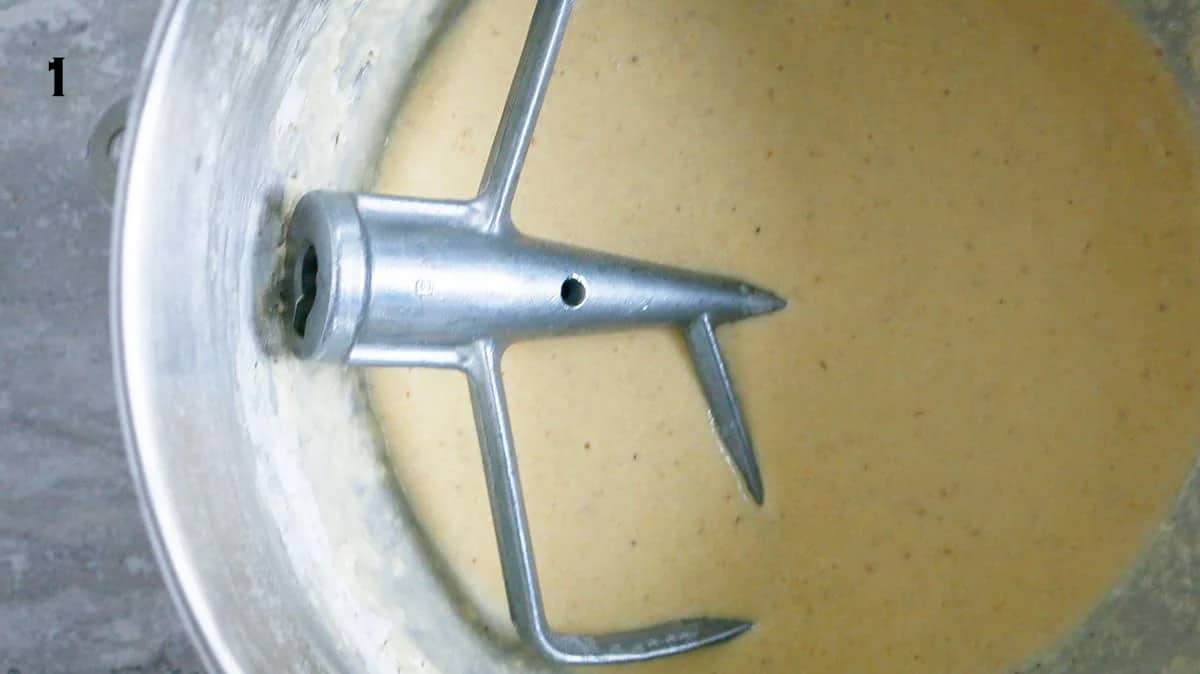
1. Make a sponge- Add milk, butter, yeast, eggs, sugar, salt, nutmeg and 2 cups of flour into a stand mixer and mix to create a very soft and sticky dough. This is secret in achieving a fluffy crumb! This method is usually adopted in making making Asian style breads that is very light and airy.
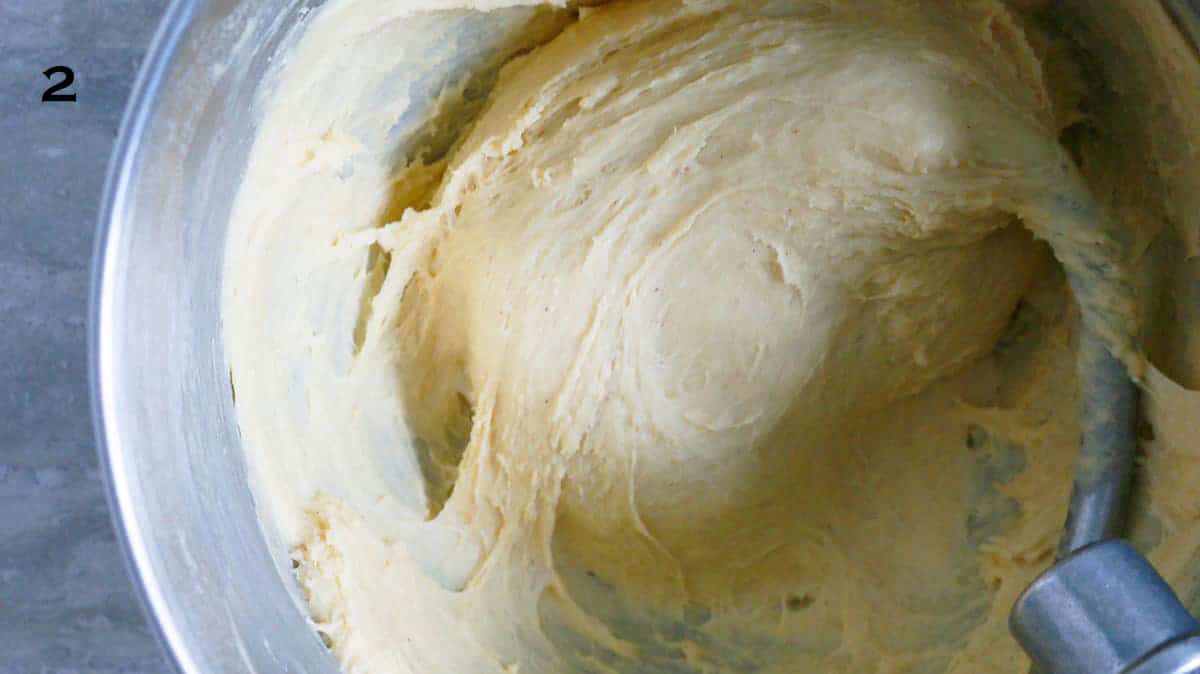
2. Add remaining flour and knead to a soft dough, using the dough hook. The dough should stick to the bottom and little bit to the sides. Don't worry - This is due to high moisture content and this is essential in creating a best homemade donut recipe.
👉 Soft dough equals soft homemade doughnuts. Do not be tempted to mix in more flour!
Want To Save This Recipe?
Pro tip: If you like to make it by hand, then mix for about 5 minutes, using a wooden spoon in step-1 and another 5-6 minutes in step-2 of the recipe.
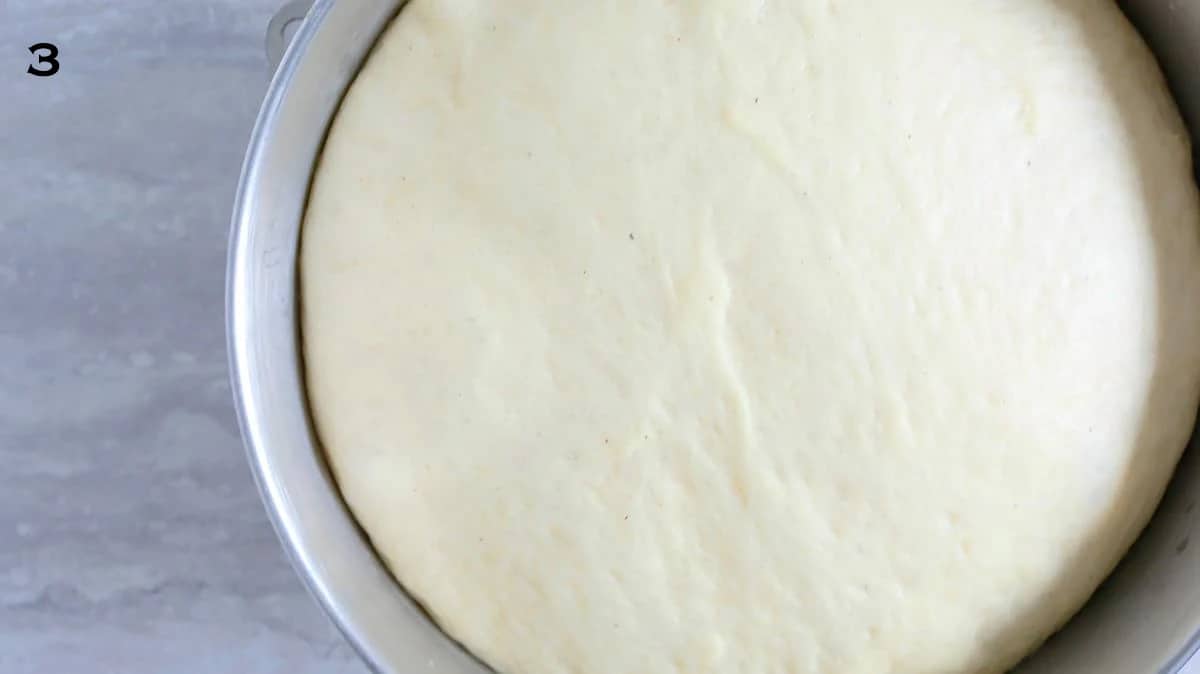
3. Let dough rise for about 1 and ½ hours, until doubled in volume. Find the warmest spot in your kitchen , like a sunny window, near the stove top or in a luke warm oven.
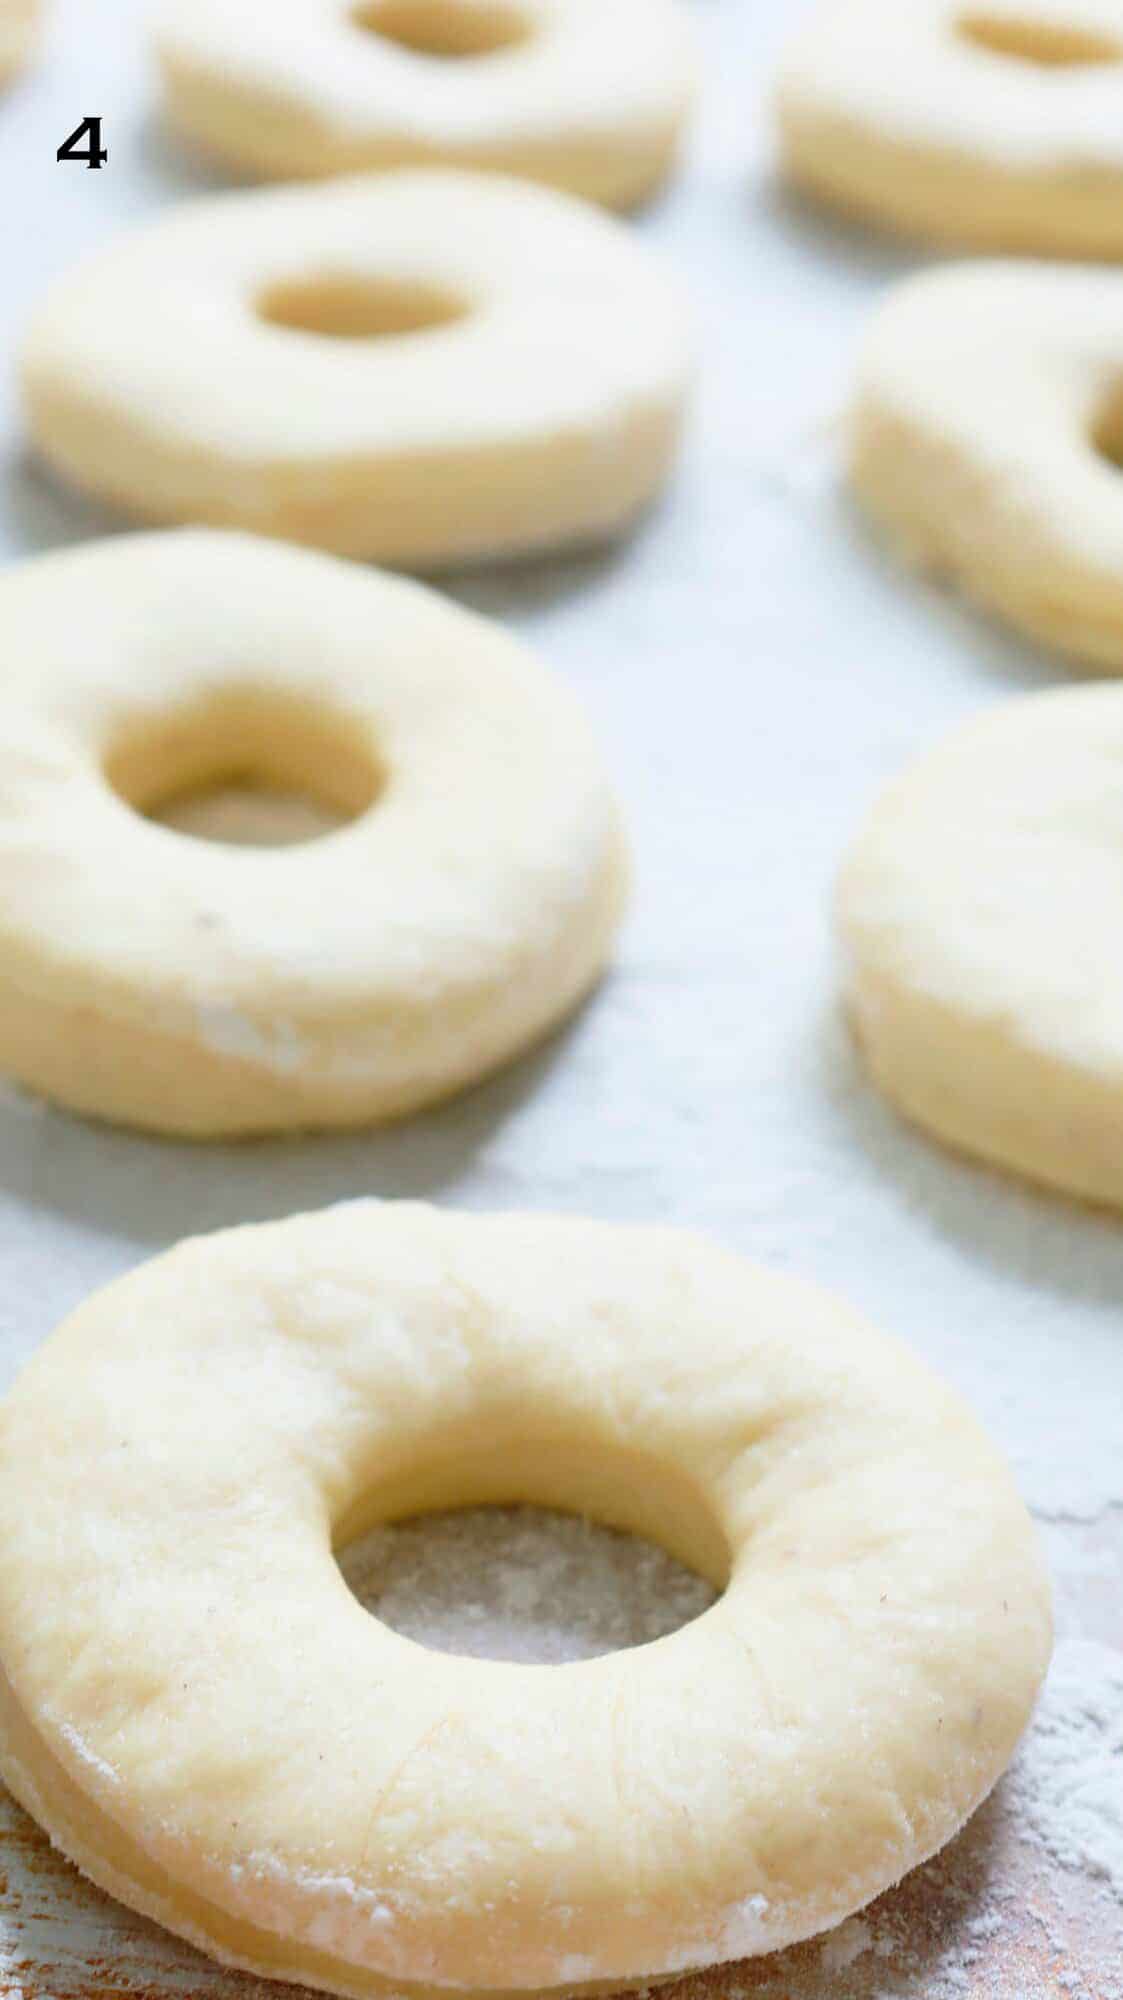
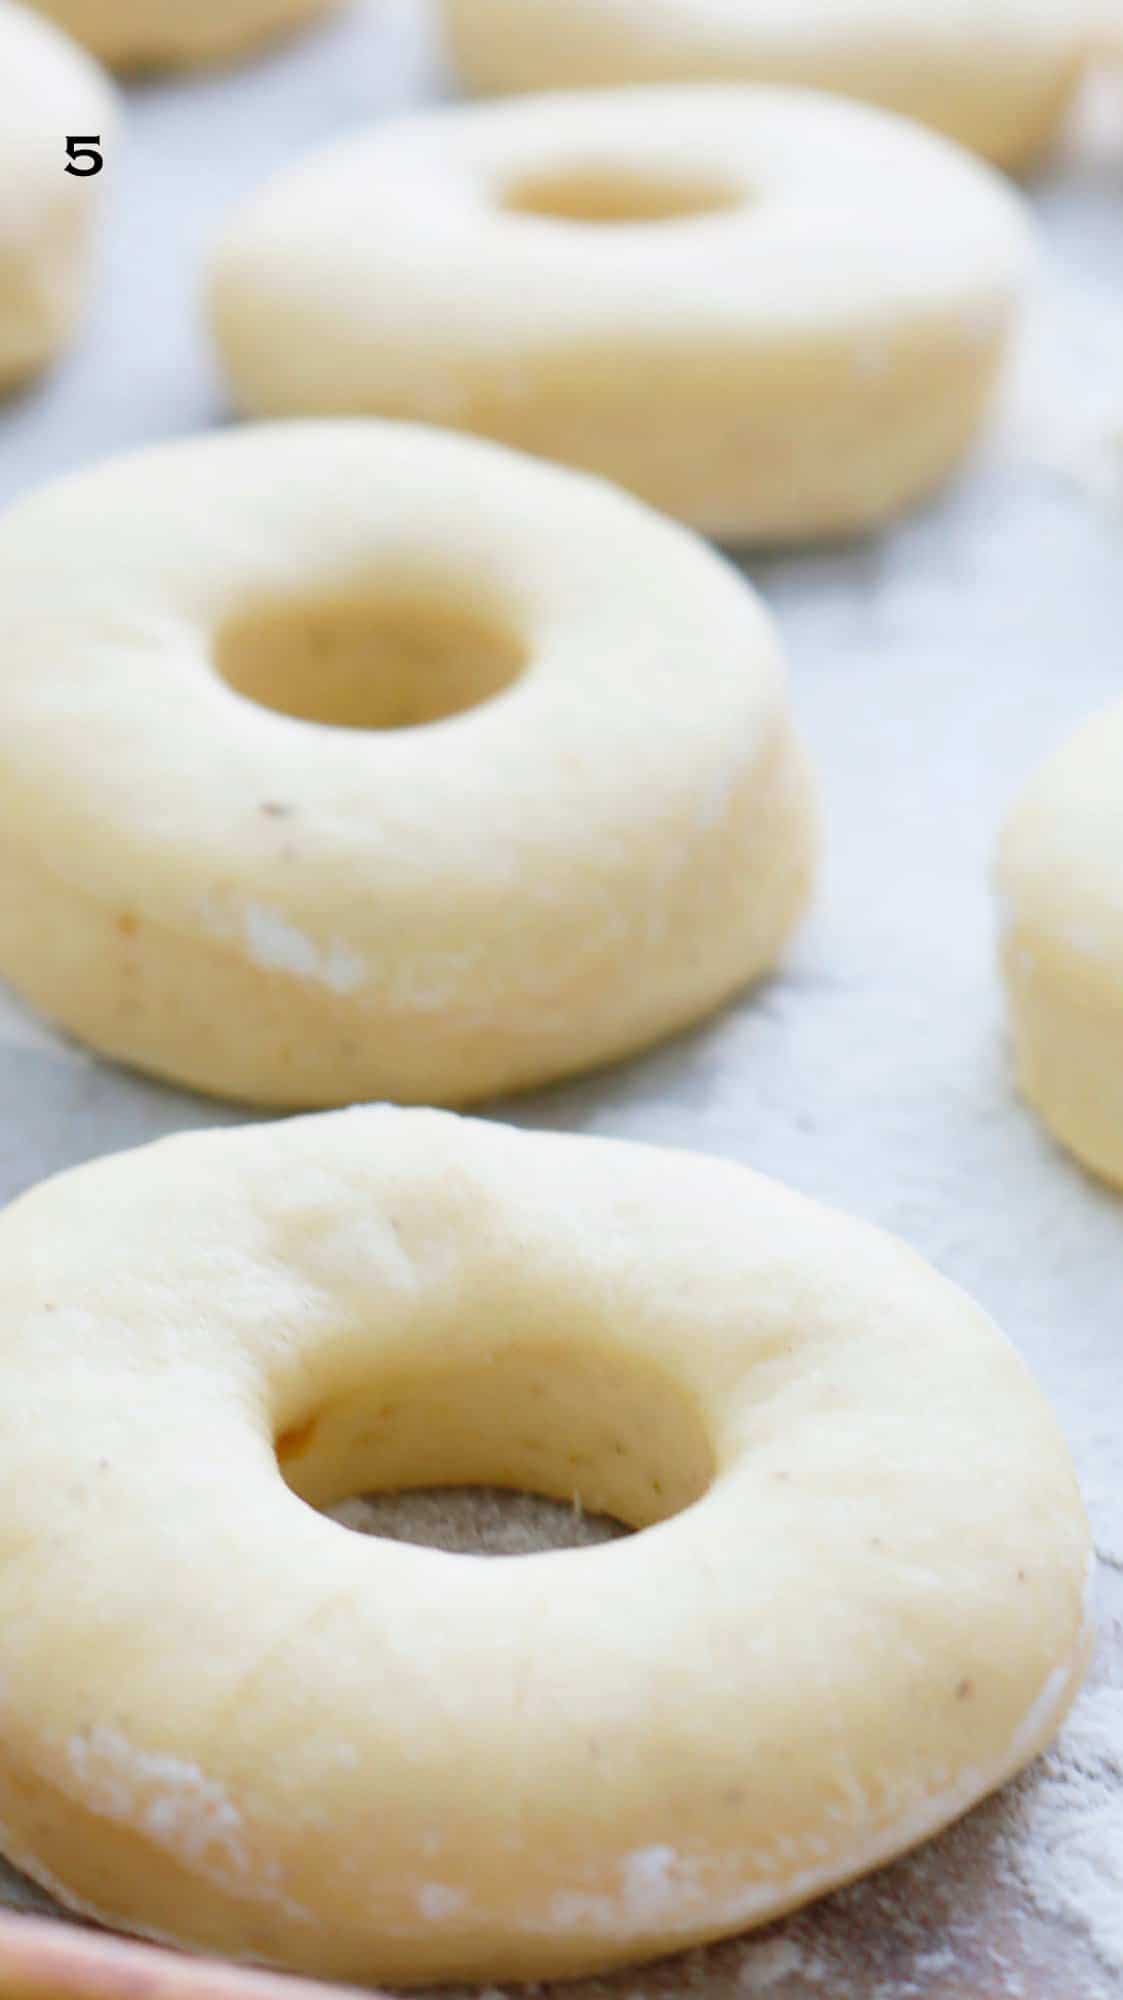
4 & 5. Shape the dough - Dump the homemade donut dough onto a floured kitchen counter, Roll ½ inch to ¾ inch thick, dusting the top with flour as well. Cut doughnut shapes and place on floured cookie sheets. Cover with a clean kitchen towel and place again in the same warm spot for about 30-60 minutes, until they almost double in size.
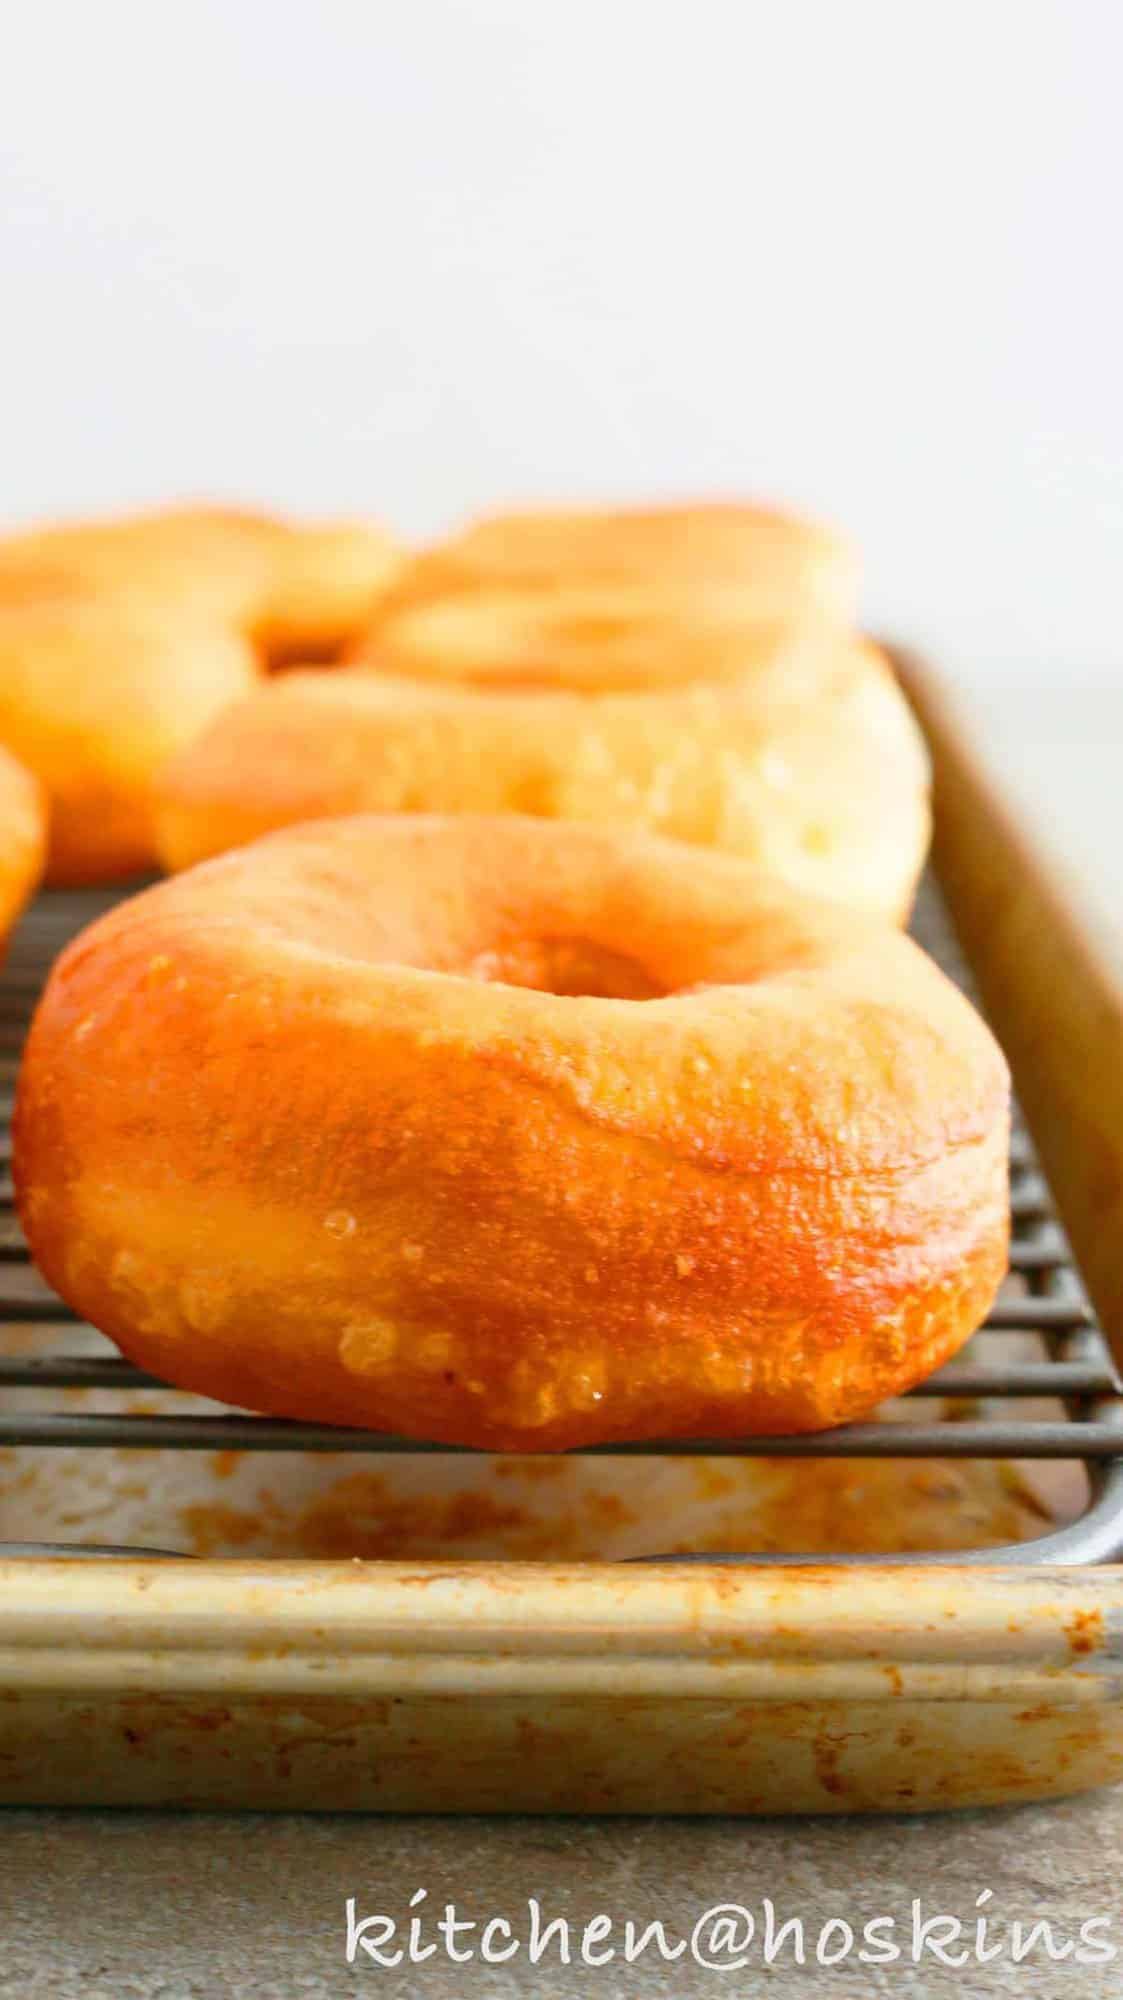
Deep fry homemade donuts in moderate heat, until pale golden on both sides. Drain on paper towel. Remove when they are light golden in color and not get dark in color.
How to make a donut glaze with powdered sugar?
A basic doughnut glaze is very simple and takes just a few minutes to make! Here's how:
- Gather the ingredients: Add 3 cups powdered sugar, 5 tablespoons water, 1 to 2 teaspoons vanilla extract and 2 pinches of salt into a large bowl.
- Mix the glaze: Mix all ingredients together until smooth and without any lumps.
- Adjust the consistency: If the glaze is too thick, add a few drops of water until it thins out. If it’s too thin, mix in more powdered sugar, a tablespoon at a time. The ideal donought glaze consistency is smooth, pourable, and thick enough to coat the doughnut without running off.
- Glaze the donuts: Dip each warm doughnut into the glaze, letting the excess drip off. Place on a wire rack over a baking sheet to catch drips. The glaze will set in about 20 minutes.
Donut Glaze Variations
Here are a few easy and delicious glaze variations for your glazed doughnuts to try:
- Chocolate Glaze – Mix powdered sugar, cocoa powder, milk, vanilla extract together.
- Maple Glaze – Combine powdered sugar, maple syrup, and milk with a pinch of salt.
- Lemon Glaze – Stir together powdered sugar, lemon juice and finely grated lemon zest.
- Orange glaze - Mix powdered sugar, orange juice and finely grated orange zest.
- Strawberry Glaze – Puree chopped fresh strawberries in a blender or a food processor. Pour into a bowl and mix with powdered sugar and a splash of lemon juice.
- Coffee Glaze – Mix powdered sugar, brewed coffee or instant espresso powder together.
- Caramel Glaze – Combine caramel sauce, powdered sugar, pinch of salt.
- Krispy Kreme Doughnut Glaze - Mix powdered sugar, vanilla extract, milk and a dash of corn syrup.
Can You Freeze Homemade Donuts?
Yes! Homemade donuts freeze surprisingly well, making them perfect for enjoying later. For the best results, freeze the donuts before glazing. While glazed donuts can be frozen, the glaze tends to become sticky or melt as the donuts thaw, so glazing them fresh gives you the best texture and flavor.
How to Freeze Unglazed Donuts? Let the fried donuts cool completely, then wrap each one tightly in plastic wrap to prevent freezer burn. Place the wrapped donuts in a freezer-safe bag or airtight container and freeze for up to 2 months.
How to Glaze Frozen Donuts? When you're ready to enjoy them, let the frozen donuts thaw at room temperature for 1 to 2 hours, until they're soft but still cool. Warm them in the microwave for 10–15 seconds—just until warm, not hot. Dip each donut into the glaze, let the excess drip off, then place it on a wire rack until the glaze sets.
Can You Freeze Glazed Donuts? Yes, you can, but the glaze may soften, melt, or become sticky during thawing. If you're planning ahead, I highly recommend freezing the donuts without the glaze and glazing them just before serving. They'll taste and look just like they were freshly made.
Donut FAQs
For homemade donuts, all-purpose flour is typically the best choice. With a moderate protein content of 10–11%, it provides enough structure for the dough without making it tough—resulting in soft, tender, and airy donuts.
Bread flour has higher protein, which develops more gluten and can make donuts denser and chewier.
Avoid self-rising flour, as it contains leavening agents like baking powder or baking soda, which isn’t suitable for yeast donuts and will affect the texture and rise.
The best oil for homemade donuts is a neutral, flavorless oil with a high smoke point, so it won’t overpower the delicate taste of yeast donuts. Oils like vegetable, canola, or sunflower oil cook evenly and keep your donuts tasting perfect—without any off-flavors.
If you don't have a donut cutter, you can still make donut shapes using common kitchen tools. Roll out your dough on a lightly floured surface to about ½ to ¾ inch thick. Use any of the following methods to cut donuts:
Round cookie cutter: Use a 3-inch round cookie cutter to cut out circles.
Other kitchen objects: You can use like a drinking glass or a small bowl to cut out the outer shape of the donut.
Knife: Using a sharp paring knife, cut out a circle, then carve a smaller circle in the center to form the donut shape. While it may be less uniform, it gets the job done.
To cut the inner holes: Use the wide end of a large piping tip to cut out the holes, as we did to shape the Halloween chips. You could also use a bottle cap or a shot glass to cut out the holes.
For soft, light, and perfectly cooked donuts, keep the oil between 330°F and 340°F. A deep fry thermometer is the easiest way to maintain this temperature, and it's well worth using if you have one. If the oil is too hot, the outside will brown too quickly before the inside has a chance to cook and rise properly. If it's too cool, the donuts will absorb excess oil and can turn out greasy.
Not sure if your oil is ready? Pinch off a small piece of dough and carefully drop it into the oil. It should take about 1 minute to turn a beautiful golden brown. If it browns much faster, the oil is too hot. If it takes much longer, let the oil heat up a little more.
As soon as the donuts hit the hot oil, the air bubbles trapped inside the dough rapidly expand. This is what gives homemade donuts their signature light, fluffy texture and those beautifully airy interiors.
More tasty treats
MADE THIS RECIPE AND LOVED IT? 💚 Please leave a ⭐️STAR rating and COMMENT below - Your feedback makes all the time I spend perfecting recipes completely worth it. Thank you!
Tag me with your creations on Instagram and find me on Facebook.
Hi, I’m Maria! I share easy, flavor-packed dinners, high-protein meals, and irresistible baking ideas. If you’ve ever asked, “Don’t know what to cook tonight?” you’re in the right place. And yes—there’s plenty here for breakfast, snacks, and dessert too. More about maria ->

Katherine
Thank you so much for this recipe, it is amazing!!!! I don't think my little one to a breath in between each bite lol. Mine turned out a little on the smaller side only halfway through did I realize that I rolled the dough too thin so definitely will remember that for next time. Did about half with a whole and half without as i love jelly filled donuts and it was delicious. the whole ones took a little longer to cook but was so worth it. Just wondering it it would be possible to freeze the dough and make small portions at a time. I got about 20 donuts just wouldn't want them to go bad before getting a chance to eat them
Catherine
Hi
Would like to try this recipe can I halve the recipe to make less donuts m. Also can you freeze them once fried
Maria Doss
Hi Catherine, You can easily halve the recipe if you want to make fewer donuts. To freeze them, allow the donuts to cool completely first. Then, freeze them in an airtight container. When you're ready to enjoy, let them thaw to room temperature before dipping them in the glaze - Maria
Megan
Can you bake instead of fry?
Maria Doss
I'm sorry Megan. This recipe is intended for frying only—baking won't give the same results - Maria
Alyssa
Hi! Is it possible to store the donut dough before baking? To always have donut dough on hand!
Maria Doss
Hi Alyssa, These fried donuts are best enjoyed hot and fresh from the deep fryer. However, if you'd like to refrigerate the dough for later use, follow these simple steps:
1. Knead and proof the dough as directed in the recipe.
2. Cut the dough into donut shapes and place them on a parchment-lined baking sheet.
3. Cover loosely with plastic wrap to prevent the dough from drying out in the fridge.
4. Refrigerate for up to 2 days—no longer, as the dough will become overly sour.
5. About 1½ to 2 hours before frying, remove the tray from the fridge and let the dough come to room temperature. Allow it to rise until slightly puffy—this counts as the second rise.
6. Fry as instructed in the recipe and enjoy!
Note: We don’t recommend storing the dough for more than 2 days, as the flavor and texture may begin to deteriorate.
-Maria
Georgianne
Do you let donuts cool before putting the glaze on them?
Maria Doss
Hi Georgianne, Glaze your doughnuts while they’re warm but cool enough to handle. This helps the glaze stick evenly and form a smooth, thin coating - Maria
Joshua M
Great!
Lois in Florida
Does active dry yeast have to be proofed first?
Maria Doss
Hi Lois, This donut recipe is developed without proofing! Active dry yeast doesn’t usually need to be proofed, but during cold weather, it helps to proof it just to make sure your doughnuts rise beautifully. Let us know, if you need assistance with proofing it - Maria
NATHANAEL A MADASZ
What do you do with the excess dough when cutting out. Do you reroll it?
Maria Doss
Oops, somehow missed this earlier! Yes, you can re-roll the scraps, cut them, and make more donuts — just keep in mind the dough might get a bit tougher and lose that light, airy texture since the yeast bubbles deflate.
A better option is to roll small pieces into balls or twist strips of dough — they fry up beautifully into mini fritters or donut holes. You can also gently gather the irregular scraps, fry them as clusters, and toss them in cinnamon sugar for a fun, no-waste treat. Hope that helps!
Dajenyra
These are the best donuts I ever ate
Maria Doss
That’s wonderful to hear! Thanks for sharing — that makes my day - Maria ♡
Trish Cook
Amazingly amazing! This is the best doughnut recipe that I’ve tried. This one is saved. I add about a tablespoon & half of sorghum molasses to the mixture. It gives it a flavor of difference yet no one can decide what makes the flavor difference. It’s simply wonderful. And I love making the doughnuts and sharing with family and coworkers. Thank you so much for sharing this beautiful recipe.
Maria Doss
That’s wonderful to hear! So glad you loved these donuts, have a wonderful Thanksgiving - Maria ♡
Amy
I followed the directions to a T and I got pucks shaped like doughnuts. I was also disappointed because it says take a total of 27 min but in reality it took me 3 hours. I wanted a nice sunday breakfast and I get nothing
Maria Doss
Hi Amy, I’m so sorry the donuts didn’t turn out well for you. This recipe has been a reader favorite for years, so something may have gone off along the way. A few common issues I’ve seen are using yeast that’s expired or not the right type, or a small measurement slip that can make a big difference in donut dough. I truly hope you’ll give it another try—I’m happy to help troubleshoot so you get the amazing results this recipe usually delivers! Have a wonderful Thanksgiving - Maria
Amanda Garcia
These came out great! It was my first time ever making donuts and the kids loved them. Thank you!
Marilee Bailey
I made a half recipe of these today. I’ve been searching so many donut recipes and making them trying to find the perfect donut, these are definitely the best and my search is over. I was tempted to add a little more flour but followed your direction not to. I even re-rolled the scraps and they came out perfect. Thank you for this recipe, I recommend these to anyone wanting a good donut.
Chrissy
Very good for the first time making homemade donuts. The recipe was simple to follow and even though I did not have a donut cutter I did have different sized cutters to make a similar style. They came out golden and taste like a cross between an old fashioned and a raised donut.
Unrelated to the recipe, the website has too many ads and loads slow.
Maria Doss
Hi Chrissy, First, thank you so much! I’m so happy to hear the donuts turned out well. ❤️ And thank you for the honest feedback about the website. We really appreciate you taking the time to let us know, and we’ll work with our team to improve the load speed and make the experience better - Maria ♡