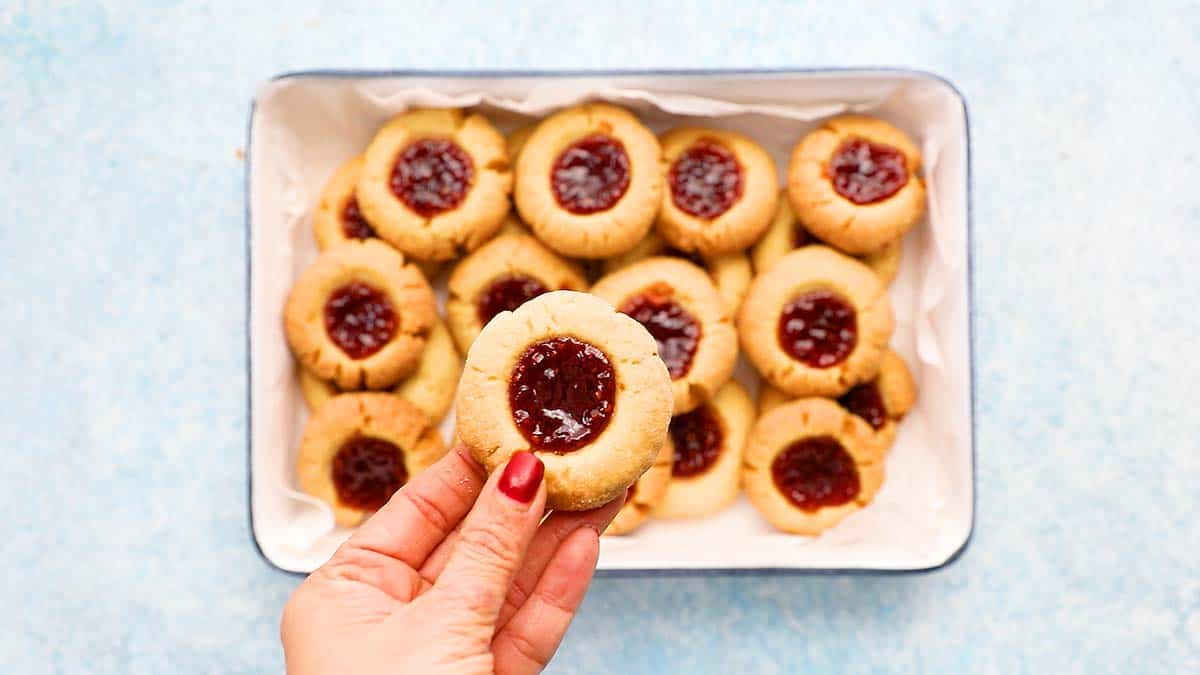
These Raspberry Thumbprint Cookies are buttery, crisp yet tender and simply melts in your mouth. They are an all-time favorite cookie recipe, and are popular, especially during the holiday season.
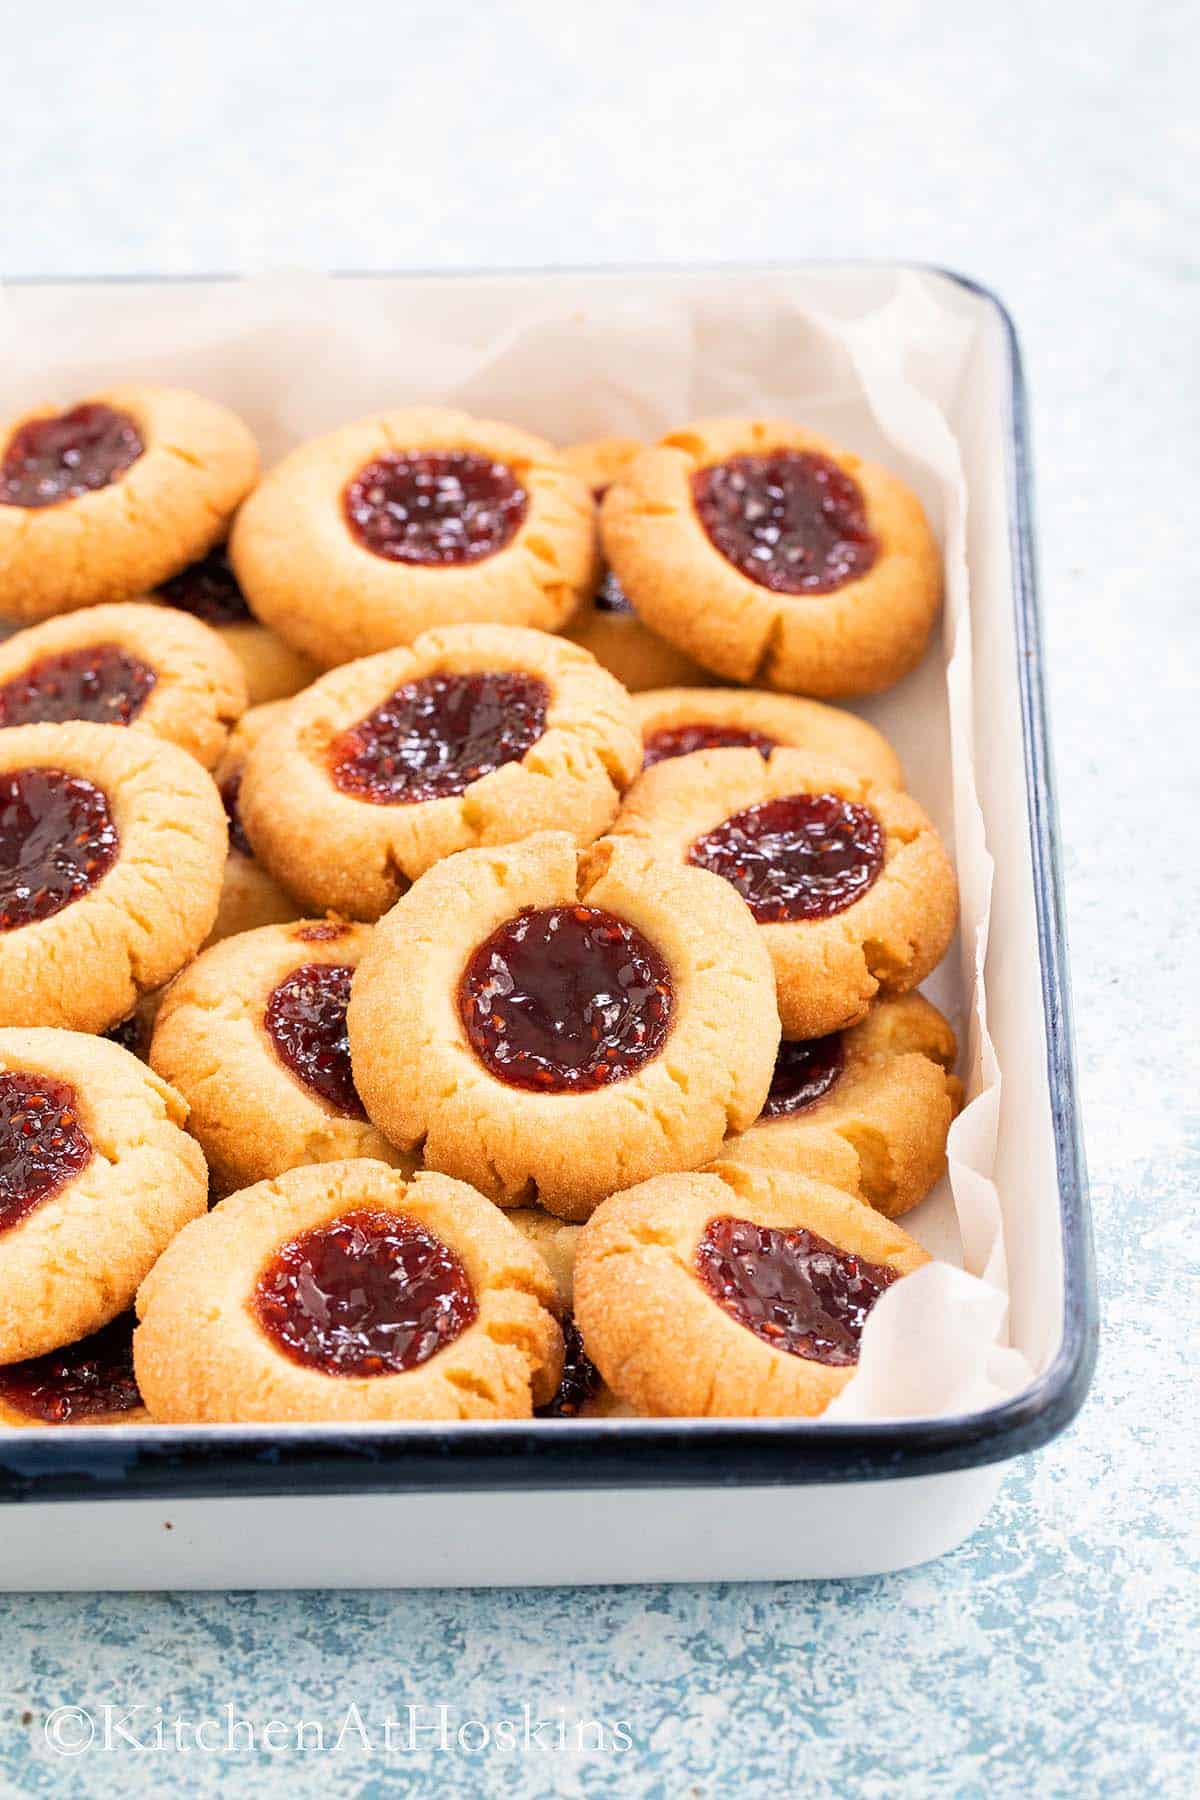
What are thumbprint cookies? They are bite-sized treats made from a simple, buttery shortbread-style dough, like the pecan snowball cookies.
Typically, the dough is rolled into small balls and then indented in the center using your thumb, creating small wells or thumbprints in the middle of each cookie to hold the filling. They are baked until lightly golden brown, allowing the filling to set.
These eggless cookies are filled with various sweet fillings, ranging from jams or preserves to chocolate ganache, Nutella, or caramel. Like in the skuIl cookies and Halloween pop tarts, I used raspberry jam to make these raspberry thumbprint cookies.
Thumbprint cookies are a beloved choice for holiday baking. According to some sources, they might have originated from the Swedish baking tradition, known as 'Hallongrotta,' which translates to 'raspberry cave.' Over time, they have evolved into a cherished classic, often found in cookie jars and holiday gatherings, like the Christmas icebox cookies.
Jump to:
Why you'll love them?
- No chilling needed.
- Great made ahead and frozen, making them ideal for the busy holiday season.
- Use your favorite jam, jelly, preserves, Nutella, chocolate ganache, lemon curd or marmalade to fill them.
- Nut-free and egg free cookie recipe.
- Melt in your mouth texture.
Ingredients
Scroll down to the recipe card below for full information on ingredients and amounts.
- Butter - Use softened unsalted butter that is at room temperature.
- Sugars - Like for cardamom cookies, I add confectioners' sugar into the cookie dough, which lends a tender, melt-in-your-mouth texture due to the cornstarch content in the sugar. Afterward, the cookie dough balls are rolled in granulated sugar, adding an extra layer of texture and crunch.
- Flour - All purpose flour provides main structure for eggless cookies.
- Cornstarch - In addition to confectioners' sugar, a teaspoon of cornstarch plays a key role in preserving the cookie's shape during baking, preventing excessive spreading.
- Jam - I used raspberry jam for a festive look, but feel free to use apricot, strawberry or black berry jam.
Filling ideas
Don't like raspberry jam? Use other alternatives such as apricot, blueberry, strawberry, or blackberry preserves, marmalades, or jellies. Consider using nut butters like peanut or almond butter, or zesty lemon or lime curd in place of traditional jams.
Additionally, post-baking, consider filling the cookies with chocolate ganache, dulce de leche, or salted caramel for a tasty twist.
How to make?
You can find full printable recipe below, but here is a quick overview of the procedure along with step-by-step photos.
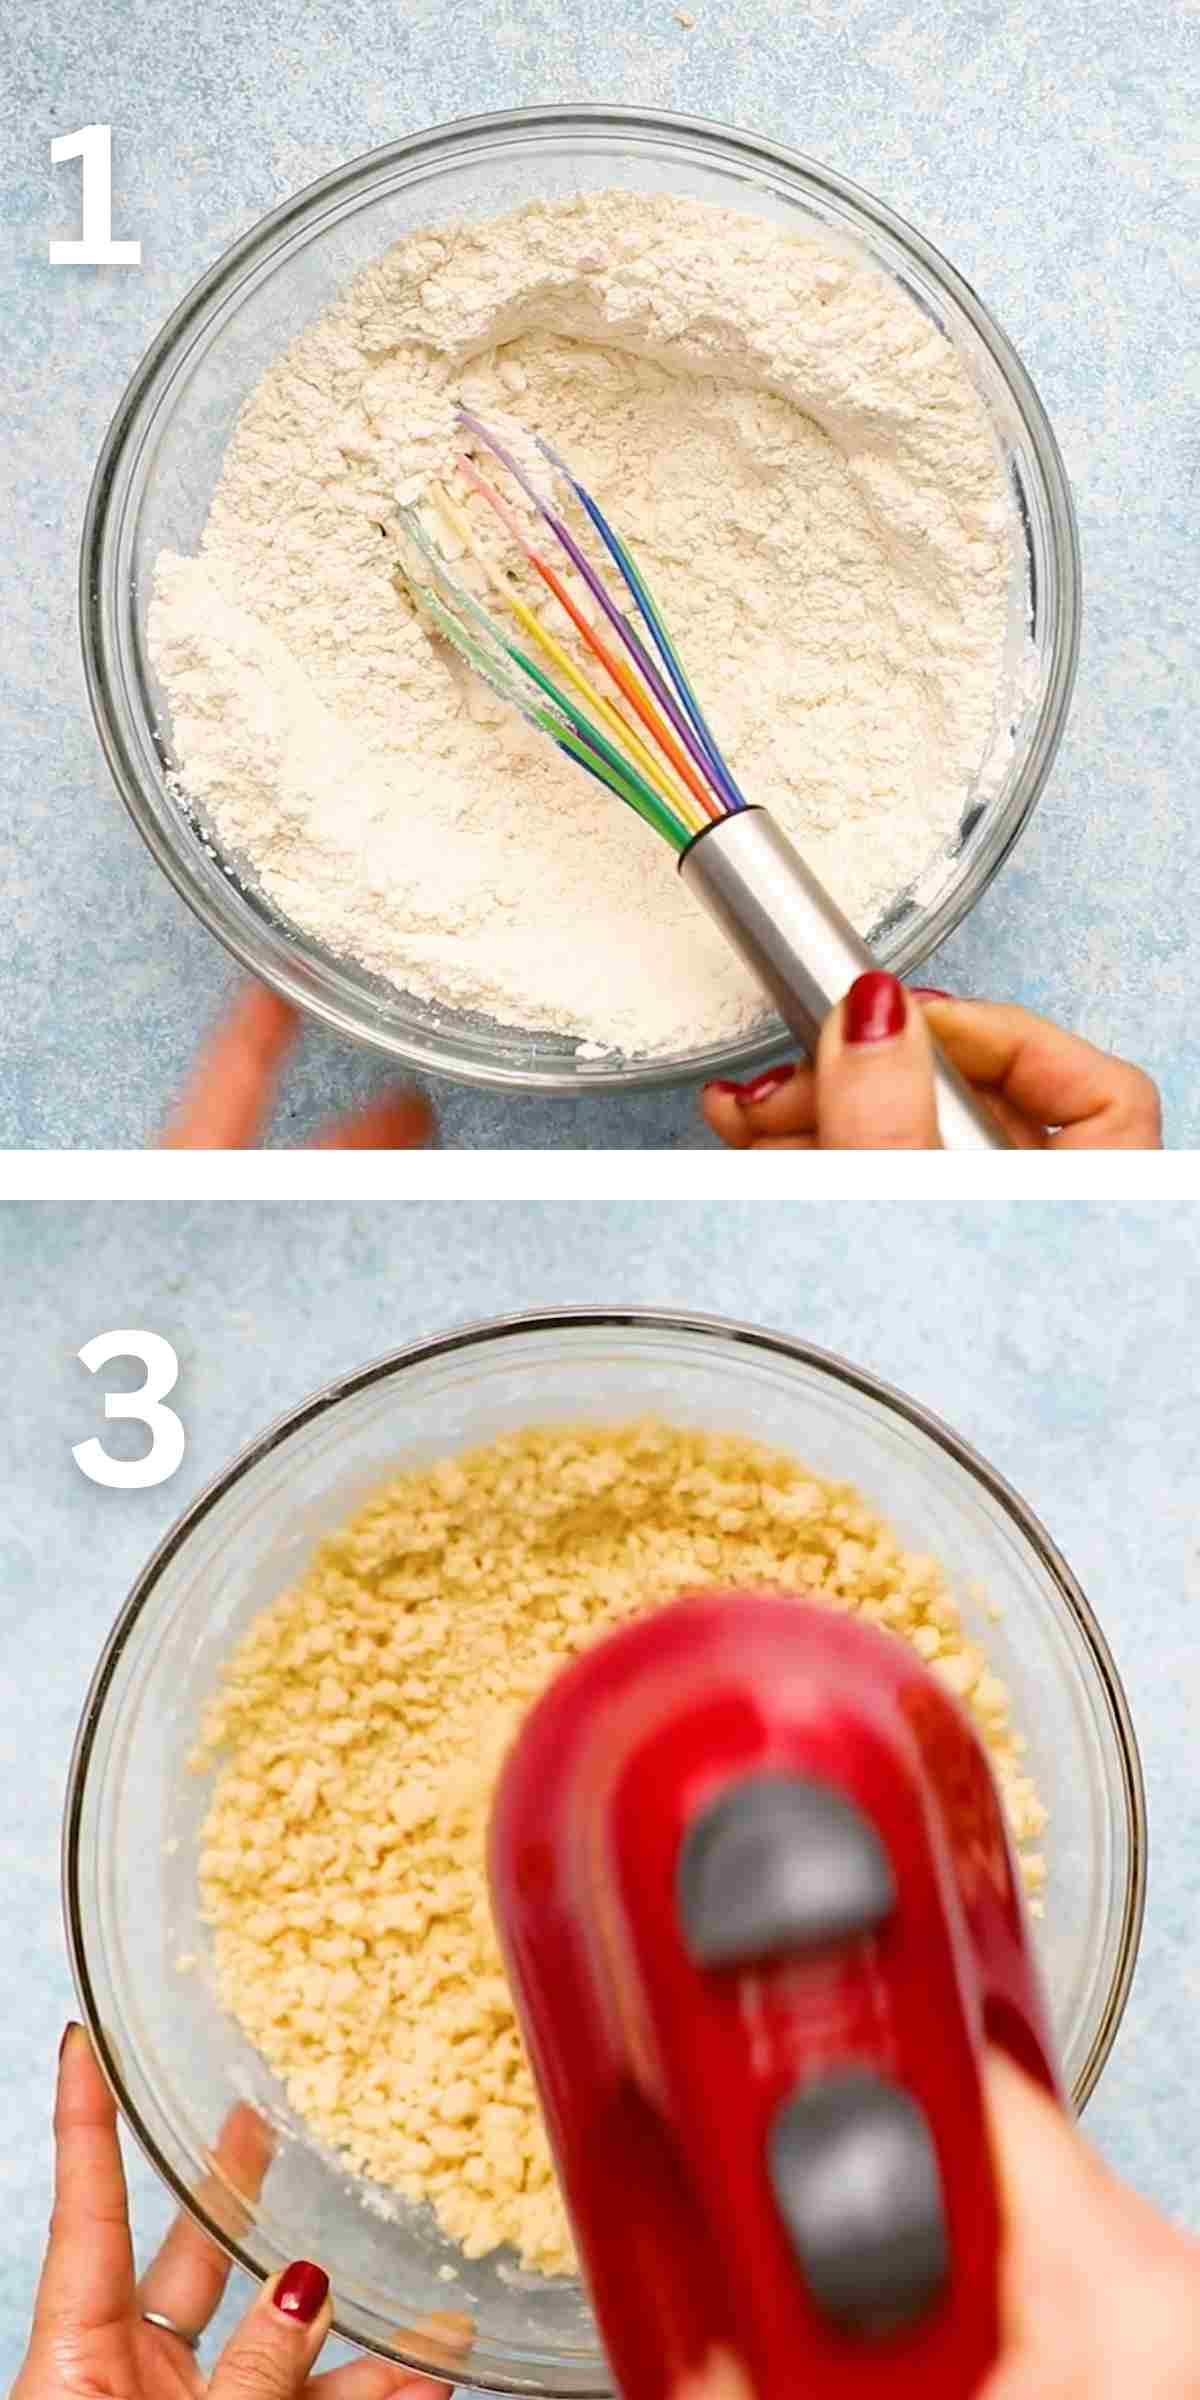

1.Add all purpose flour, cornstarch and salt into a medium bowl and whisk to combine.
2. Place butter in a large bowl and beat with a hand held electric beater, on high until creamy. Scrape the sides of the bowl, add confectioners sugar and vanilla extract and beat for an additional minute.
3 & 4. Add the dry ingredients and beat on low speed until it looks crumbly.
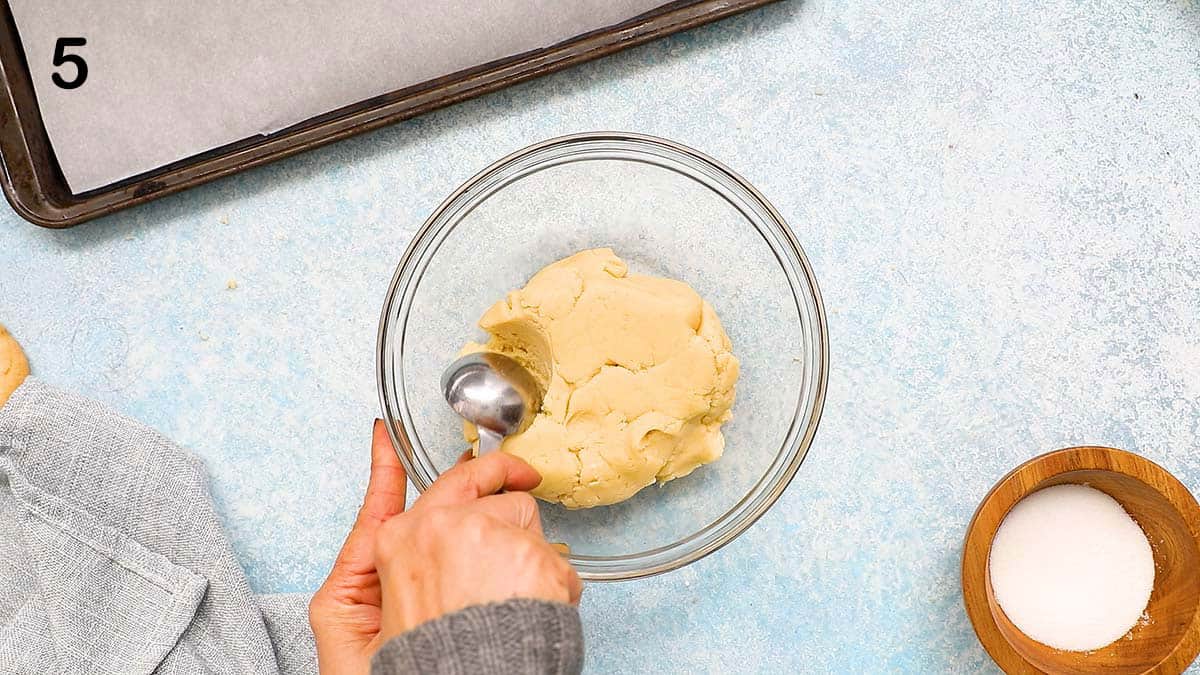
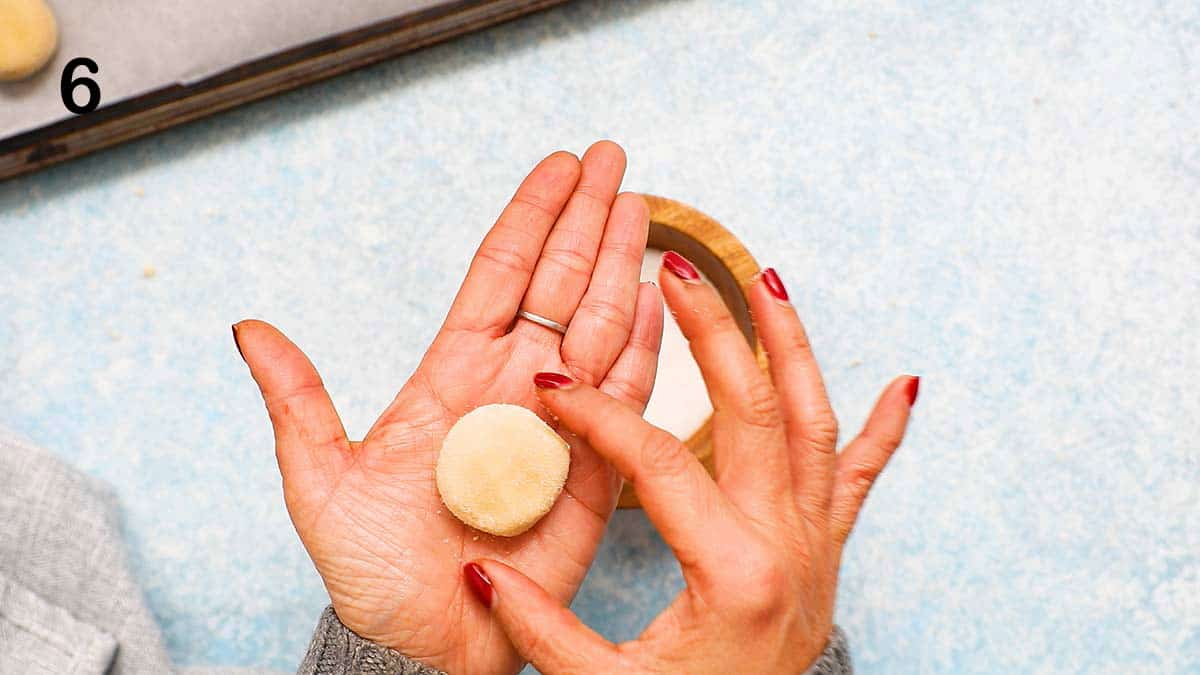
5 & 6. Using your hands gently knead the dough to form a smooth ball. Scoop dough into 1 tablespoon measure balls and roll into a ball and flatten them lightly. Make sure that there are no cracks or seams.
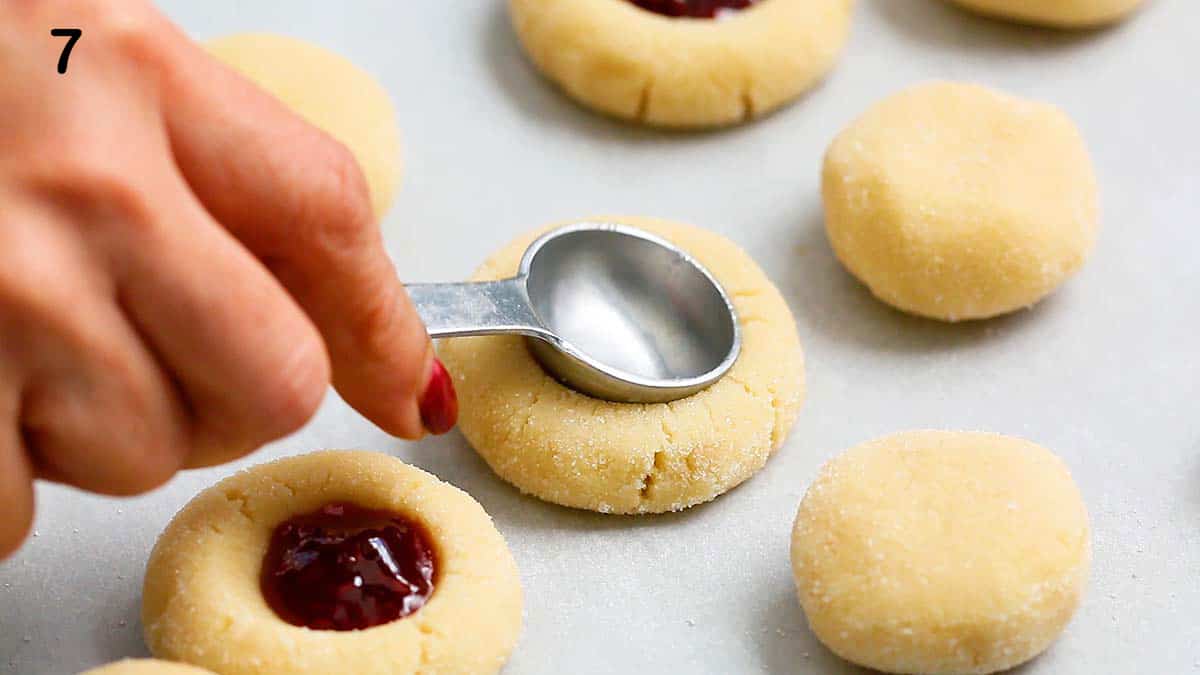
7. Place the granulated sugar in a small bowl and roll the dough balls in the sugar and place on the parchment lined baking sheet, spacing evenly apart. Use the rounded back of a teaspoon or your thumb to gently press an indent in the centre of the cookie dough.
Tip: The ideal size for thumbprint impressions is typically around ½ inch to ¾ inch (about 1.5 to 2 centimeters) in diameter. This size allows enough space to hold a sufficient amount of raspberry jam without compromising the structural integrity of the raspberry thumbprint cookies.
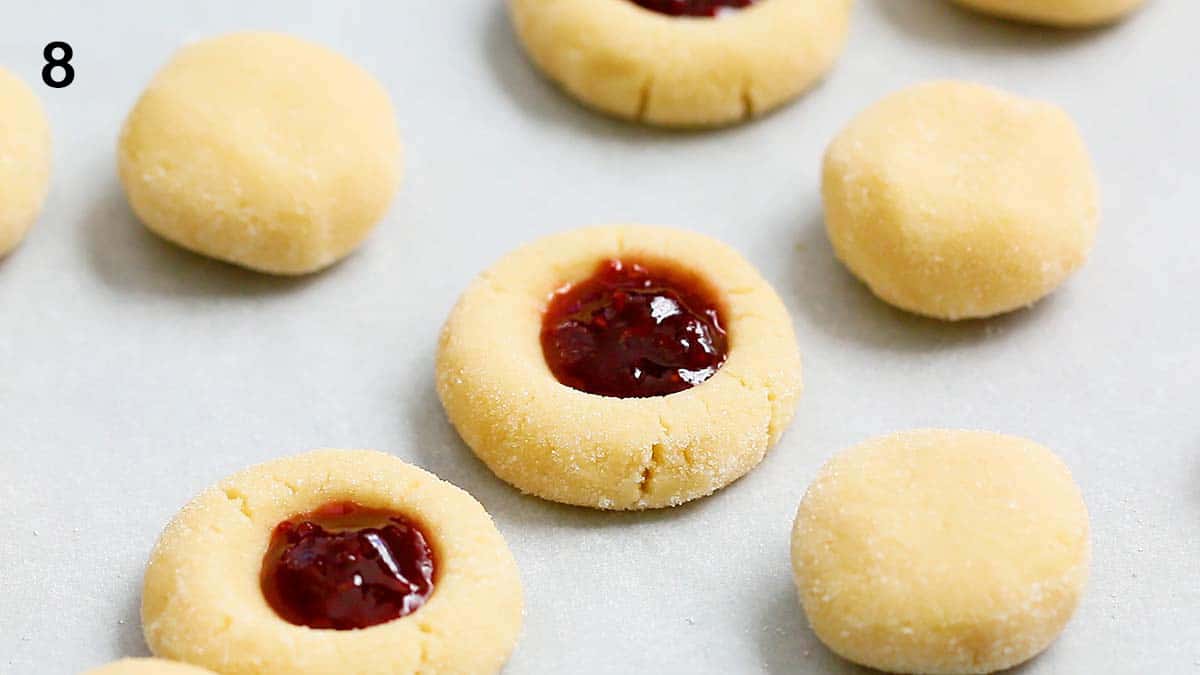
8. Spoon about ½ teaspoon to ¾ teaspoon jam into each indent filling to the brim.
Tip: Some jams or preserves can be quite thick, and using them straight from the jar might result in a chunky or uneven filling. So, I like to warm the jam in the microwave for 5 to 10 seconds, to loosen it up, before filling into the raspberry thumbprint cookies. However, make sure that the jam does not get hot.
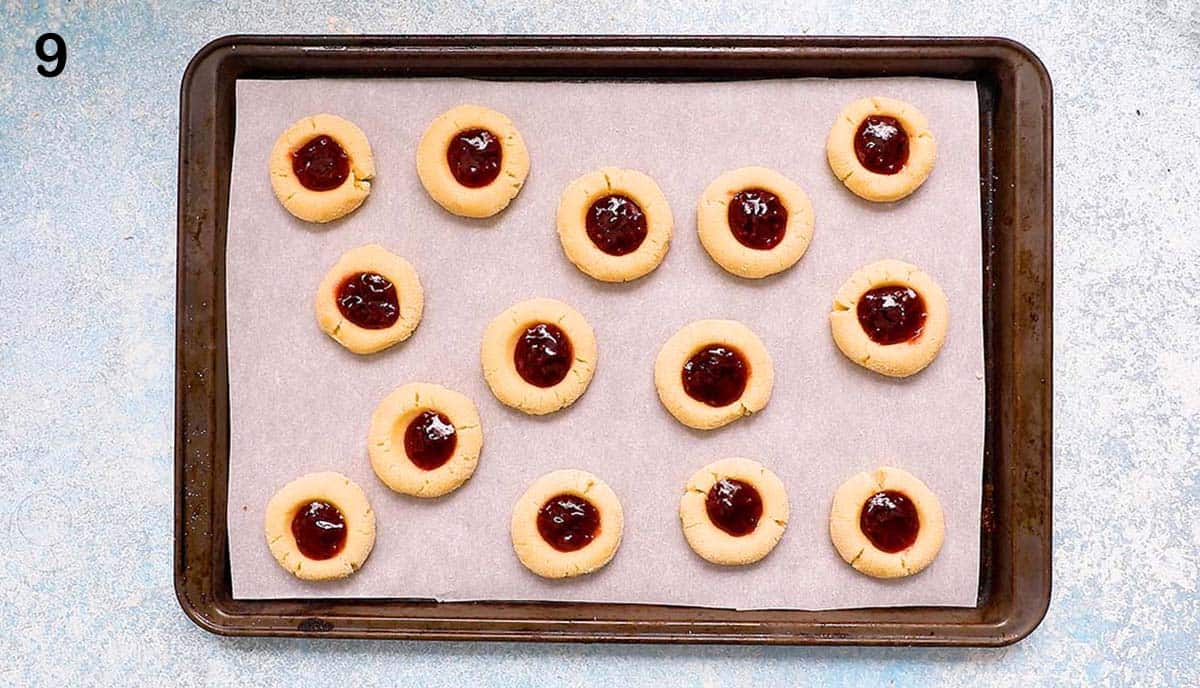
9. Bake for about 25 minutes or the edges turn golden brown. Place baking sheet on a wire rack to cool completely.
How to avoid spreading? This raspberry thumbprint cookies recipe doesn't require chilling the dough. Instead, I rely on a combination of cornstarch and confectioners' sugar in the recipe. This blend helps in binding the dough together and effectively prevents excessive spreading during baking.
How to store?
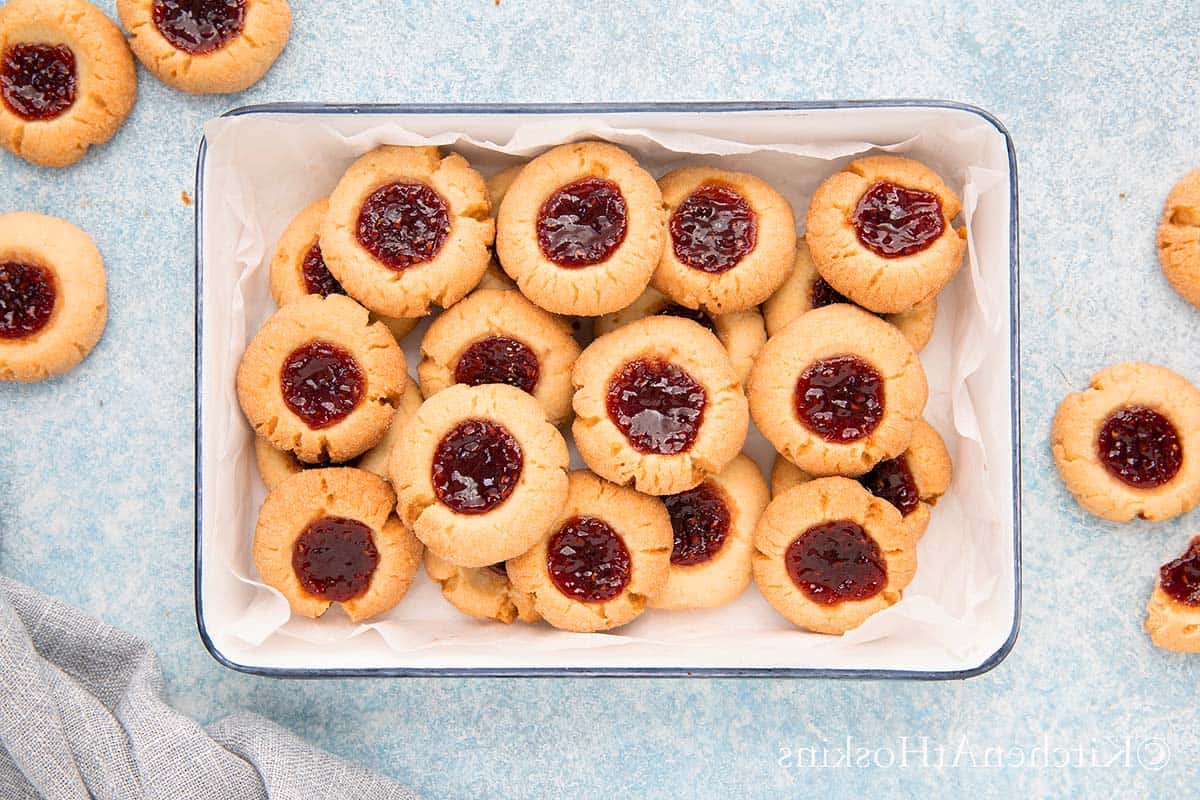
Raspberry thumbprint cookies are best stored in an air tight container at room temperature for up to a week. There is no need to refrigerate them.
To freeze cookies - Cool raspberry thumbprint cookies for several hours at room temperature so the top of the jam feels tacky and dried. Place them in an air tight container in layers, separated by parchment paper. This makes sure that they don't stick together.
To freeze cookie dough - Prepare the dough balls and press with a teaspoon to make an indentation and freeze in a tray. Once frozen, transfer them to a freezer safe zip lock bag or air tight container and freeze for up to a month.
When ready to bake, arrange them on a parchment lined baking sheet and allow to thaw to room temperature. Top with raspberry jam and bake as instructed.
Helpful tips
- Loosen the jam for easy filling - Microwave jam for a few seconds until it is easy enough to stir, ensuring it does not get hot.
- Use a teaspoon for even indentations - Although traditionally, thumbs were used to make indentations, they are uneven compared to a rounded teaspoon measure.
- Fill to the brim - There is nothing like a tiny smidgen of jelly, so make sure you fill to the brim but not overflow.
Recipe FAQs
If the dough is too dry, it's more prone to cracking. By following the recipe accurately, ensure the raspberry thumbprint cookie dough has enough moisture. If the dough breaks when shaped into flat discs, mix in a teaspoon or two of milk to get them to the right consistency.
They are typically filled before baking, allowing the dough to bake around the filling, securing it in place and creating a cohesive finished cookie. Additionally, the filling slightly dries out the jam, aiding in its setting along with the cookie dough during the baking process.
The cookies might spread during baking due to several reasons:
1. If the butter in the dough is too soft or melted, it can cause the cookies to spread. So, ensure that the butter is typically softened but not overly warm.
2. Overmixing the dough can add too much air, resulting in cookies that spread excessively when baked.
3. Baking at a temperature lower than 350 degrees, can cause the cookies to spread before they set. Ensure that your oven is preheated to the correct temperature as instructed in the recipe.
4. If the dough is too soft or sticky, it tends to spread more while baking. Ensure precise measurement of ingredients. However, if the dough feels soft, chilling it in the fridge before shaping is advisable. This process will help firm it up, reducing spreading during baking.

More eggless cookies

Raspberry Thumbprint Cookies
Ingredients
Dry Ingredients
- 1 cup all purpose flour
- 1 teaspoon cornstarch
- ⅛ teaspoon salt
Additional ingredients
- 1 stick unsalted butter ½ cup, room temperature
- ⅓ cup confectioners sugar
- ½ teaspoon vanilla extract
- 1 tablespoon white granulated sugar
- 3 tablespoons raspberry jam
Instructions
- Preheat oven to 350°F (177°C) and line a large baking sheet with parchment paper and set aside.
- Add all dry ingredients into a medium bowl and whisk to combine.
- Place butter in a large bowl and beat with a hand held electric beater, on high until creamy (about 2 minutes).
- Scrape the sides of the bowl, add confectioners sugar and vanilla extract and beat for an additional minute.
- Add the dry ingredients and beat on low speed until it looks crumbly. Using your hands gently knead the dough to form a smooth ball.
- Scoop dough into 1 tablespoon measure balls and roll into a ball and flatten them lightly. Make sure that there are no cracks or seams.
- Place the granulated sugar in a small bowl and roll the dough balls in the sugar and place on the parchment lined baking sheet, spacing evenly apart.
- Use the rounded back of a teaspoon (or your thumb) to gently press an indent in the centre of the cookie dough. Repeat process for remaining dough.
- Place jam in a small microwave safe bowl and microwave for 5 to 10 seconds and stir to loosen it up (make sure not to make it hot). Spoon about ½ teaspoon to ¾ teaspoon jam into each indent filling to the brim.
- Bake for 24 to 26 minutes or the edges turn golden brown. Place baking sheet on a wire rack to cool completely.
Notes
Nutrition
Nutritional information, based on third-party calculations, should be seen as estimates, not guarantees, as various factors like product types, brands, processing methods, and more can alter the nutritional content in recipes.
Follow me on INSTAGRAM, TIK TOK, FACEBOOK or PINTEREST for more delicious recipes.
Some of the links above are affiliate links, which pay me a small commission for my referral at no extra cost to you! I am a participant in the Amazon Services LLC Associates Program, an affiliate advertising program designed to provide a means for us to earn fees by linking to Amazon.com and affiliated sites. Thank you for supporting kitchenathoskins.com.
All contents and images are my original work, unless and otherwise mentioned. Please do not use my recipes or images without linking back to www.kitchenathoskins.com. If you wish to republish a recipe, please rewrite in your own words and don’t forget to include a link back to the original recipe.


Leave a Reply