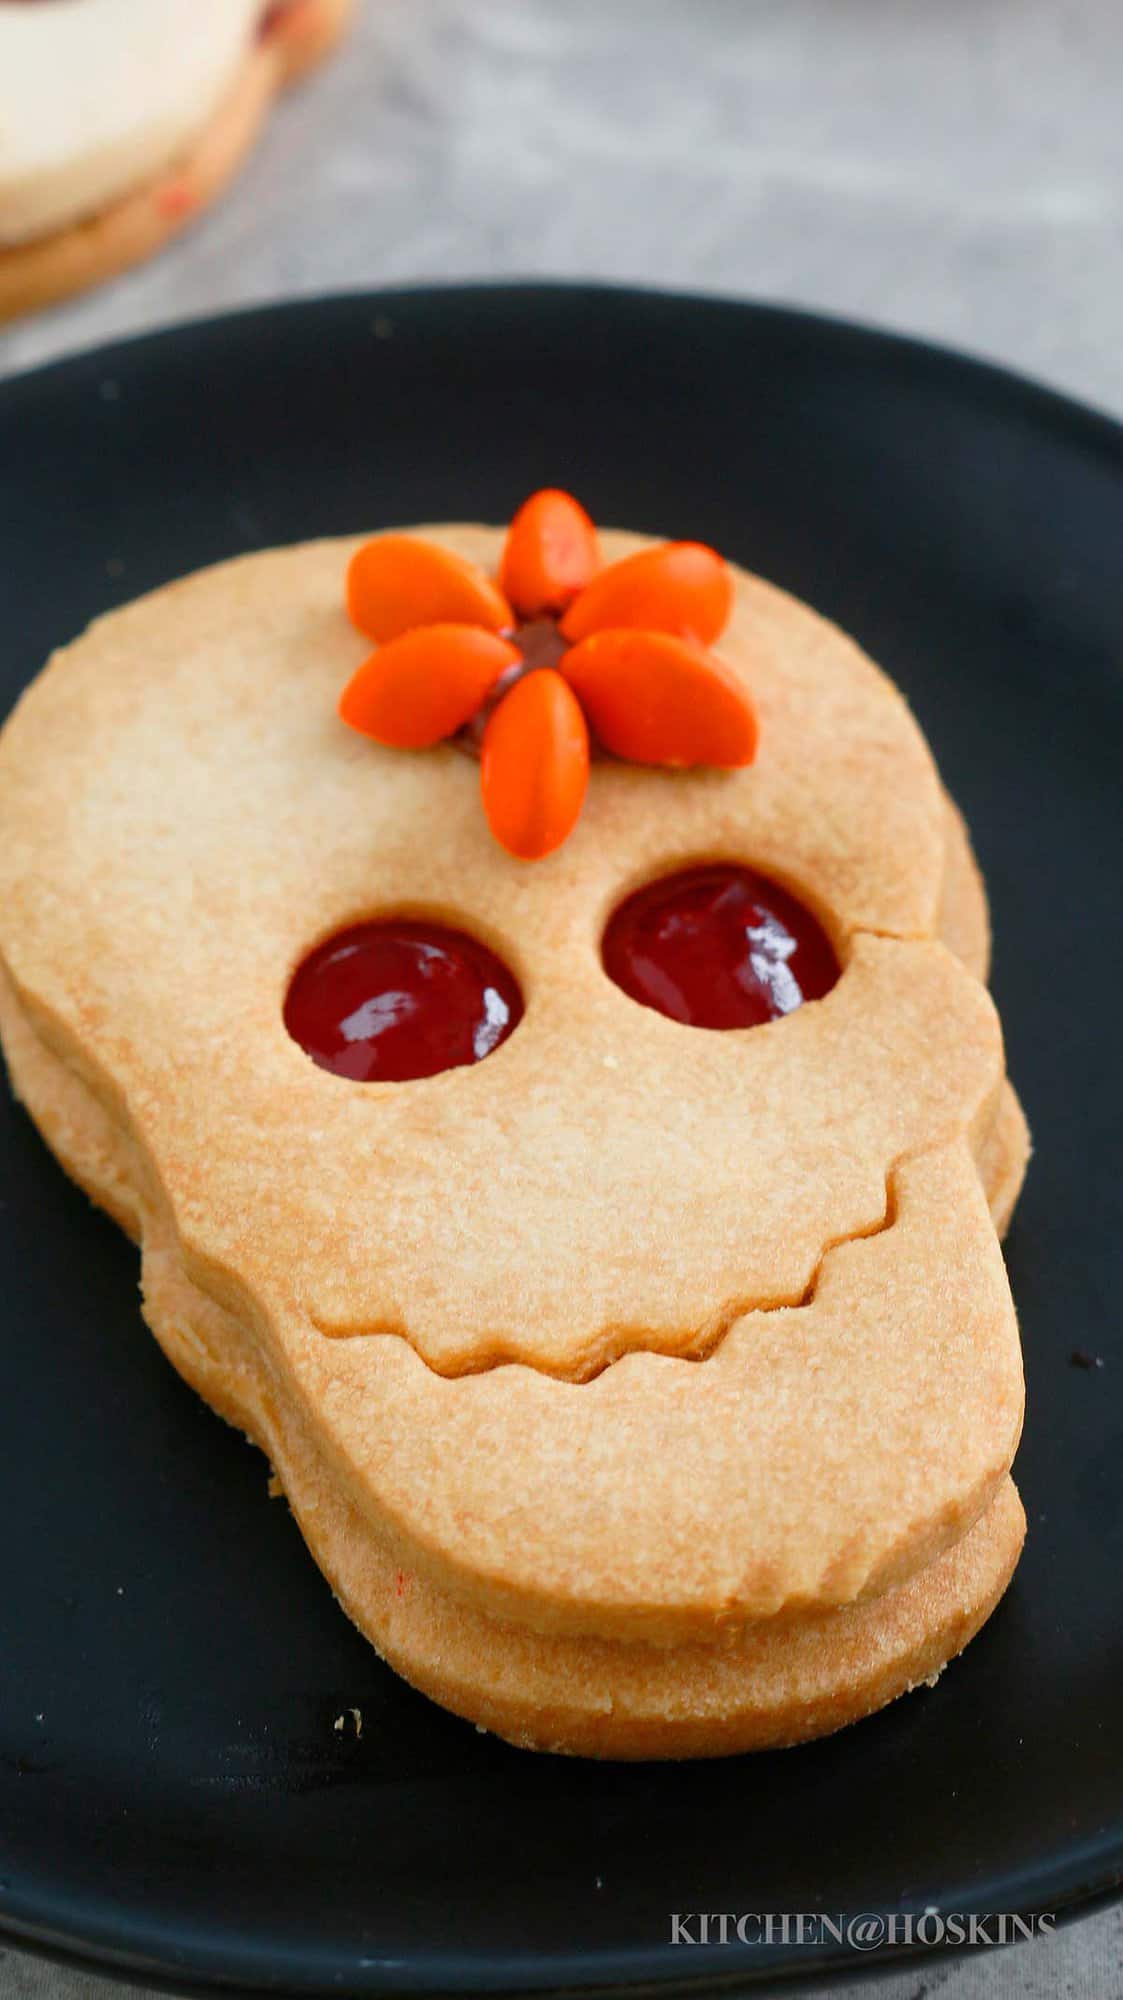
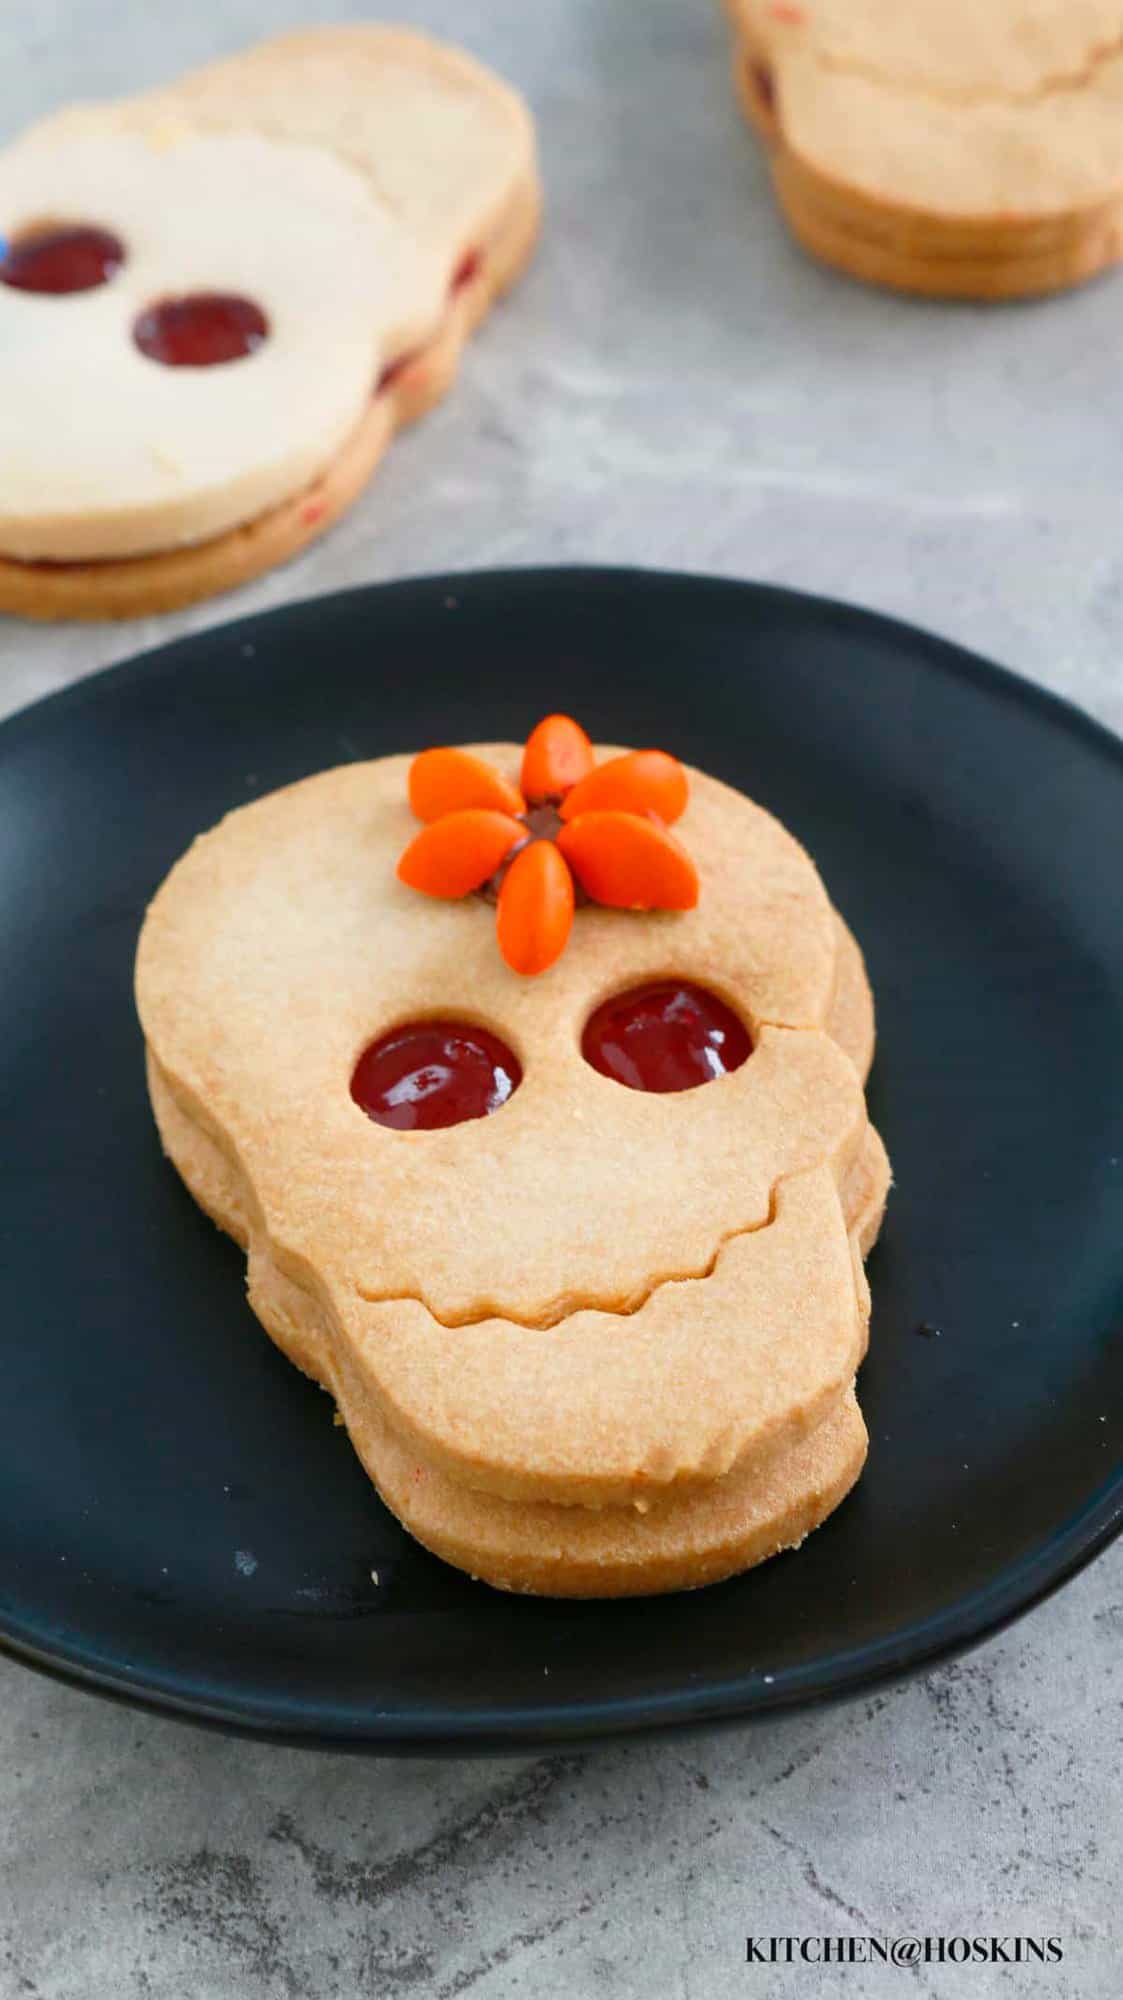
These Skull Cookies are buttery, filled with raspberry jam, and then adorned with an M&M flower. Skip the spookiness and make an adorable cookie this Halloween season. Recipe includes step-by-step photos!
Halloween stands as one of my most cherished holidays. The costumes, decorations, candy, tricks, treats... there's an abundance of enjoyment for kids of every age. Aaand, I love sharing creative halloween recipes like the Halloween trees!
What are skull cookies? Baking colorfully decorated sugar skull cookies is a popular tradition on the Day of the Dead (also known as Día de Muertos or Día de los Muertos in Spiansh).
These skull cookies are a type of linzer cookie, made using shortbread cookie dough, like the cashew snowball cookies, instead of the traditional sugar cookie. I used the same cookie dough to make adorable Christmas tree cookies.
Linzer cookies are traditionally made with nuts and are usually circular in shape. You might also love these Halloween chips made using the same cookie cutter or Halloween caprese toast made using skull molds.
These skull cookies are made without any nuts or eggs, making them perfect for everyone!
Why you'll love this recipe?
- Cuteness overload!
- Buttery, tender, and crisp.
- Perfect to be made ahead.
Ingredients
Scroll down to the recipe card below for full information on ingredients and amounts.
- Flour - All purpose flour adds structure and tenderness.
- Butter - Use unsalted butter and it is important to have the butter at room temperature to form cohesive skull cookies dough.
- Sugar - I use confectioners sugar instead of granulated sugar, to give a tender, melt-in-your-mouth texture.
- Jam - As in raspberry thumbprint cookies, I like to use a dark red colored jam, such as raspberry jam, to mimic the color of blood.
- M&M - Use one single color or different colored M&Ms.
- Chocolate chips - It is used for gluing purposes.
How to make?
You can find full printable recipe below, but here is a quick overview of the procedure along with step-by-step photos.
Make dough
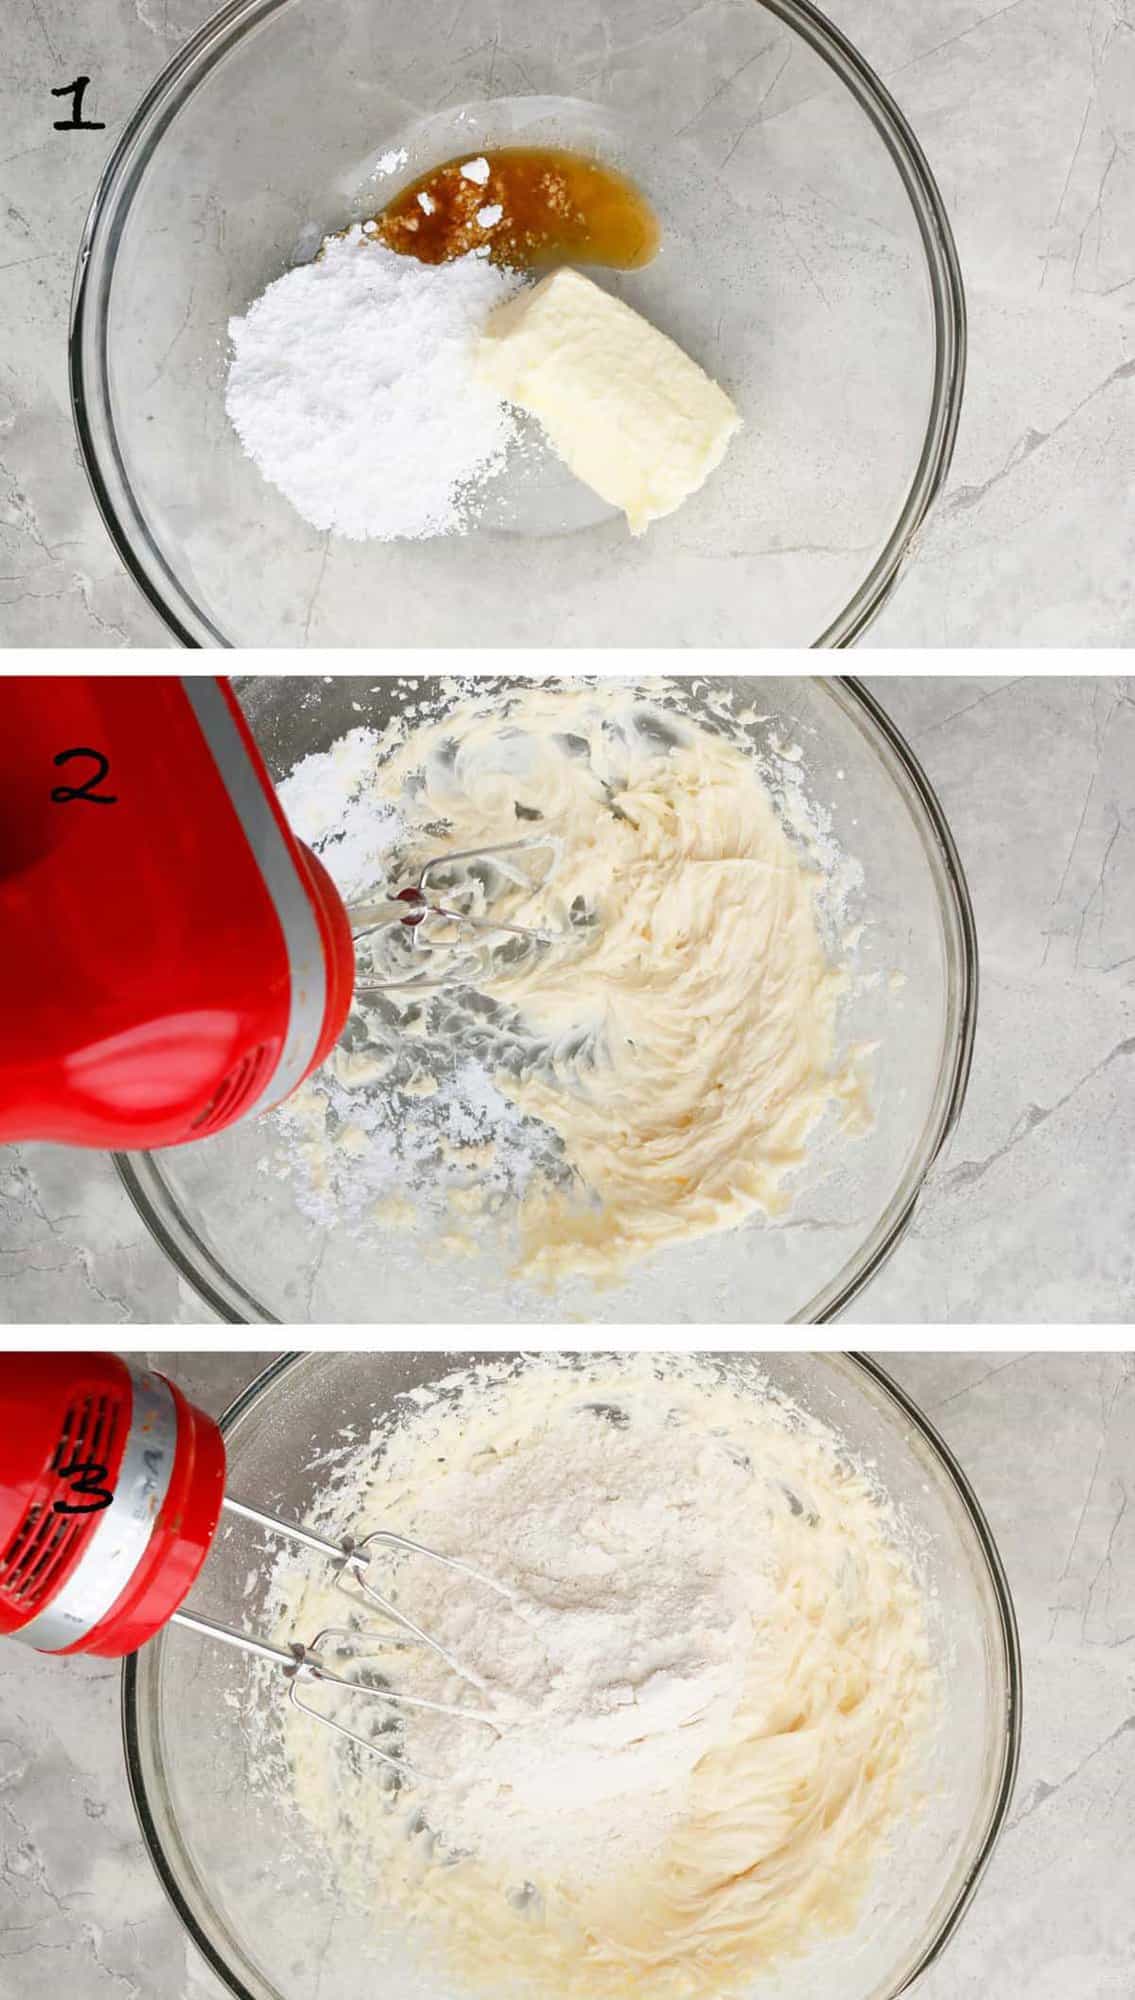
1 & 2. Cream butter, confectioners sugar, and vanilla, using an electric beater, until creamy and smooth.
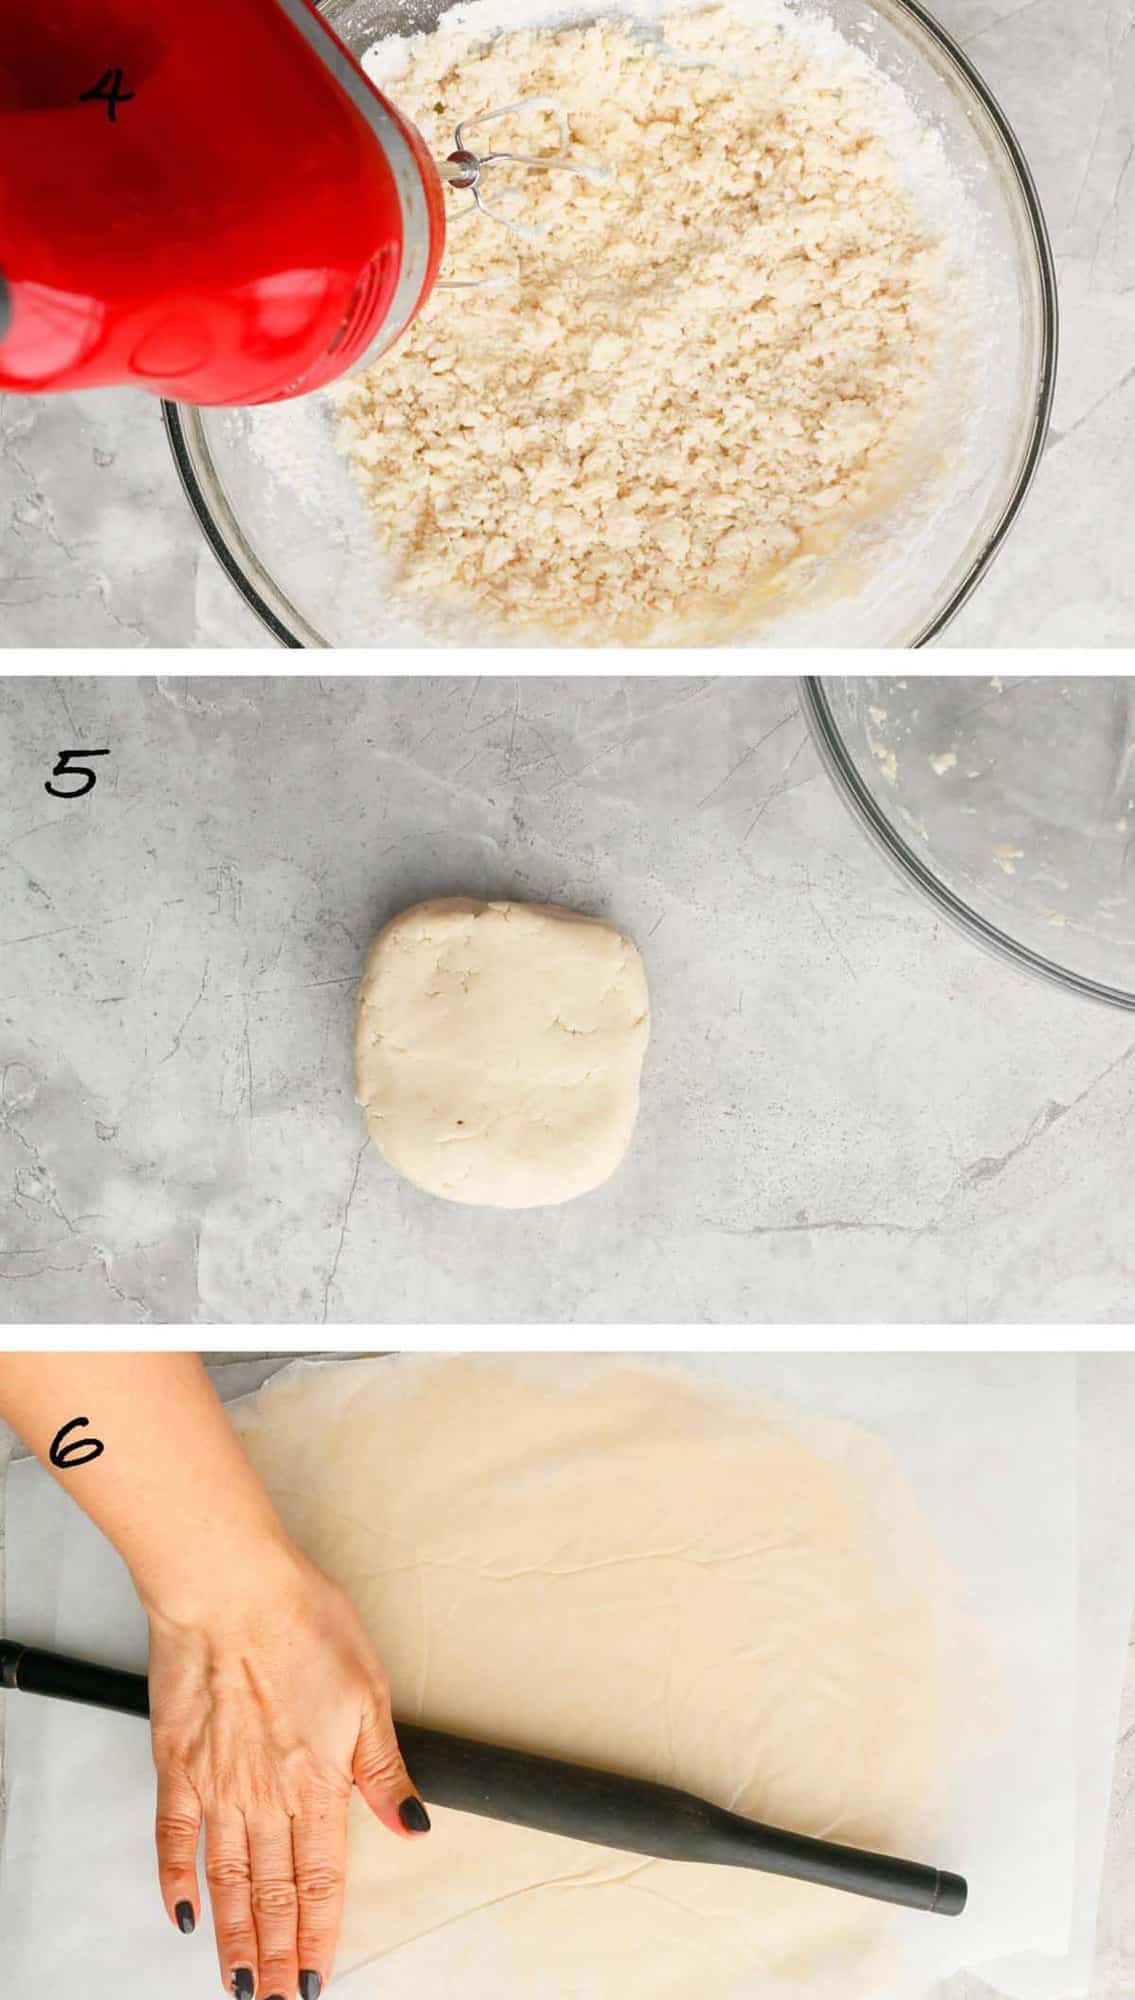
3 & 4. Mix in all-purpose flour and salt.
5 & 6. Shape the dough into a disc, and roll it between two sheets of parchment paper into ⅛ to ¼ inch thickness. Transfer the dough and the parchment paper to the refrigerator to firm up.
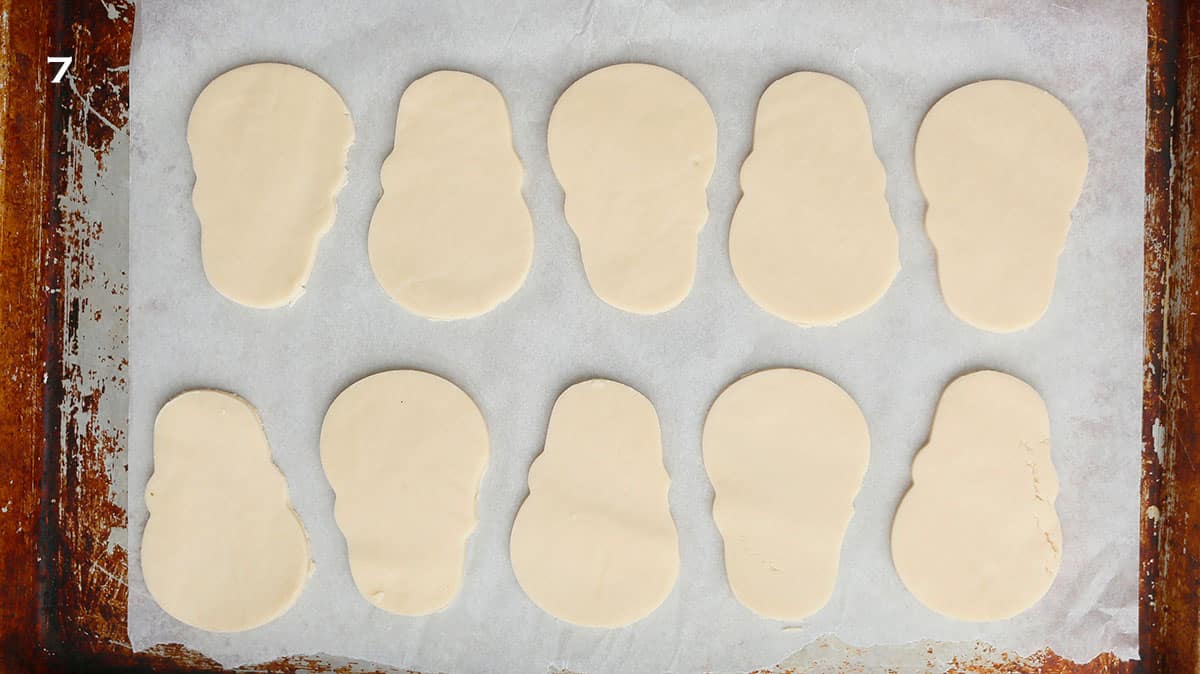
7. Using a skull cookie cutter, cut skull shapes.
Want To Save This Recipe?
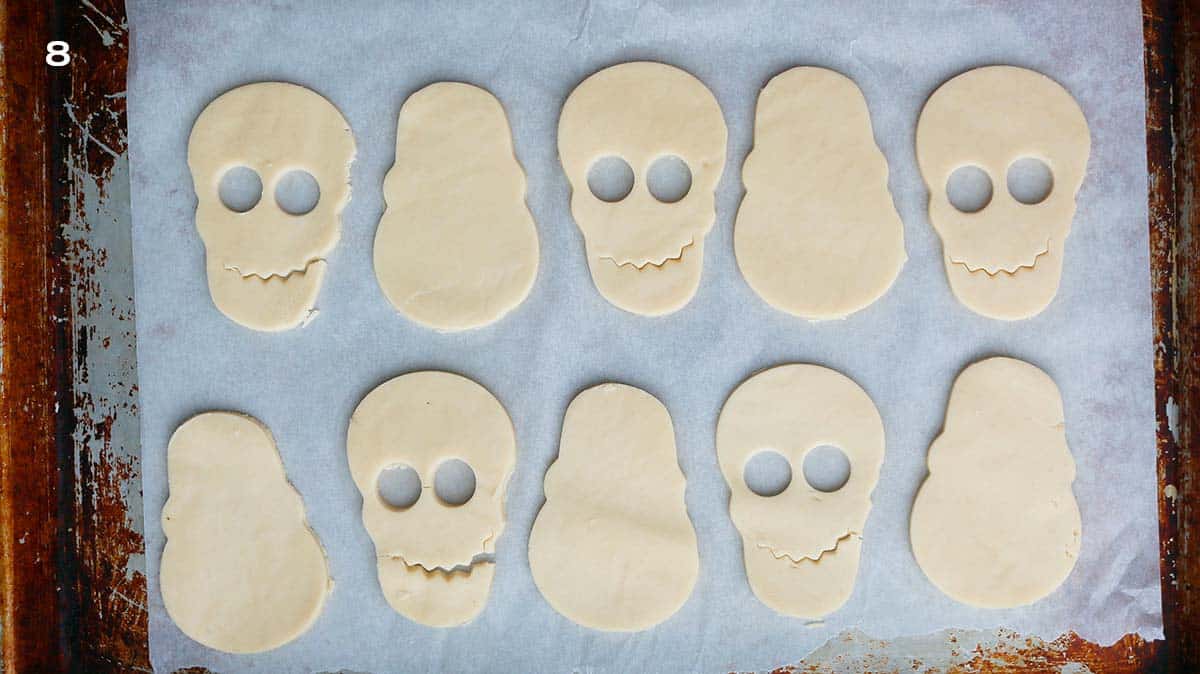
Tip: We will punch out eyes and mouth for one-half of the cookies, which will be the top layer of the sandwich skull cookies.
8. Using a Wilton 2A round piping tip, punch two holes for the eyes, like in Halloween chips and Halloween pizza recipe. Gently press one side of the round fluted cookie cutter onto the lower section of the face, ensuring you don't cut all the way through.
Pro tip: While it might initially pose a challenge, you'll soon master the technique. To assist you, I've created an informative video tutorial that provides step-by-step guidance.
Tip: Ensure that the size of the eyes remains proportional to the skull's face, and feel free to use whatever you have readily available around your house.
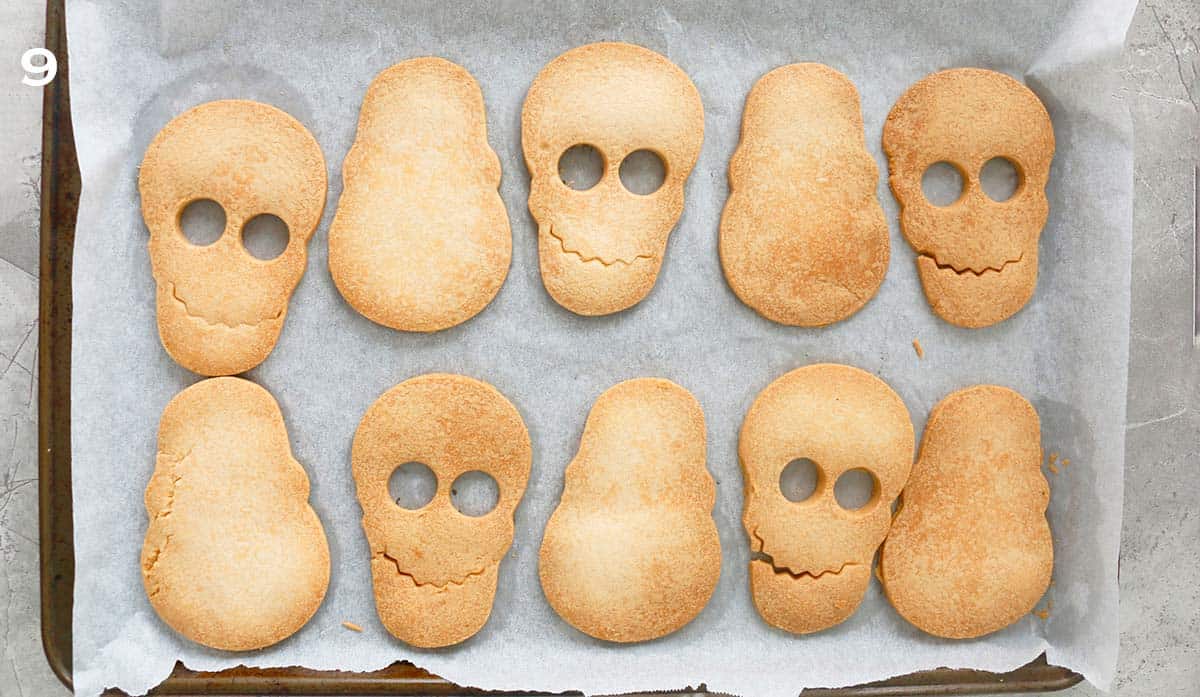
9. Place all the cut cookies onto a parchment-lined baking sheet and chill for at least an hour or up to a day. Bake cookies for 23 to 26 minutes at 350°F or until golden in color, let cool completely.
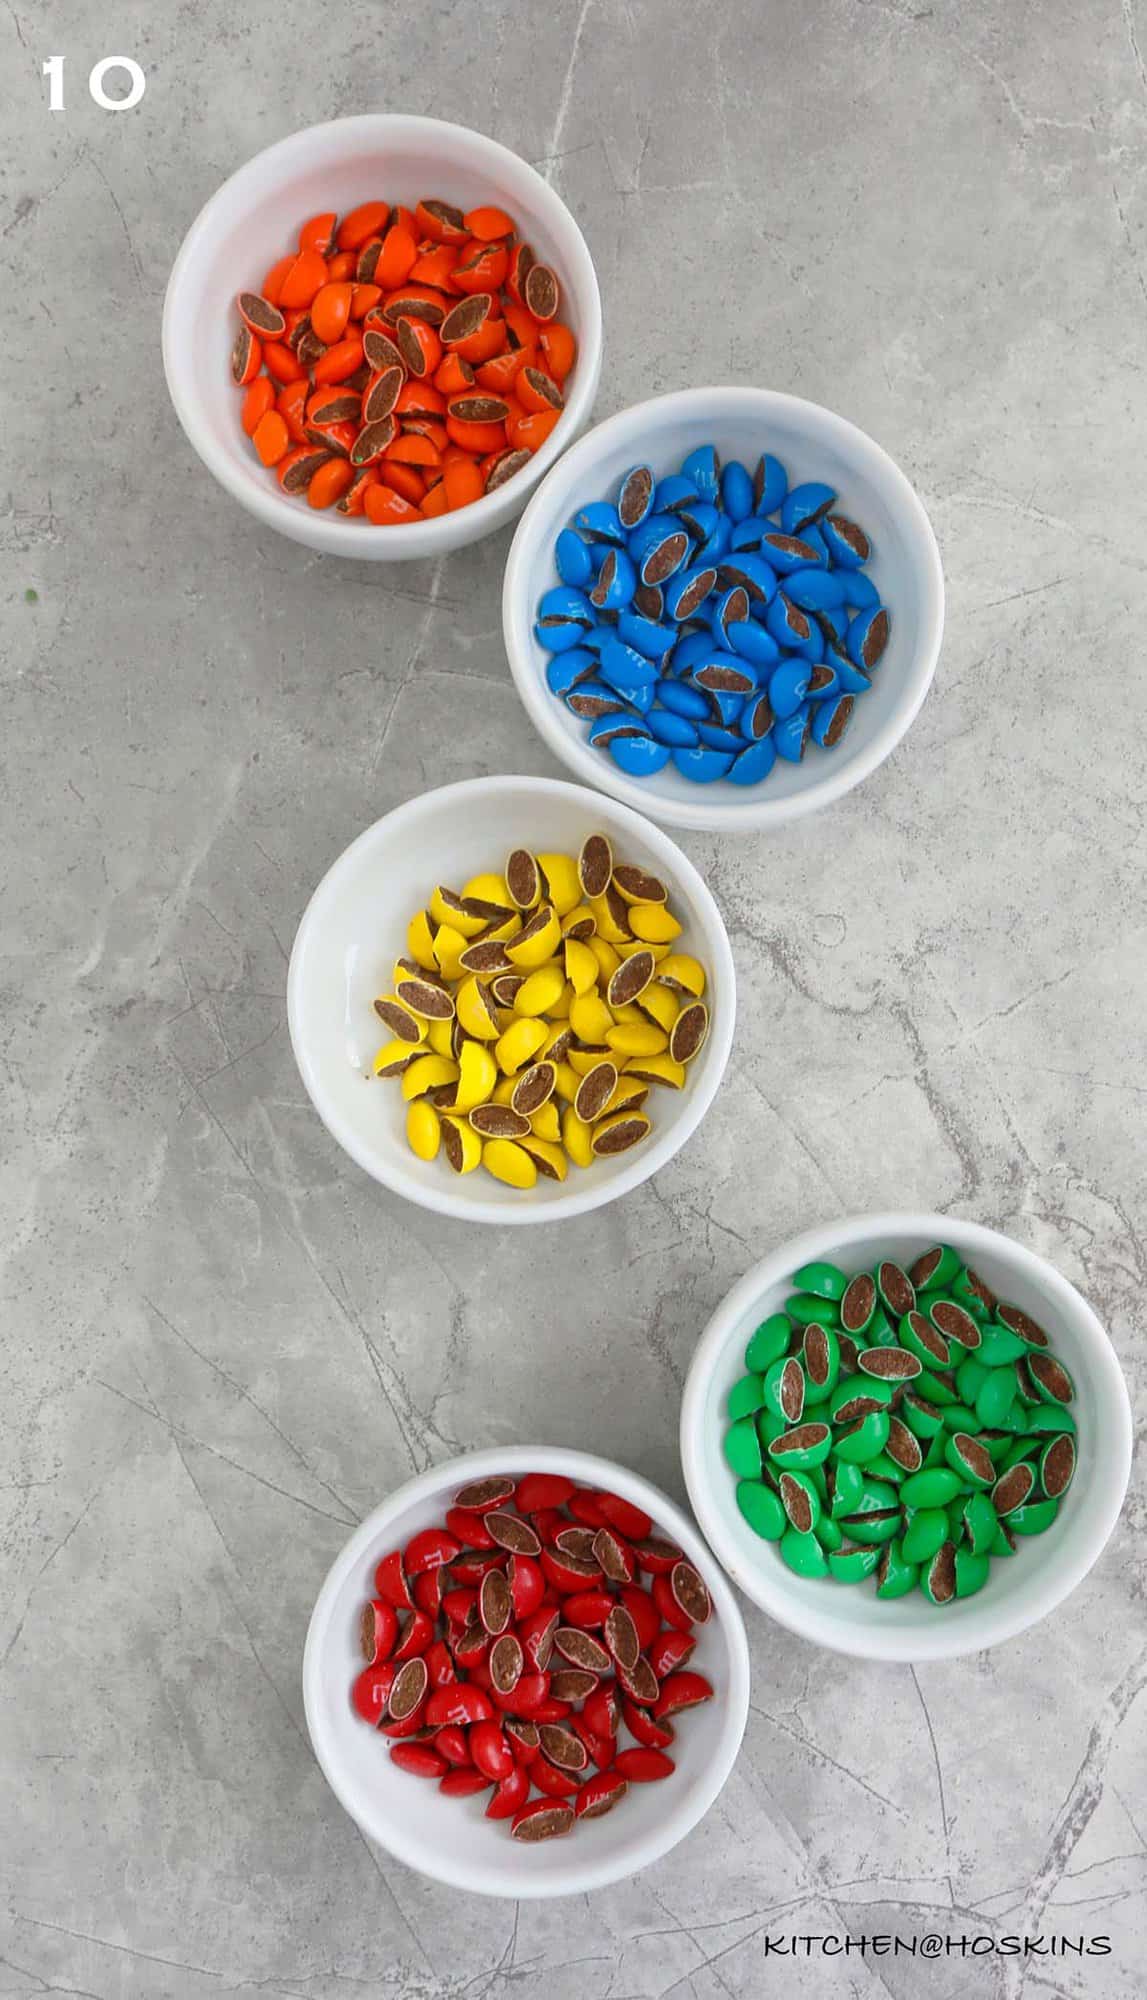
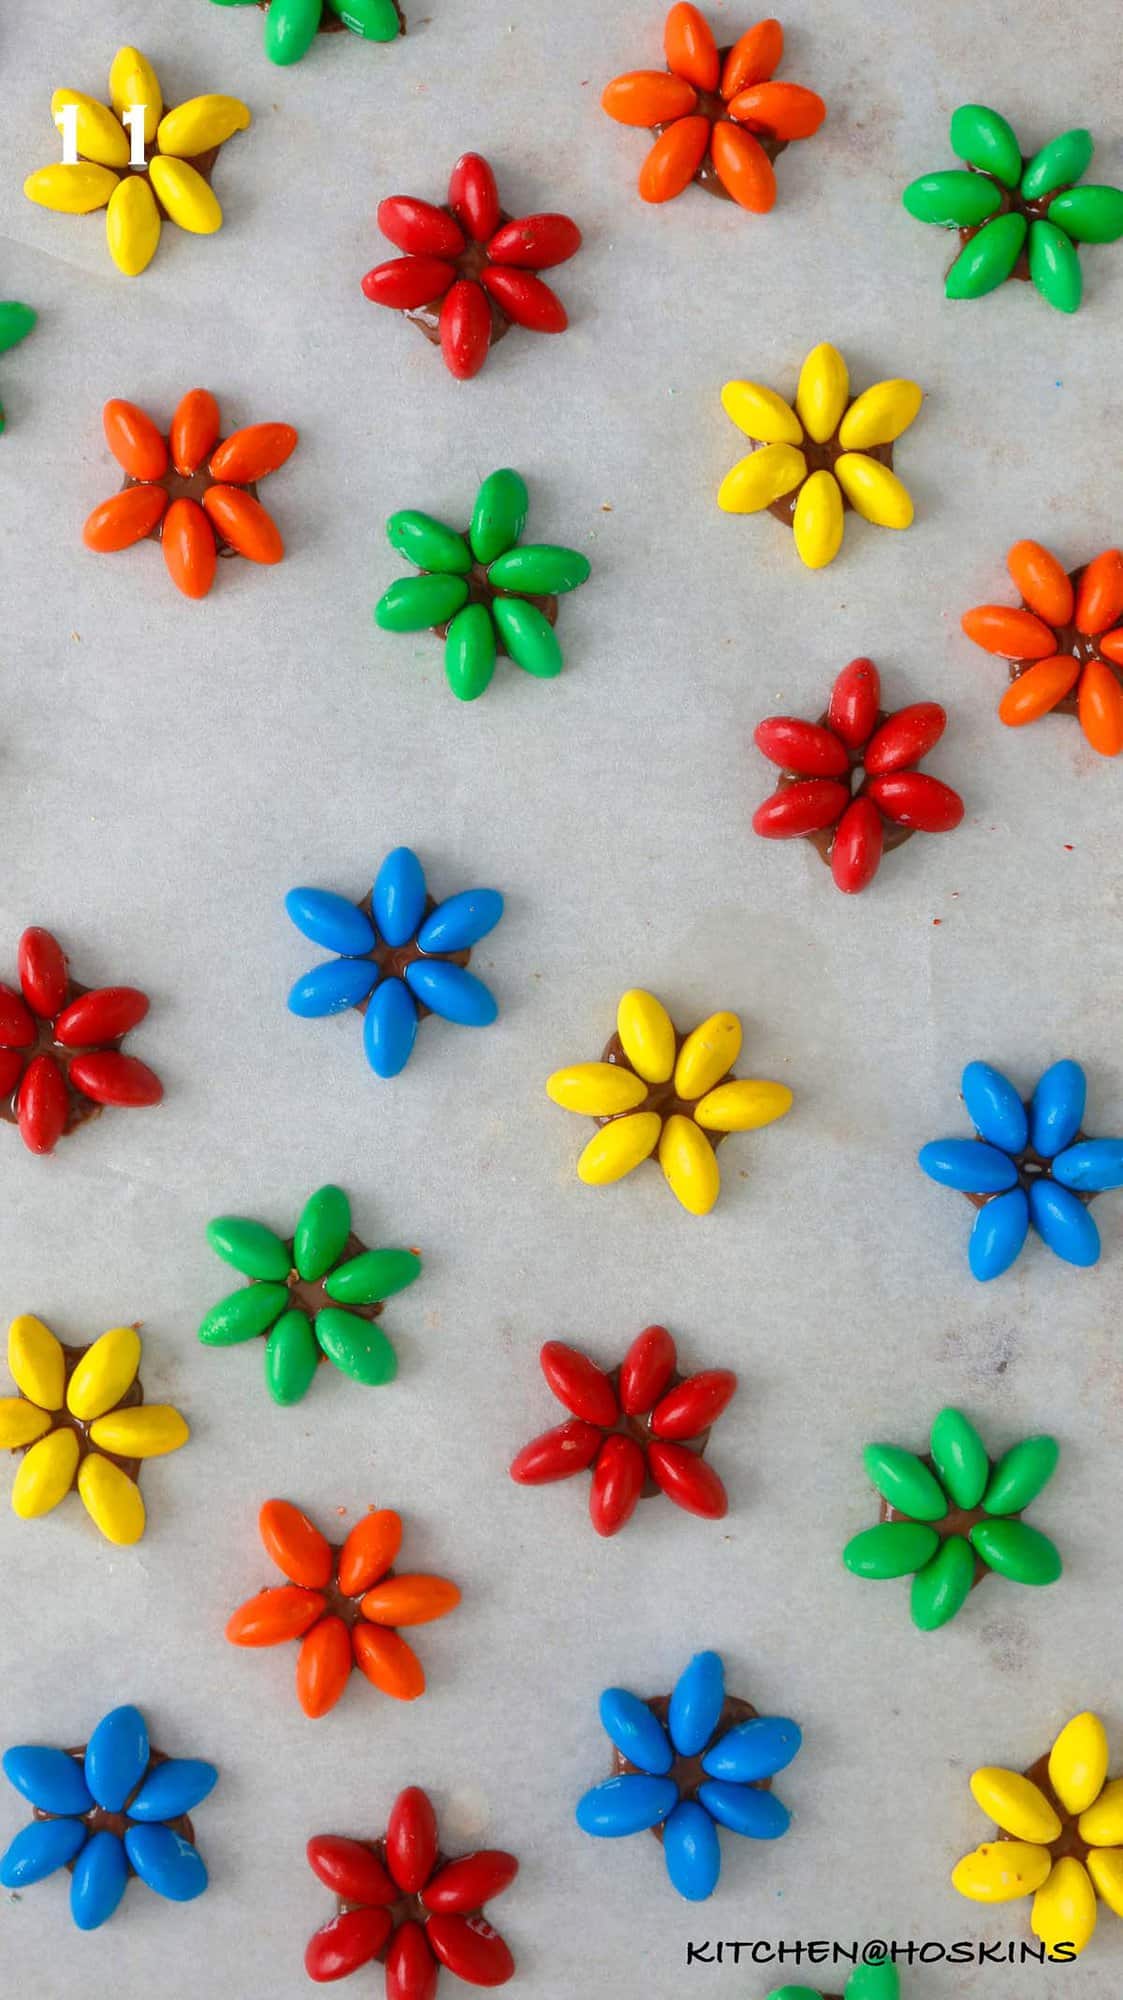
10 & 11. Make M&M flowers - Using a sharp knife, cut each M&M in half. Squeeze a small circle of melted chocolate on parchment paper and then stick M&Ms in a circular pattern with the cut side down, to create a flower shape Chill along with parchment in the refrigerator, to harden. I used the technique to make pretty white chocolate bark candy.
Tip: I love to use the same color M&Ms for each flower, but you could mix colors if you wish to. Skip making your own flowers and use the store-bought ones like in Halloween pop tarts.
Assemble skull cookies
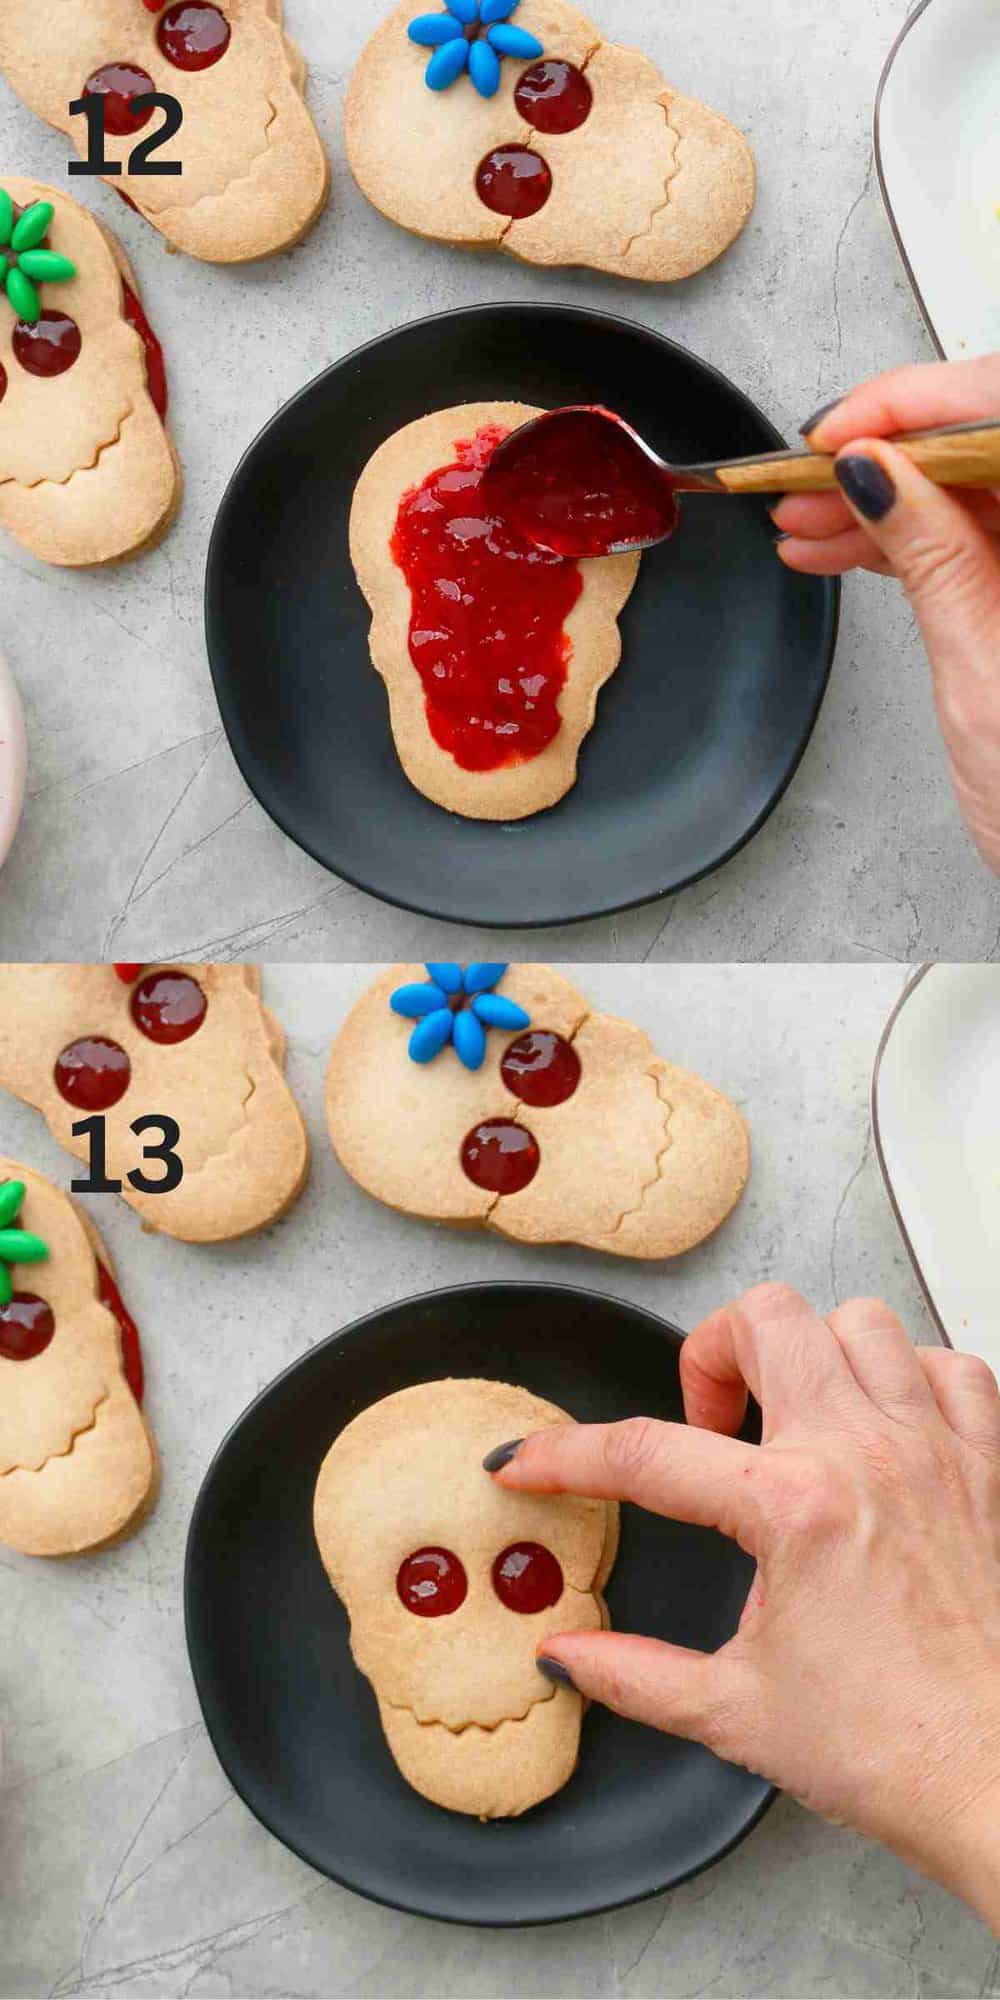
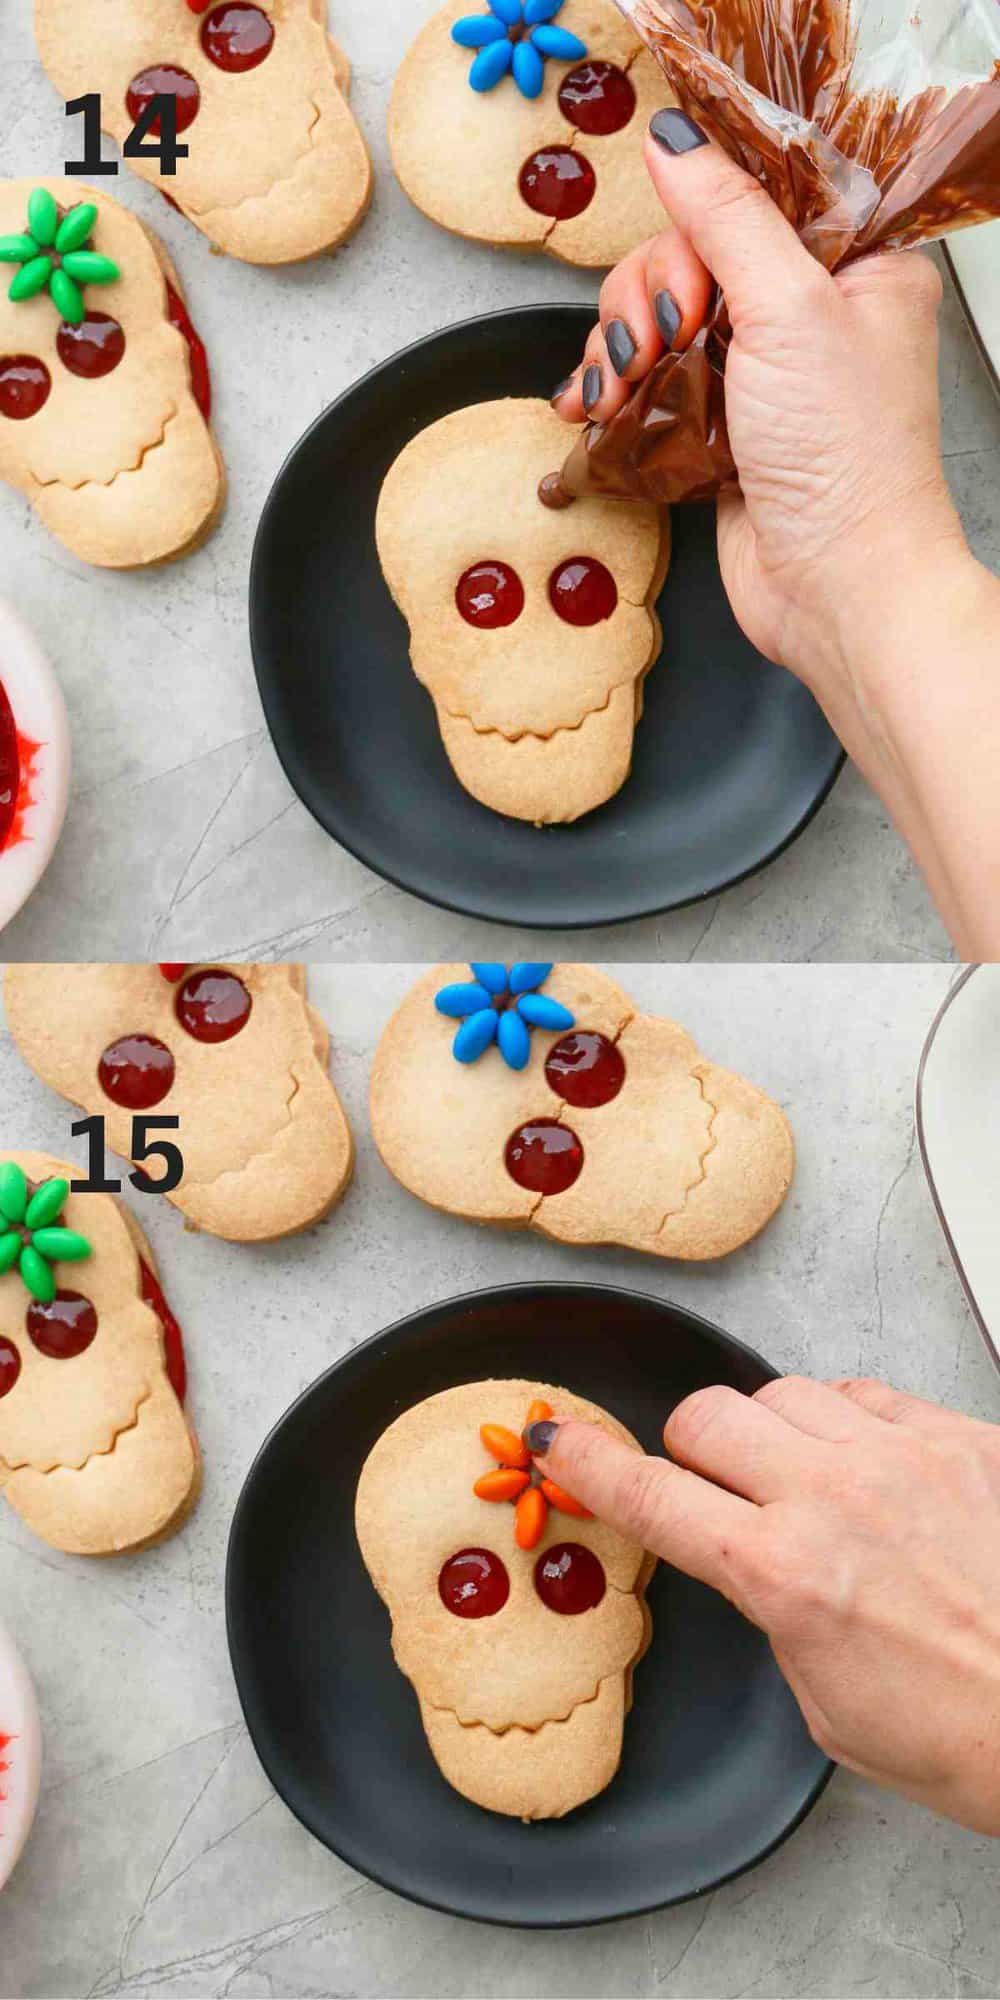
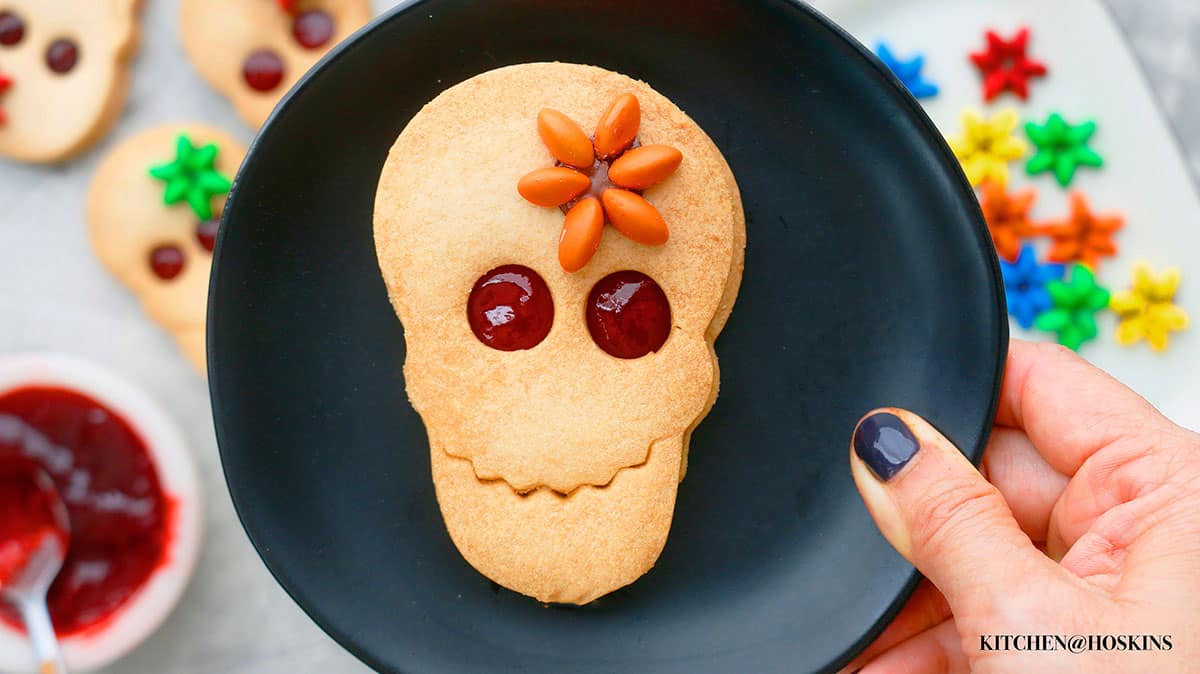
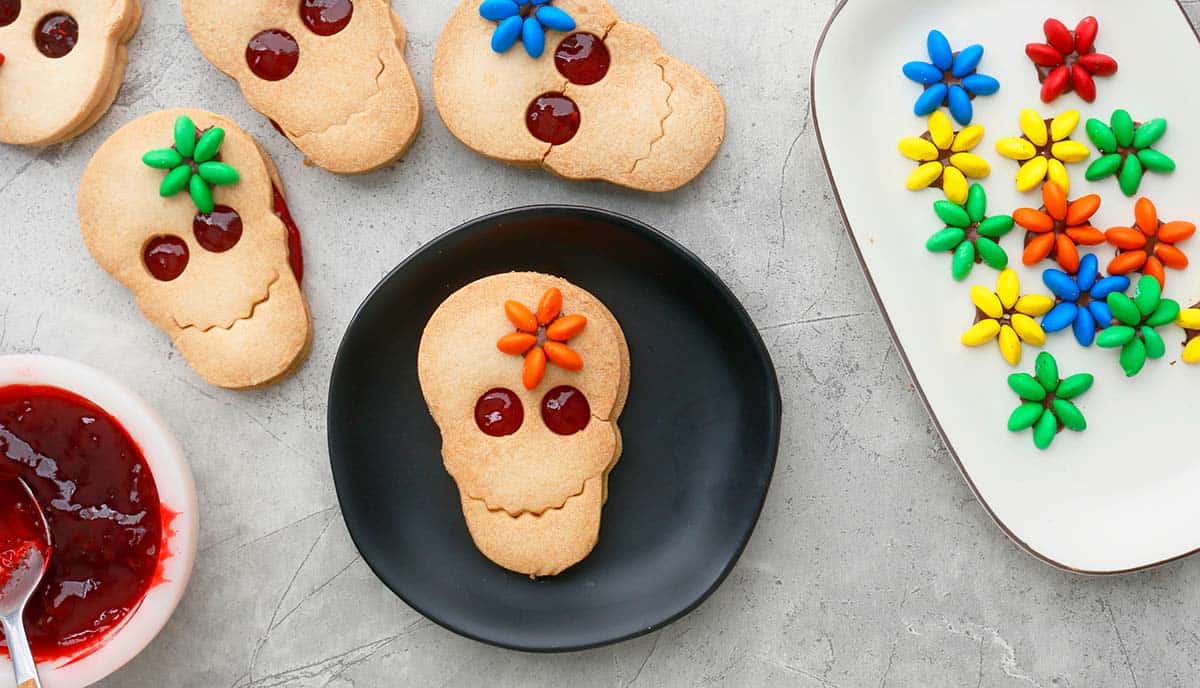
12 & 13. Spread some raspberry jam on a whole cookie and then place a cut-out cookie on top, pressing gently. Squeeze a small dollop of melted chocolate on one side of the face and then gently place a M&M flower on it. Let set for at least one hour before serving.
How to store?
Assembled skull cookies can be stored in an airtight container for up to 2 days. If you'd like to store them longer, then store the baked cookies (without any jam) in an air-tight container for up to a week. Fill just before serving.
How to make ahead?
These skull cookies are best on the day it's decorated. Nevertheless, you can prepare and store various components in advance:
- To freeze - Baked skull cookies (without any jam or M&M flower), can be frozen for up to 3 months. Thaw overnight before decorating.
- M&M flowers - can be stored in the fridge for up to a week.
- Baked skull cookies - Can be frozen for up to 3 months or stored at room temperature for up to
Helpful tips
- Assemble on the day if serving - The skull cookies tend to soften from the jam after about a day.
- Use parchment paper for rolling - The dough might stick if rolled on a floured counter.
- Don't have a fluted round cookie cutter? Use a plain round instead.
- Jam - Use a dark red colored jam like raspberry jam for a bloody red color.
- Double the batch - The recipe can be easily doubled or tripled to make more.
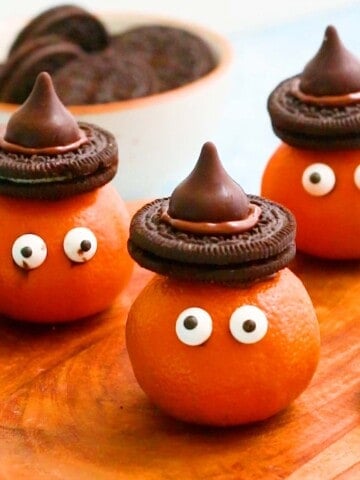
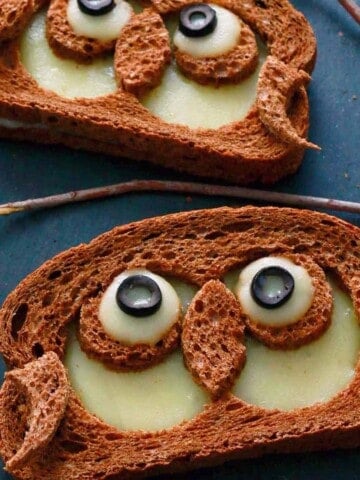
More cute Halloween treats

Skull Cookies
Equipment
- ¾-inch fluted round cookie cutter
Ingredients
Linzer Cookies
- ½ cup unsalted butter 1 stick, room temperature
- ¼ cup + 1 tablespoon confectioners sugar
- ½ teaspoon vanilla extract
- 1 ¼ cup all purpose flour
- 2 pinches salt
Additional ingredients
- Raspberry jam as required
- 5 tablespoons chocolate chips divided
- 15 M&M candies
Instructions
Cookie dough
- Add butter, confectioners sugar, and vanilla in a medium bowl and cream using an electric beater, until creamy and smooth, about 2 minutes. Add all-purpose flour and salt and beat to combone.
- Using your hands, shape the dough into a disc, and roll it between two sheets of parchment paper to ⅛ to ¼ inch thickness. Transfer the dough along with the parchment paper to the refrigerator to firm up (at least 4 hours or up to 2 days).
- Using a skull cookie cutter, cut skull shapes from the dough. Tip: We will punch out eyes and mouth for one-half of the cookies, which will be the top layer of the sandwich skull cookies.
- Using a Wilton 2A round piping tip, punch two holes for the eyes. Gently press one side of the round fluted cookie cutter onto the lower section of the face, ensuring you don't cut all the way through.Pro tip: While it might initially pose a challenge, you'll soon master the technique. I've created an informative video tutorial that provides step-by-step guidance.Tip: Ensure that the size of the eyes remains proportional to the skull's face, and feel free to use whatever you have readily available around your house.
- Place all the cut cookies onto a parchment-lined baking sheet, spacing about an inch apart, and chill for at least an hour or up to a day.
Bake & Finish
- Preheat oven to 350 degrees F.
- Bake cookies for 23 to 26 minutes at 350°F or until golden in color. Let cool completely.
- To make M&M flowers, cut each M&M in half with a sharp knife. Squeeze a small circle of melted chocolate on parchment paper and then stick M&Ms in a circular pattern with the cut side down, to create a flower shape Chill along with parchment in the refrigerator, to harden.Tip: I love to use the same color M&Ms for each flower, but you could mix colors if you wish to.Pro tip: To melt chocolate, place about ¼ cup of milk or semi-sweet chocolate chips into a microwave-safe bowl and microwave for 30 to 60 seconds, or until fully melted. Transfer melted chocolate into a small ziplock bag, seal and snip off a corner.
- Spread some raspberry jam on a whole cookie and then place a cut-out cookie on top, pressing gently.
- Squeeze a small dollop of melted chocolate on one side of the face and then gently place a M&M flower on it. Let set for at least one hour before serving. Tip: Assembled cookies can be stored in an airtight container for up to 2 days. If you'd like to store them longer, then store the baked cookies (without any jam) in an air-tight container for up to a week. Fill just before serving.
Notes
Nutrition
Nutritional information, based on third-party calculations, should be seen as estimates, not guarantees, as various factors like product types, brands, processing methods, and more can alter the nutritional content in recipes.
Did you make this recipe? I’d love your feedback! Please let me know by leaving a comment, a star rating or review below.
All contents and images are my original work, unless and otherwise mentioned. Please do not use my recipes or images without linking back to www.kitchenathoskins.com. If you wish to republish a recipe, please rewrite in your own words and don’t forget to include a link back to the original recipe.
Some of the links above are affiliate links, which pay me a small commission for my referral at no extra cost to you! I am a participant in the Amazon Services LLC Associates Program, an affiliate advertising program designed to provide a means for us to earn fees by linking to Amazon.com and affiliated sites. Thank you for supporting kitchenathoskins.com.




Kelly @ Kelly Lynns Sweets and Treats
These are SO cute!! I am totally loving the M&M flowers too! You are so creative! Yum yum yum!!