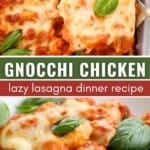
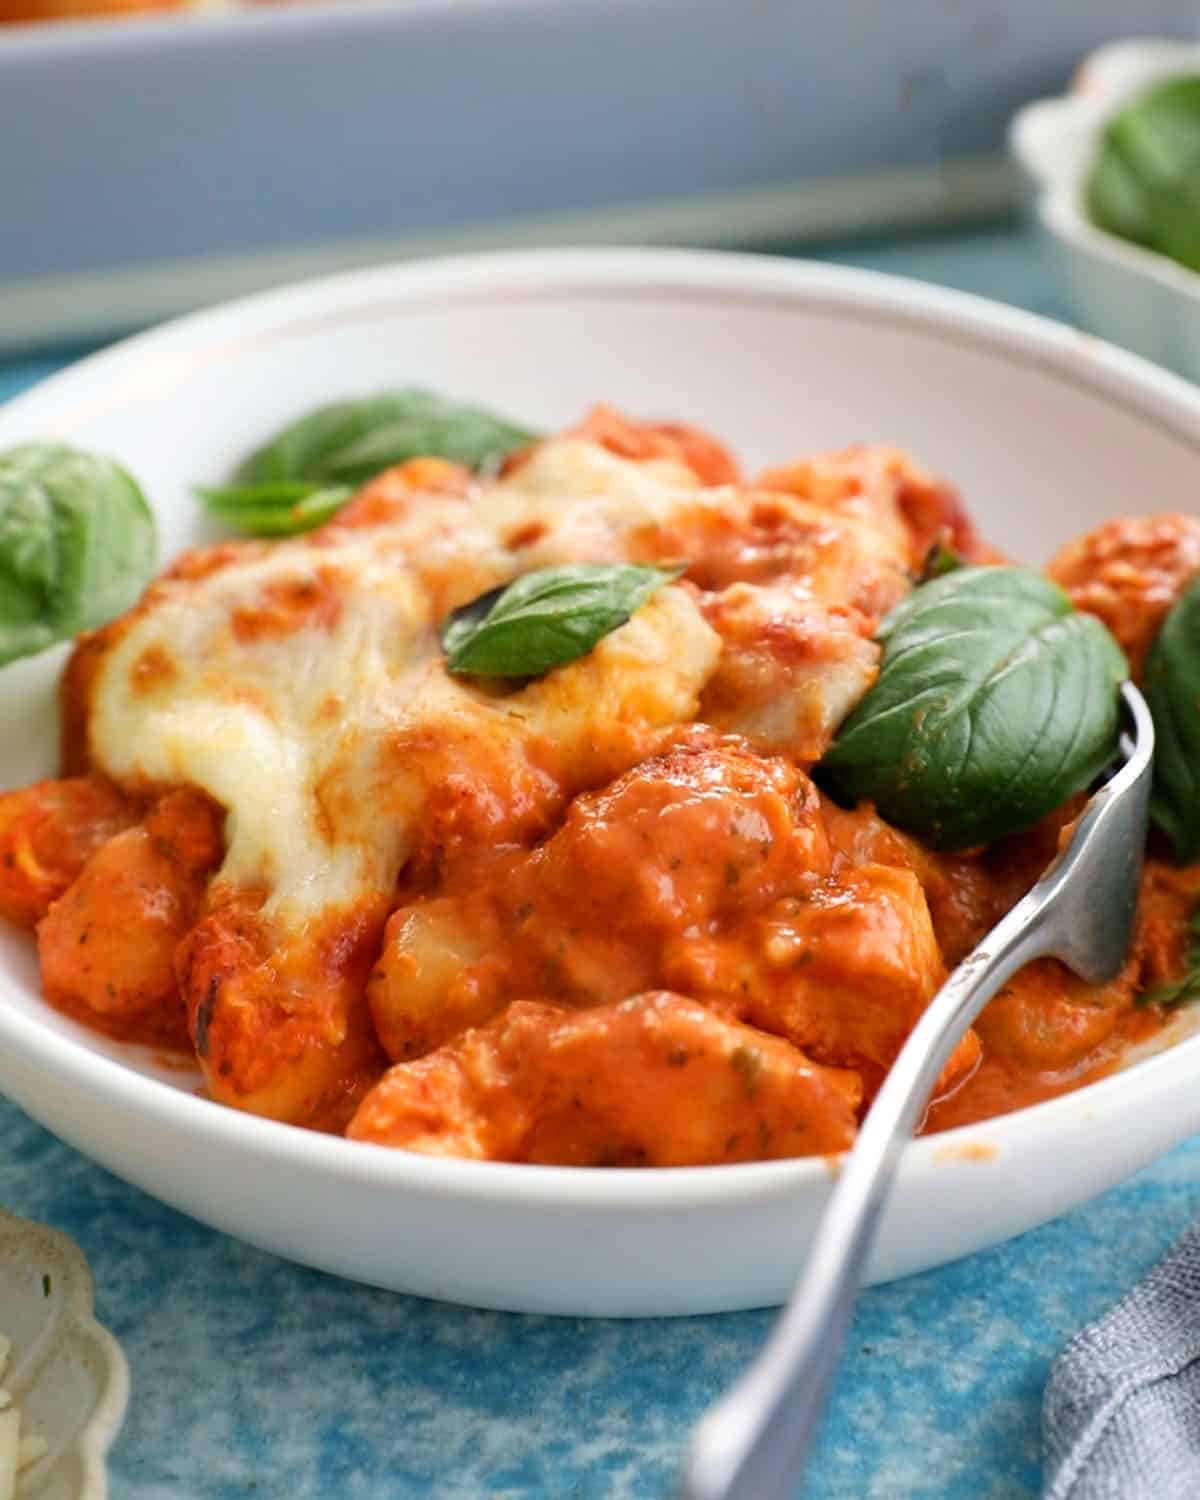
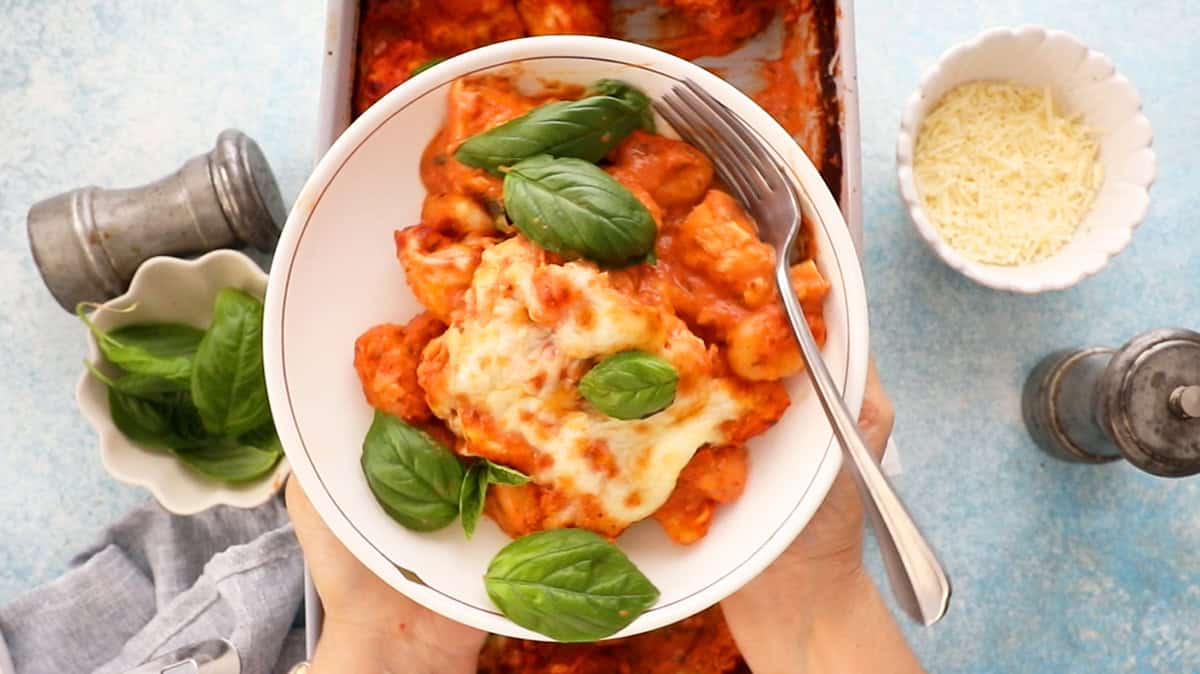
Cheesy Baked Chicken and Gnocchi is an easy dump-and-bake gnocchi dinner. It has pillowy gnocchi and tender chicken smothered in a creamy marinara sauce and is topped with plenty of mozzarella. Cozy, cheesy, and comforting!
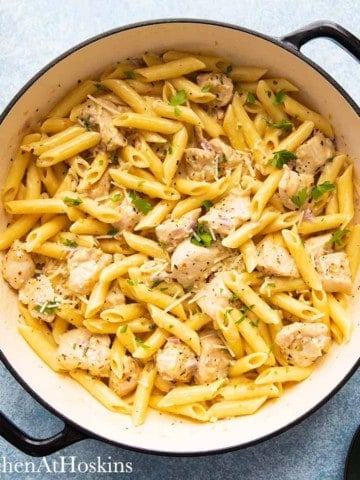
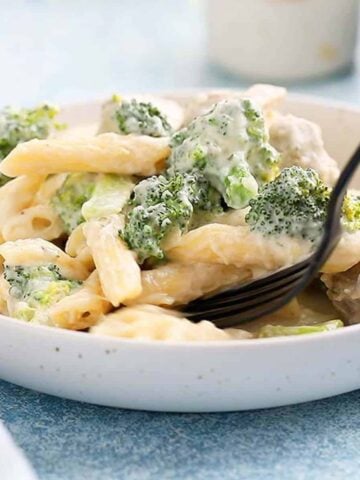
If you are looking for easy chicken pasta dishes, try our butter chicken pasta or the chicken broccoli alfredo next.
Why You'll Love This Baked Chicken and Gnocchi

You don’t need to sauté the chicken, boil the gnocchi, or make a separate sauce. Simply add everything to the baking dish, stir, and bake! The gnocchi cooks right in the sauce, absorbing some of the marinara and chicken juices while releasing starch that naturally thickens the sauce as it cooks.
The only extra step is adding the cheese at the end and broiling until bubbly and golden. It’s a true dump-and-bake dinner that’s perfect for busy weeknights!
-maria doss
Jump to:
Recipe Testing
I wanted to create something similar to my baked ravioli recipe, but much easier since there’s no layering involved. In my first attempt, I mixed the chicken, gnocchi, and sauce, topped it with cheese, covered the pan, and baked everything at 350°F before uncovering it to melt the cheese.
The problem? The gnocchi turned into a mushy mess. Unlike dry pasta, gnocchi cooks much faster and has a softer texture, so it needs a different approach. I found that baking the chicken and gnocchi at a higher temperature lets the gnocchi roast in the marinara while excess moisture evaporates. The result is tender, pillowy gnocchi with a much better bite instead of a soft, mushy texture.
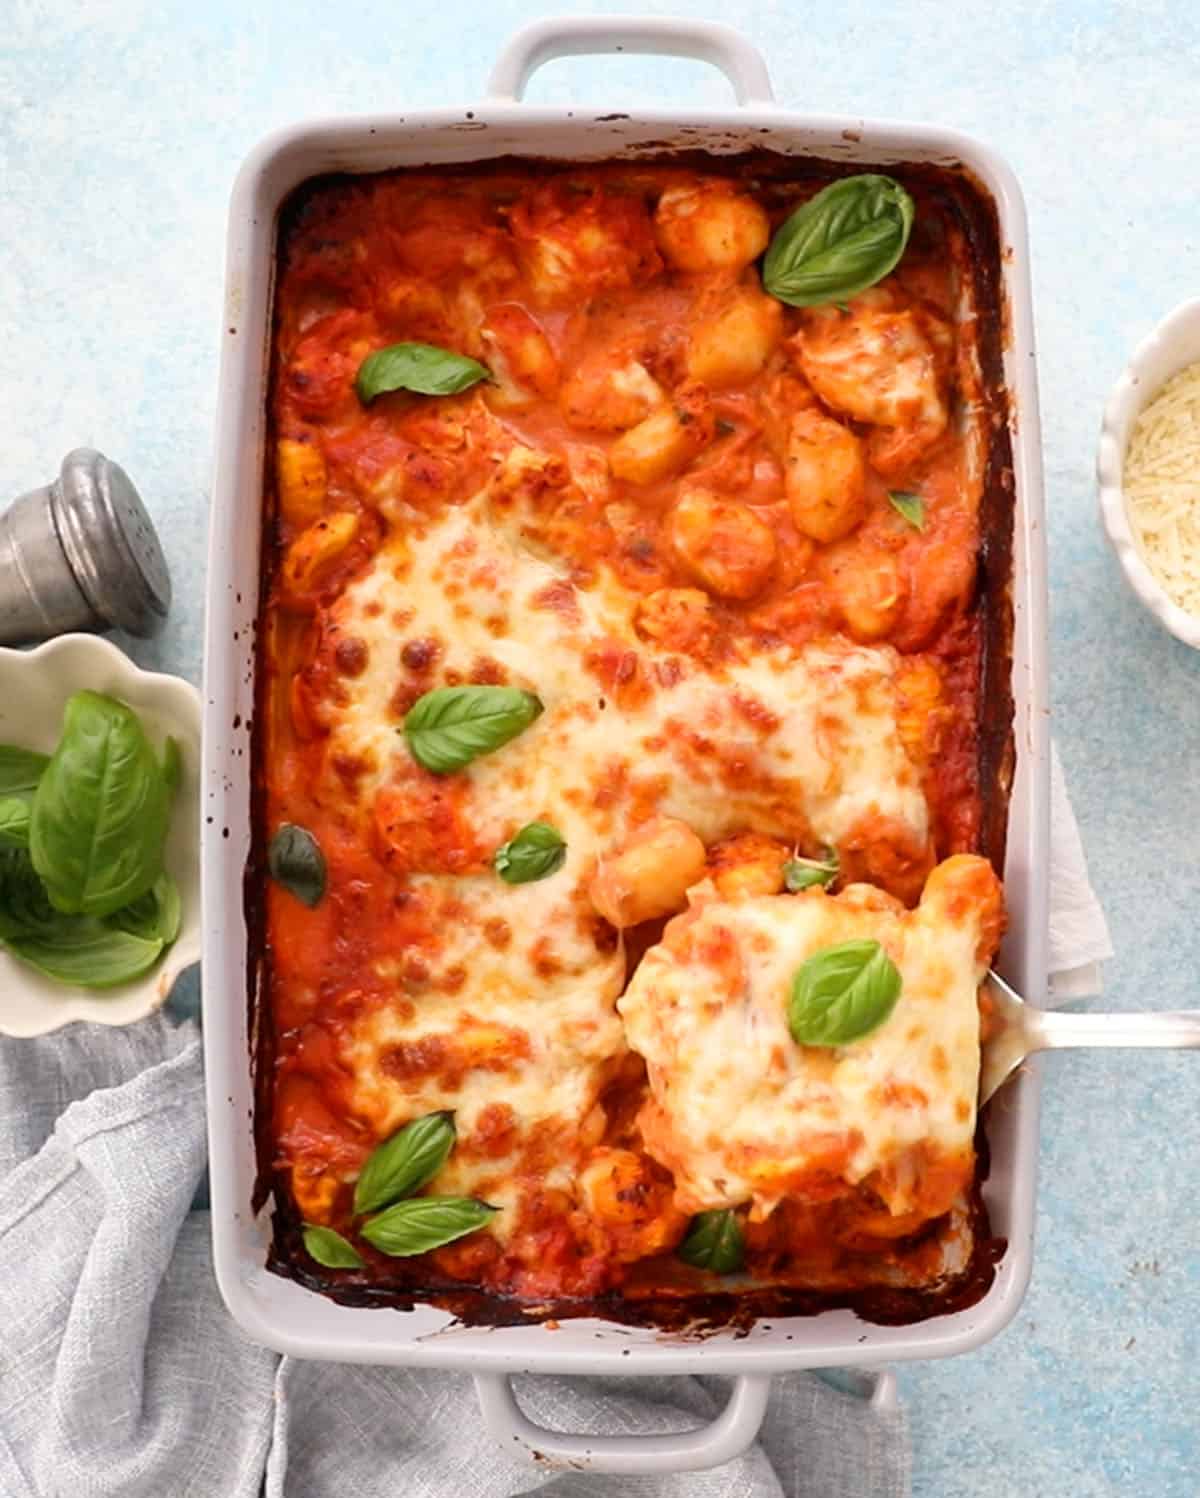
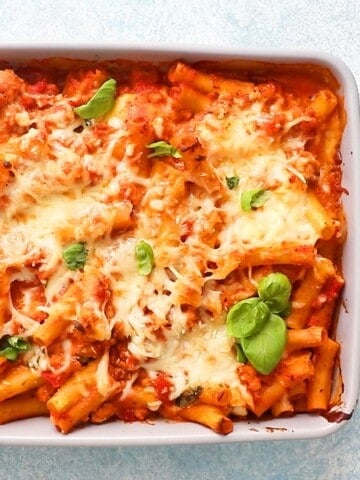
Another difference is the casserole's height. Unlike a taller baked pasta dish like my baked chicken broccoli pasta or chicken baked ziti, this is spread out in a large, shallow baking dish. This gives the gnocchi more room to roast and helps prevent it from becoming too soft, which makes a big difference in the final texture.
Tips For Success
- Chicken — I tested this with both boneless skinless chicken breasts and thighs. Both work, but thighs are my favorite because they stay especially juicy and tender in the oven.
- Chicken size — Cut the chicken into 1-inch cubes, roughly the same size as the gnocchi. This makes the dish easy to scoop and eat, while helping the chicken and gnocchi cook at about the same time.
- Gnocchi — Use shelf-stable gnocchi for this recipe. It cooks directly in the sauce, so there’s no need to boil it first.
- Tomato paste — Don’t skip the tomato paste! It adds concentrated tomato flavor and savory depth, balances the cream, and gives the sauce that rich, long-simmered taste without actually simmering it for hours.
- Sauce consistency — The sauce may look a little loose when it first comes out of the oven. Let the dish rest for about 5 minutes before serving; the gnocchi will continue absorbing the sauce and help it thicken.
- Marinara sauce - Use your favorite jarred marinara sauce. I love to use Prego, tomato basil and garlic for all my pasta recipes.
- Baking dish — Use a large, shallow baking dish so the ingredients are spread out rather than packed together. I recommend a 9×13-inch baking dish, which gives you plenty of surface area for moisture evaporation. Othewise, the dish might be very saucy!
Chicken & Gnocchi FAQ'S
Yes! You can bake raw chicken and uncooked gnocchi together in the same dish. Shelf-stable gnocchi is designed to cook in liquid, so there’s no need to boil it first. As it bakes, the gnocchi absorbs the flavorful sauce while the chicken cooks alongside it.
The key is making sure the chicken and gnocchi cook at roughly the same rate. Here are a few tips:
1. Chicken size — Cut the chicken into 1-inch cubes so it cooks through in the same time as the gnocchi. Avoid using whole chicken breasts, which take much longer to cook and can throw off the timing.
2. Choose the right gnocchi — Use shelf-stable gnocchi from the dry pasta aisle. Refrigerated gnocchi also works, but avoid frozen gnocchi.
3. Use a large, shallow baking dish — Spread the chicken and gnocchi out in an even layer rather than packing them tightly together. A 9×13-inch dish gives everything enough room to cook evenly while allowing some excess moisture to evaporate.
Cut the chicken into 1-inch cubes, roughly the same size as the gnocchi. This helps the chicken and gnocchi cook at about the same rate, so you don’t end up with perfectly cooked gnocchi and undercooked chicken—or dry, overcooked chicken while waiting for the gnocchi to finish. It also makes the finished dish easy to scoop and eat.
No, you don’t need to boil the gnocchi first! The shelf-stable gnocchi cooks directly in the baking dish, soaking up the flavorful sauce and chicken juices as it bakes. This allows the gnocchi to absorb all those flavors while releasing starch that helps thicken the sauce.
In fact, boiling the gnocchi first can make it too soft and potentially mushy or gummy after baking. For this recipe, simply use shelf-stable gnocchi straight from the package—no pre-cooking needed!
Yes, but frozen gnocchi needs a little extra prep for this chicken gnocchi recipe. Since it contains more moisture, adding it straight from the freezer can release excess water into the casserole and affect the cooking time and also make it watery.
For the best texture, sear the frozen gnocchi first. Heat a splash of olive oil or butter in a nonstick skillet over medium-high heat. Add the frozen gnocchi in a single layer and cook for 3 to 4 minutes, turning occasionally, until lightly golden on the outside. Transfer the seared gnocchi directly to the baking dish with the raw chicken and sauce, then proceed with the recipe as directed.
More Chicken & Pasta Recipe Ideas
Want To Save This Recipe?
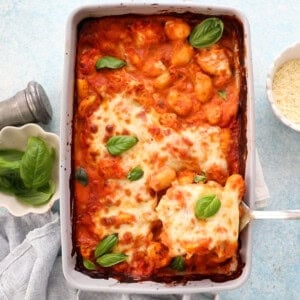
Cheesy Baked Chicken and Gnocchi
Ingredients
- 1 pound shelf-stable gnocchi
- 1 pound boneless skinless chicken thighs or breast (cut into 1-inch chunks)
- 2 cups marinara sauce
- ½ cup heavy cream
- ½ to 1 teaspoon red pepper flakes (use as needed)
- 1 teaspoon salt (depends on the sauce used)
- 1 teaspoon dried parsley
- ¾ teaspoon dried oregano
- ½ teaspoon ground black pepper
- 1 tablespoon tomato paste
- 1 ½ cups shredded mozzarella cheese
- fresh basil leaves (for topping)
Instructions
- Prep. Preheat the oven to 400°F and grease the bottom and sides of a 9x13 inch baking pan with cooking spray.
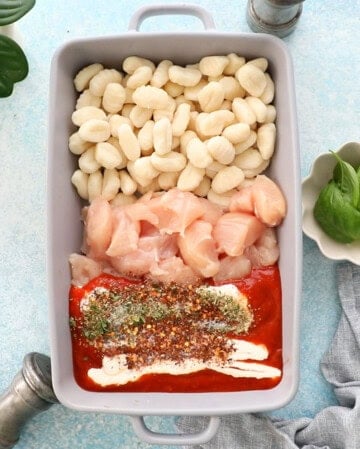
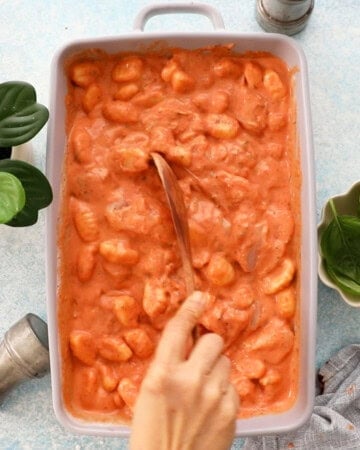
- Dump and mix. Add all ingredients except the last two ingredients (mozzarella and fresh basil) to the baking pan. Mix well and spread into an even layer.
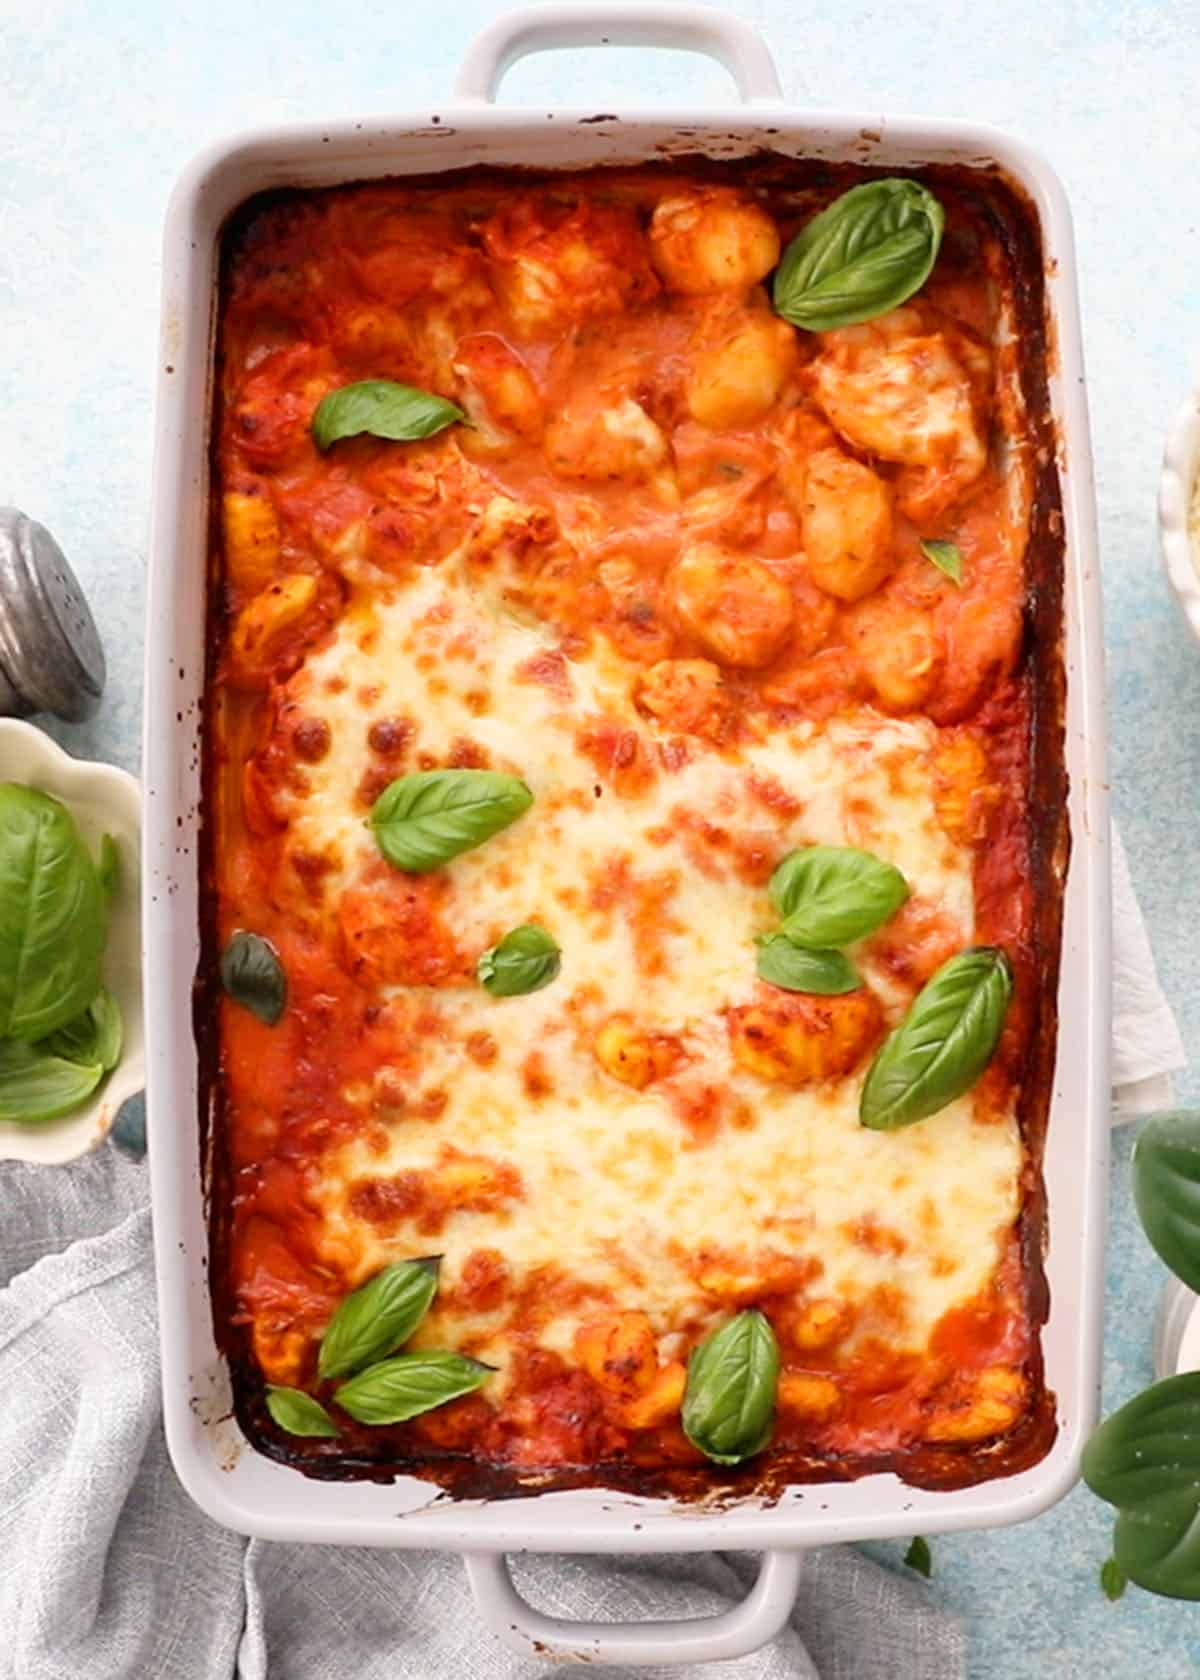
- Bake. Bake for 30 minutes. Remove the pan from the oven and place it on a wire rack. Sprinkle the cheese evenly over the top, adding a little extra if you like.
- Finish. Place the pan in the oven, switch to broil, and broil for about 5 minutes, or until the cheese is melted and the top is golden. Watch it closely so the cheese doesn’t brown too much. Remove from the oven, sprinkle with chopped fresh basil, and serve.👉 The sauce may look a little loose when it first comes out of the oven. Let the dish rest for about 5 minutes before serving; the gnocchi will continue absorbing the sauce and thicken!
Notes
Nutrition
Nutritional information, based on third-party calculations, should be seen as estimates, not guarantees, as various factors like product types, brands, processing methods, and more can alter the nutritional content in recipes.
How To Make Baked Chicken and Gnocchi ?
What to Serve With Chicken Gnocchi Bake
Since this baked chicken & gnocchi is already creamy, cheesy, and filling, I like to keep the sides simple and fresh. A crisp salad, some crusty bread, or roasted vegetables all work beautifully alongside the rich tomato sauce. And honestly, having something to soak up that extra sauce is never a bad idea!
- Salad — A simple mixed green salad with a light lemon vinaigrette adds a fresh, crisp contrast to the creamy sauce and cheese.
- Bread — Crusty bread is perfect for soaking up every last bit of the creamy tomato sauce. My easy Dutch oven bread or avocado dinner rolls would be delicious alongside it. For something extra easy, try my air fryer garlic bread—it’s outrageously good!
- Roasted vegetables — Roasted broccoli, green beans almondine, pan fried asparagus, or air fryer Brussels sprouts add a pop of green and a delicious roasted flavor without making an already hearty meal feel too heavy.
MADE THIS RECIPE AND LOVED IT? 💚 Please leave a ⭐️STAR rating and COMMENT below- I love to hear your feedback! Tag me with your creations on Instagram and find me on Facebook.
Hi, I’m Maria! I share easy, flavor-packed dinners, high-protein meals, and irresistible baking ideas. If you’ve ever asked, “Don’t know what to cook tonight?” you’re in the right place. And yes—there’s plenty here for breakfast, snacks, and dessert too. More about maria ->