

These crispy, crunchy breadsticks are baked to golden perfection with no yeast required! They're pencil-thin, quick and easy to make, perfect for cheese and charcuterie boards or dipping in marinara. Best of all, they stay crispy for days - Quick and easy version of Grissini!
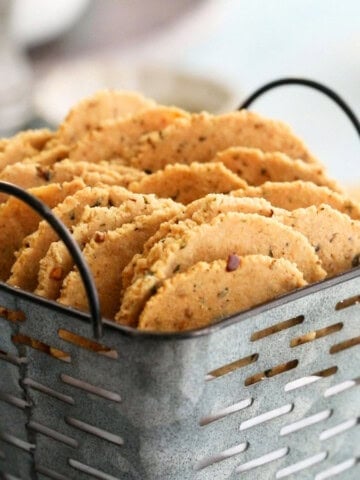
If you are looking for more crisp snack ideas, then try my almond flour crackers recipe or the parmesan crackers next!

A Quick Look at the Recipe
✅ Recipe Name: Crispy Breadsticks
🕒 Ready In: ~ one hour
👪 Makes: 20 breadsticks
🧑🍳 Main Ingredients: Flour, butter, baking powder and sesame seeds
📖 Dietary Info: Eggless, vegetarian
📌 Difficulty: Quick and easy oven baked recipe
Why you’ll love these crispy breadsticks?

This recipe is my easy take on grissini, the classic pencil-thin Italian breadsticks. Traditional grissini are made with yeast and require time to proof, but this version uses baking powder instead, so you can skip the waiting and have crispy breadsticks in no time.
The secret to these extra-crispy breadsticks without yeast is the pie crust method! I mix the butter into the flour before adding the water. This coats the flour and keeps the breadsticks tender instead of chewy. As the breadsticks bake, the butter melts and releases steam, creating tiny layers in the dough. This gives the breadsticks their light, crisp, and tender texture.
They're incredibly versatile, too. Serve them alongside a charcuterie board, fruit and cheese platter, break them into pieces to sprinkle over soups and salads, or simply enjoy them as a crunchy, salty snack with a glass of wine. I love adding white sesame seeds for a subtle nutty flavor and a little extra character.
- maria doss
Jump to:
The breadstick dough is also a dream to work with, making it a fun baking project for kids. I've even used this same dough to make snake-shaped breadsticks, so don't be afraid to get creative!
How to make
You can find full printable recipe below, but here is a quick overview of the procedure along with step-by-step photos.
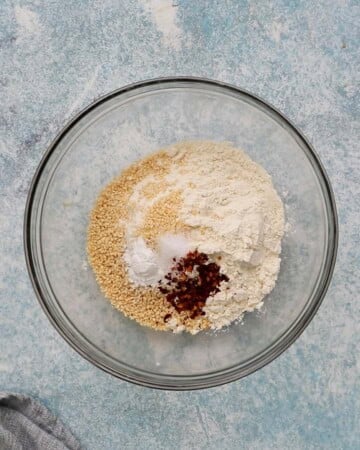
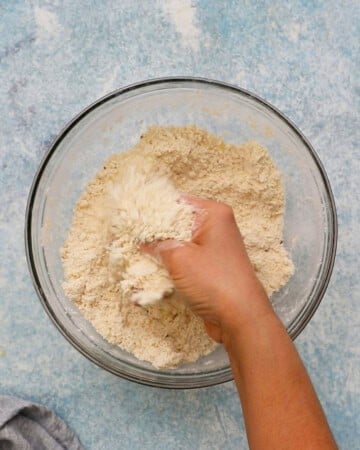

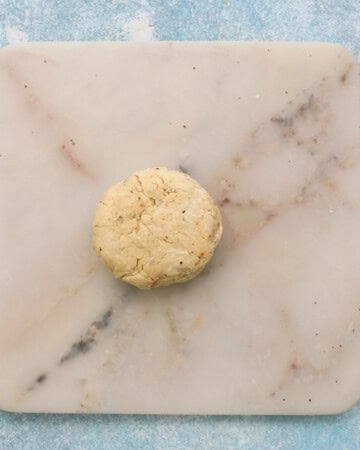
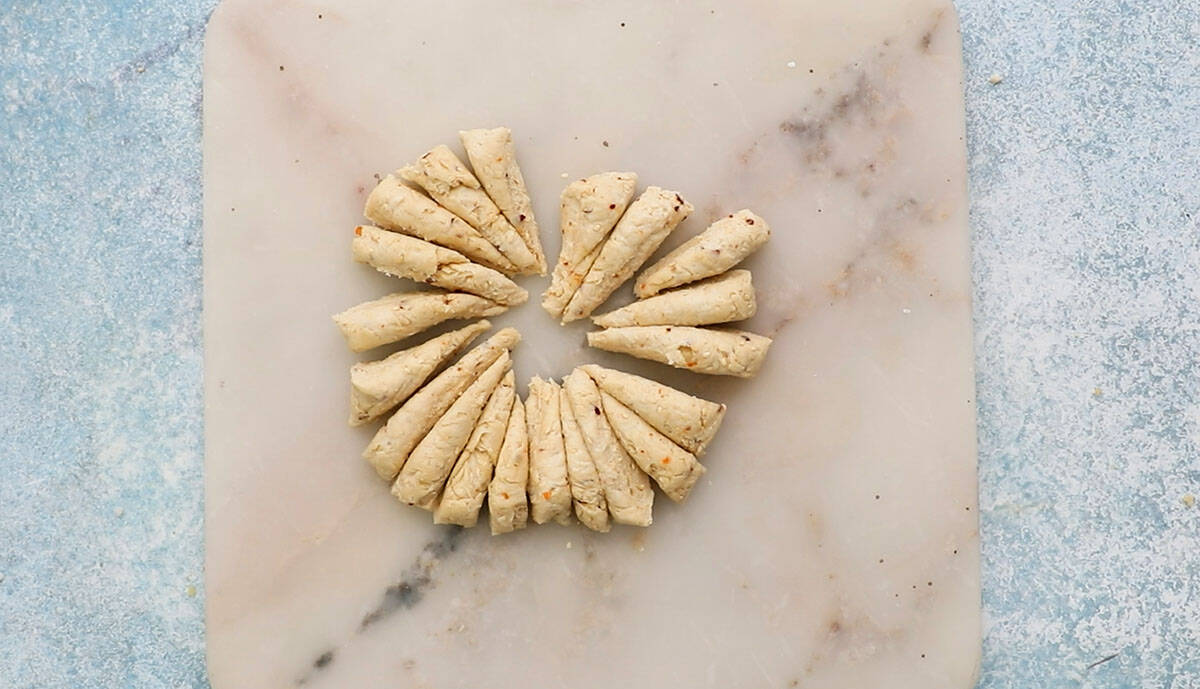
Step 5 - Cut into 20 equal pieces.
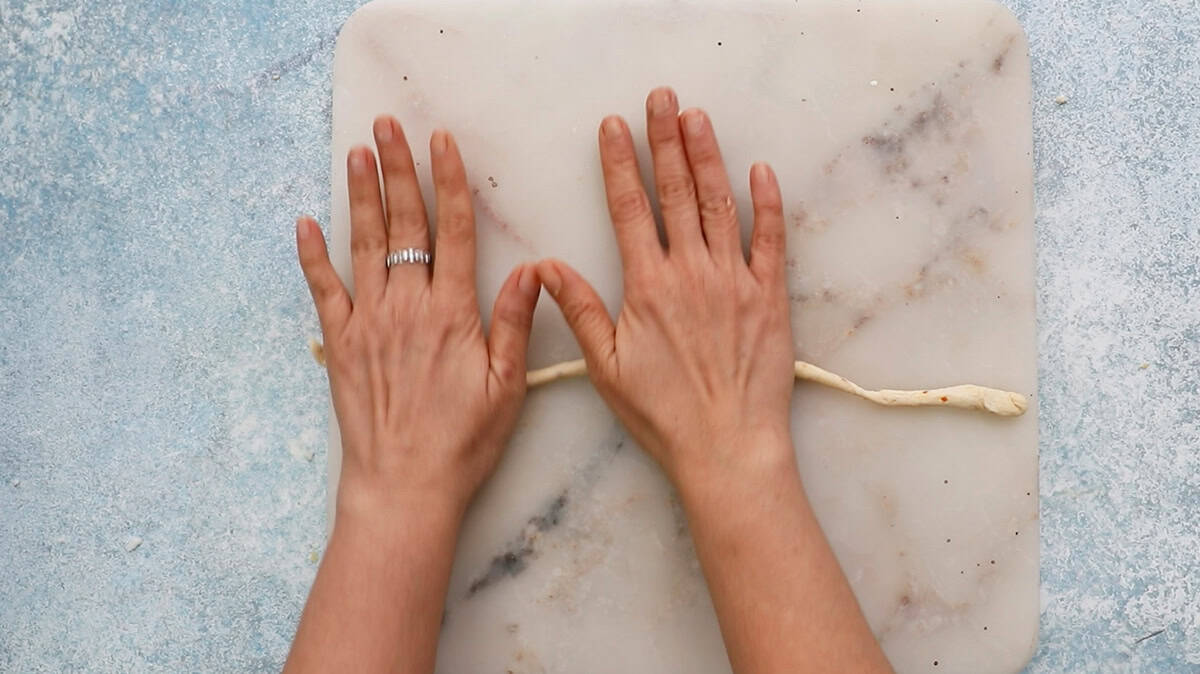
Step 6 - Place a piece of dough on a clean countertop and gently roll it with both hands to form a uniform 12-inch rope. If the rope breaks, just pinch it back together and keep rolling.
Want To Save This Recipe?

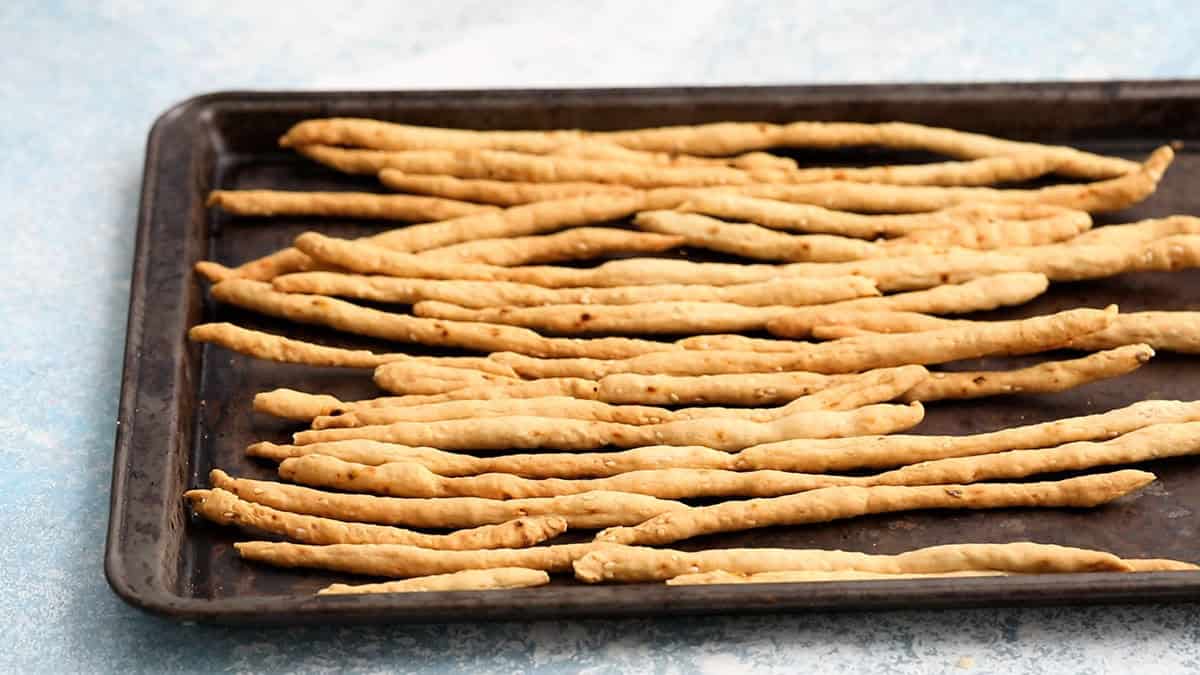
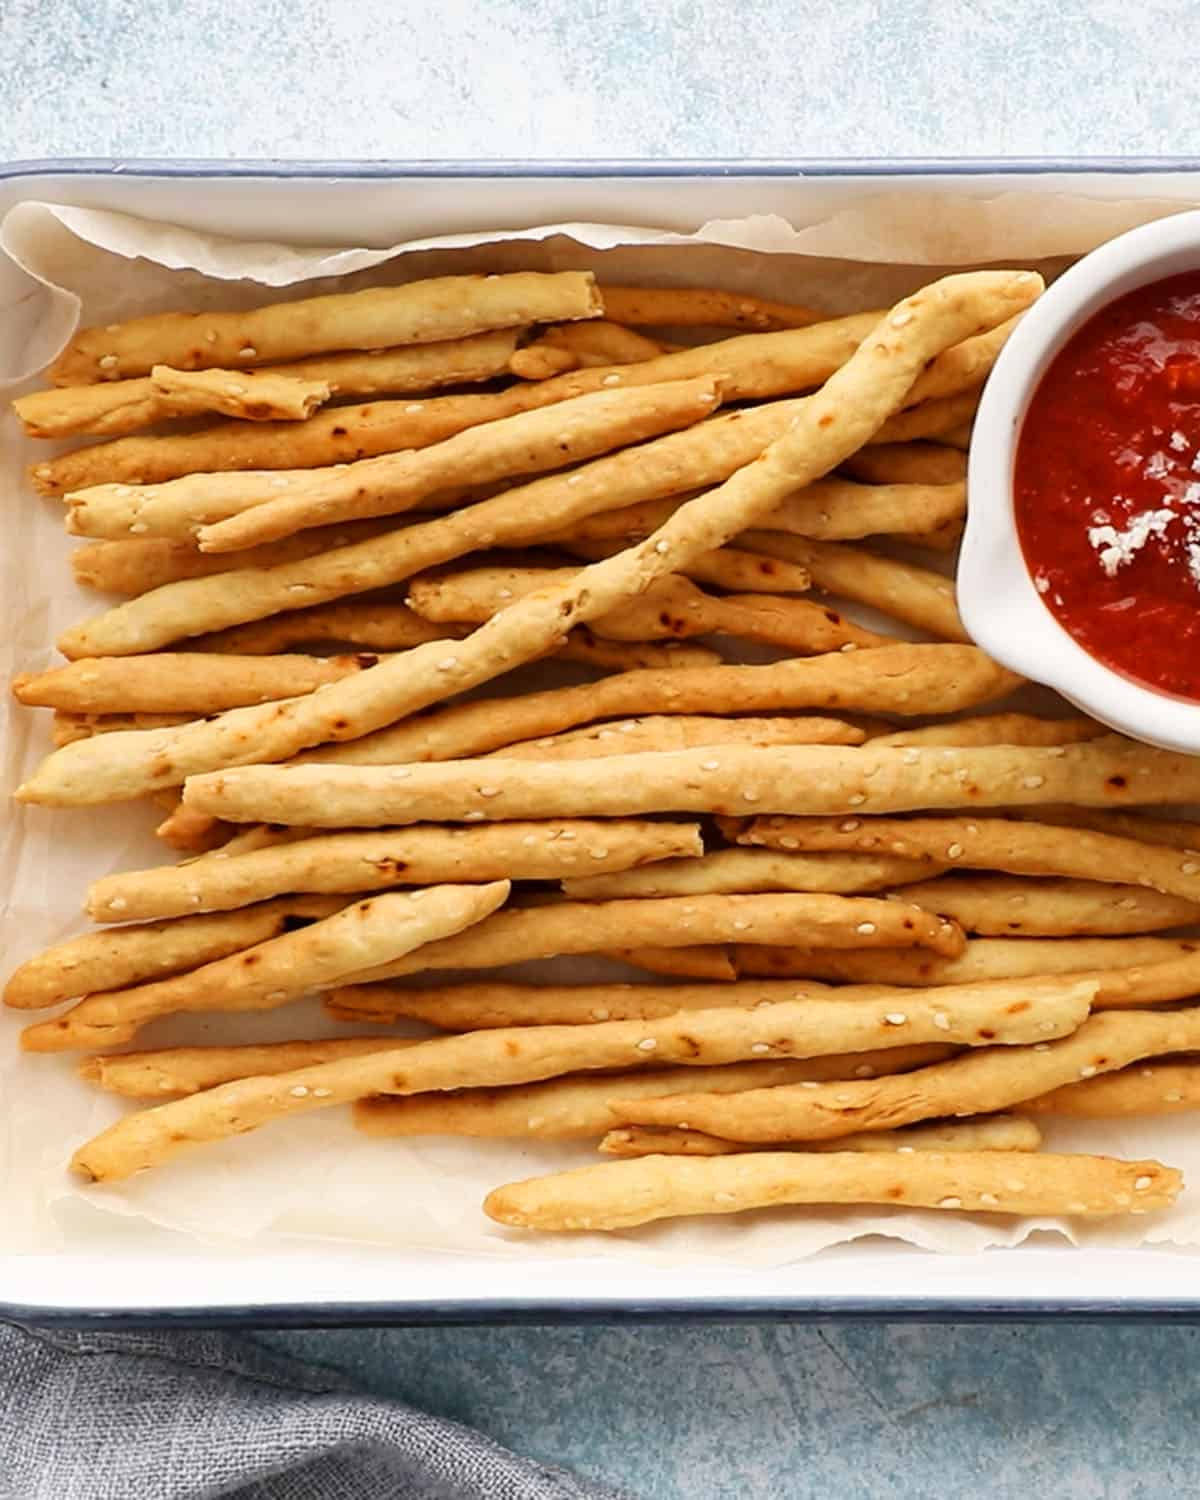
Step 7 - Arrange the rolled breadsticks on a parchment-lined baking sheet and bake at 350°F until the crunchy breadsticks are deep golden brown.
Tips for Success
- Bake until they are golden color, being careful not to let them turn dark brown.
- Use only dried herbs and not fresh herbs or garlic.
- Rotate the pan halfway through baking to ensure even browning.
- Use ice cold water for better results.
- To make into crackers, roll the dough into ⅛-inch thickness, cut into squares and bake.
- To toast sesame seeds, add white sesame seeds to a medium-hot skillet. Cook, stirring constantly, until a few pop. Remove from heat, transfer to a plate, and let cool completely.
- Storage - Allow the breadsticks to cool completely, then store them in an airtight container for up to a week to keep them crispy and crunchy.
More homemade snack ideas

Crunchy Breadsticks
Ingredients
- 1 cup all purpose flour
- 2 tablespoons white sesame seeds toasted
- ½ teaspoon baking powder
- ¼ to ½ teaspoon red pepper flakes optional
- ¼ + ⅛ teaspoon salt
- 2 tablespoons unsalted butter at room temperature
- 5 to 6 tablespoons ice cold water
Instructions
- Prep. Preheat oven to 350°F and line a large baking sheet with parchment paper.
- Mix dough. In a large bowl, whisk together the flour, sesame seeds, baking powder, red pepper flakes, and salt. Add the butter and rub it into the flour with your fingertips until the mixture is evenly combined and resembles coarse crumbs.Add 5 tablespoons of ice cold water and gently knead the mixture with your hands until it comes together into a firm but slightly soft dough. If the dough feels too dry, add more water 1 teaspoon at a time until it's smooth and free of cracks. Avoid over-kneading—mix just until the dough comes together and has a smooth texture.
- Shape. Divide the dough into 20 equal portions. An easy way to do this is to gently shape the dough into a square, cut it into 4 equal pieces, then divide each piece into 5 smaller portions.Working with one piece at a time, roll the dough on your countertop using the palms of your hands with gentle, even pressure until you have a 10 to 12-inch rope. If the rope cracks or breaks, simply pinch it back together and continue rolling.Carefully transfer each breadstick to the prepared baking sheet, spacing them about ½ inch apart. Since they don't spread as they bake, they can be placed fairly close together.
- Bake. Bake for 28 to 35 minutes, or until the breadsticks are golden brown and crisp. Rotate the baking sheet halfway through to ensure even browning.Let the breadsticks cool completely on the baking sheet placed over a wire rack. Once cooled, store them in an airtight container, where they'll stay crispy for up to 1 week.
Notes
Nutrition
Nutritional information, based on third-party calculations, should be seen as estimates, not guarantees, as various factors like product types, brands, processing methods, and more can alter the nutritional content in recipes.
Variations
- Make into crackers - Roll dough into ⅛-inch thickness on the counter, cut into 1-inch squares and bake until golden.
- Don't like spicy - Skip red pepper flakes.
- Garlicky - Mix in 1 teaspoon garlic powder and 1 teaspoon finely minced garlic.
- Curry flavor - Mix in ½ teaspoon ground coriander, ¼ teaspoon ground cayenne and ⅛ teaspoon turmeric powder to the dough.
- Italian - Mix 1 teaspoon dried parsley, garlic powder and red pepper flakes.
Serving suggestions
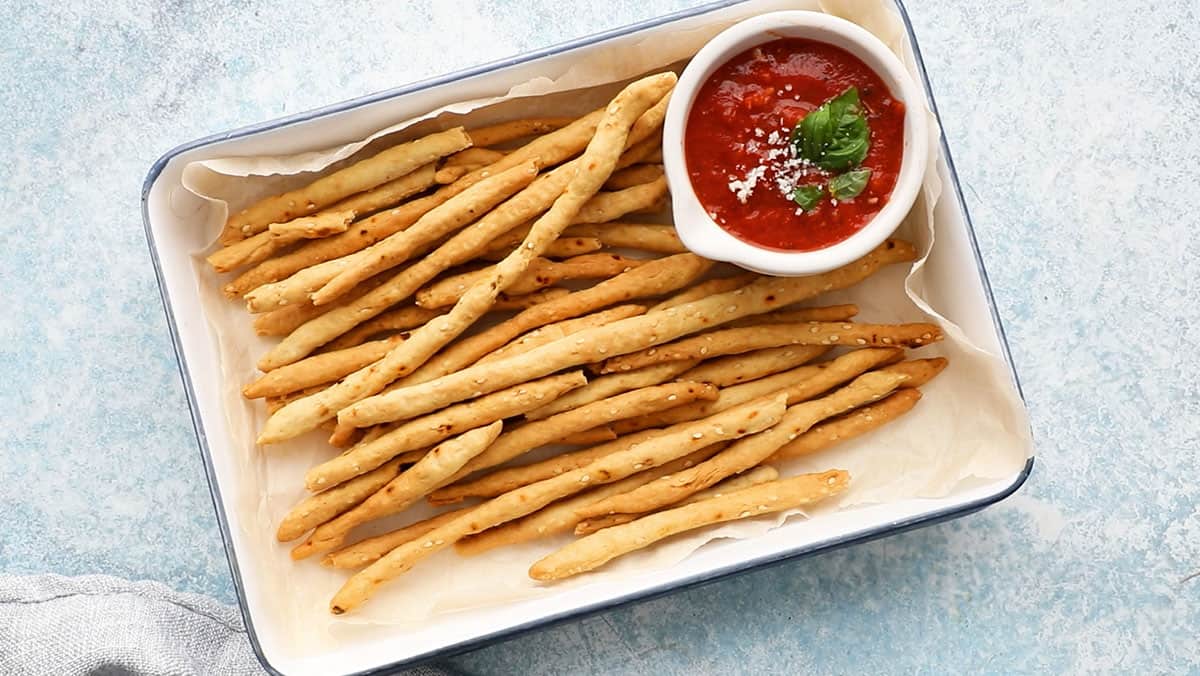
- Like the toasted tortellini, these are a fantastic snack that both kids and adults will love. Skip the store-bought crackers and enjoy these crunchy breadsticks with marinara, hummus, or any savory dip.
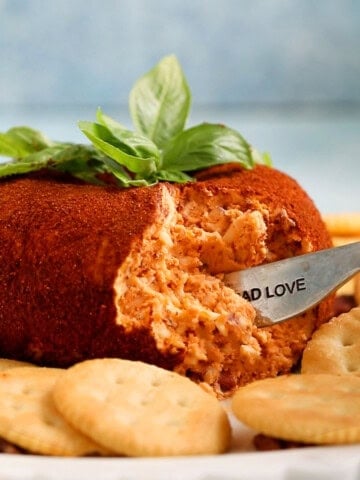
- Arrange the baked crunchy breadsticks on a cheese board along with almond flour crackers around the tomato cheese ball or a fruit and cheese platter, with a selection of cheeses, cured meats, olives, and fruits for a stunning appetizer or snack, perfect for Thanksgiving, Christmas, or any holiday.
- Add them to a charcuterie platter alongside an assortment of meats, fruit spreads, and a variety of hard and soft cheeses.
- Serve them alongside bowls of soup, such as Instant Pot tomato soup.
- Wrap them in cellophane bags for a thoughtful homemade gift during the holidays.
MADE THIS RECIPE AND LOVED IT? 💚 Please leave a ⭐️STAR rating and COMMENT below- I love to hear your feedback! Tag me with your creations on Instagram and find me on Facebook.
Hi, I’m Maria! I share easy, flavor-packed dinners, high-protein meals, and irresistible baking ideas. If you’ve ever asked, “Don’t know what to cook tonight?” you’re in the right place. And yes—there’s plenty here for breakfast, snacks, and dessert too. More about maria ->
Abeer Marafie
amazing taste thanks Maria
Maria Doss
Glad you liked it, Maria