
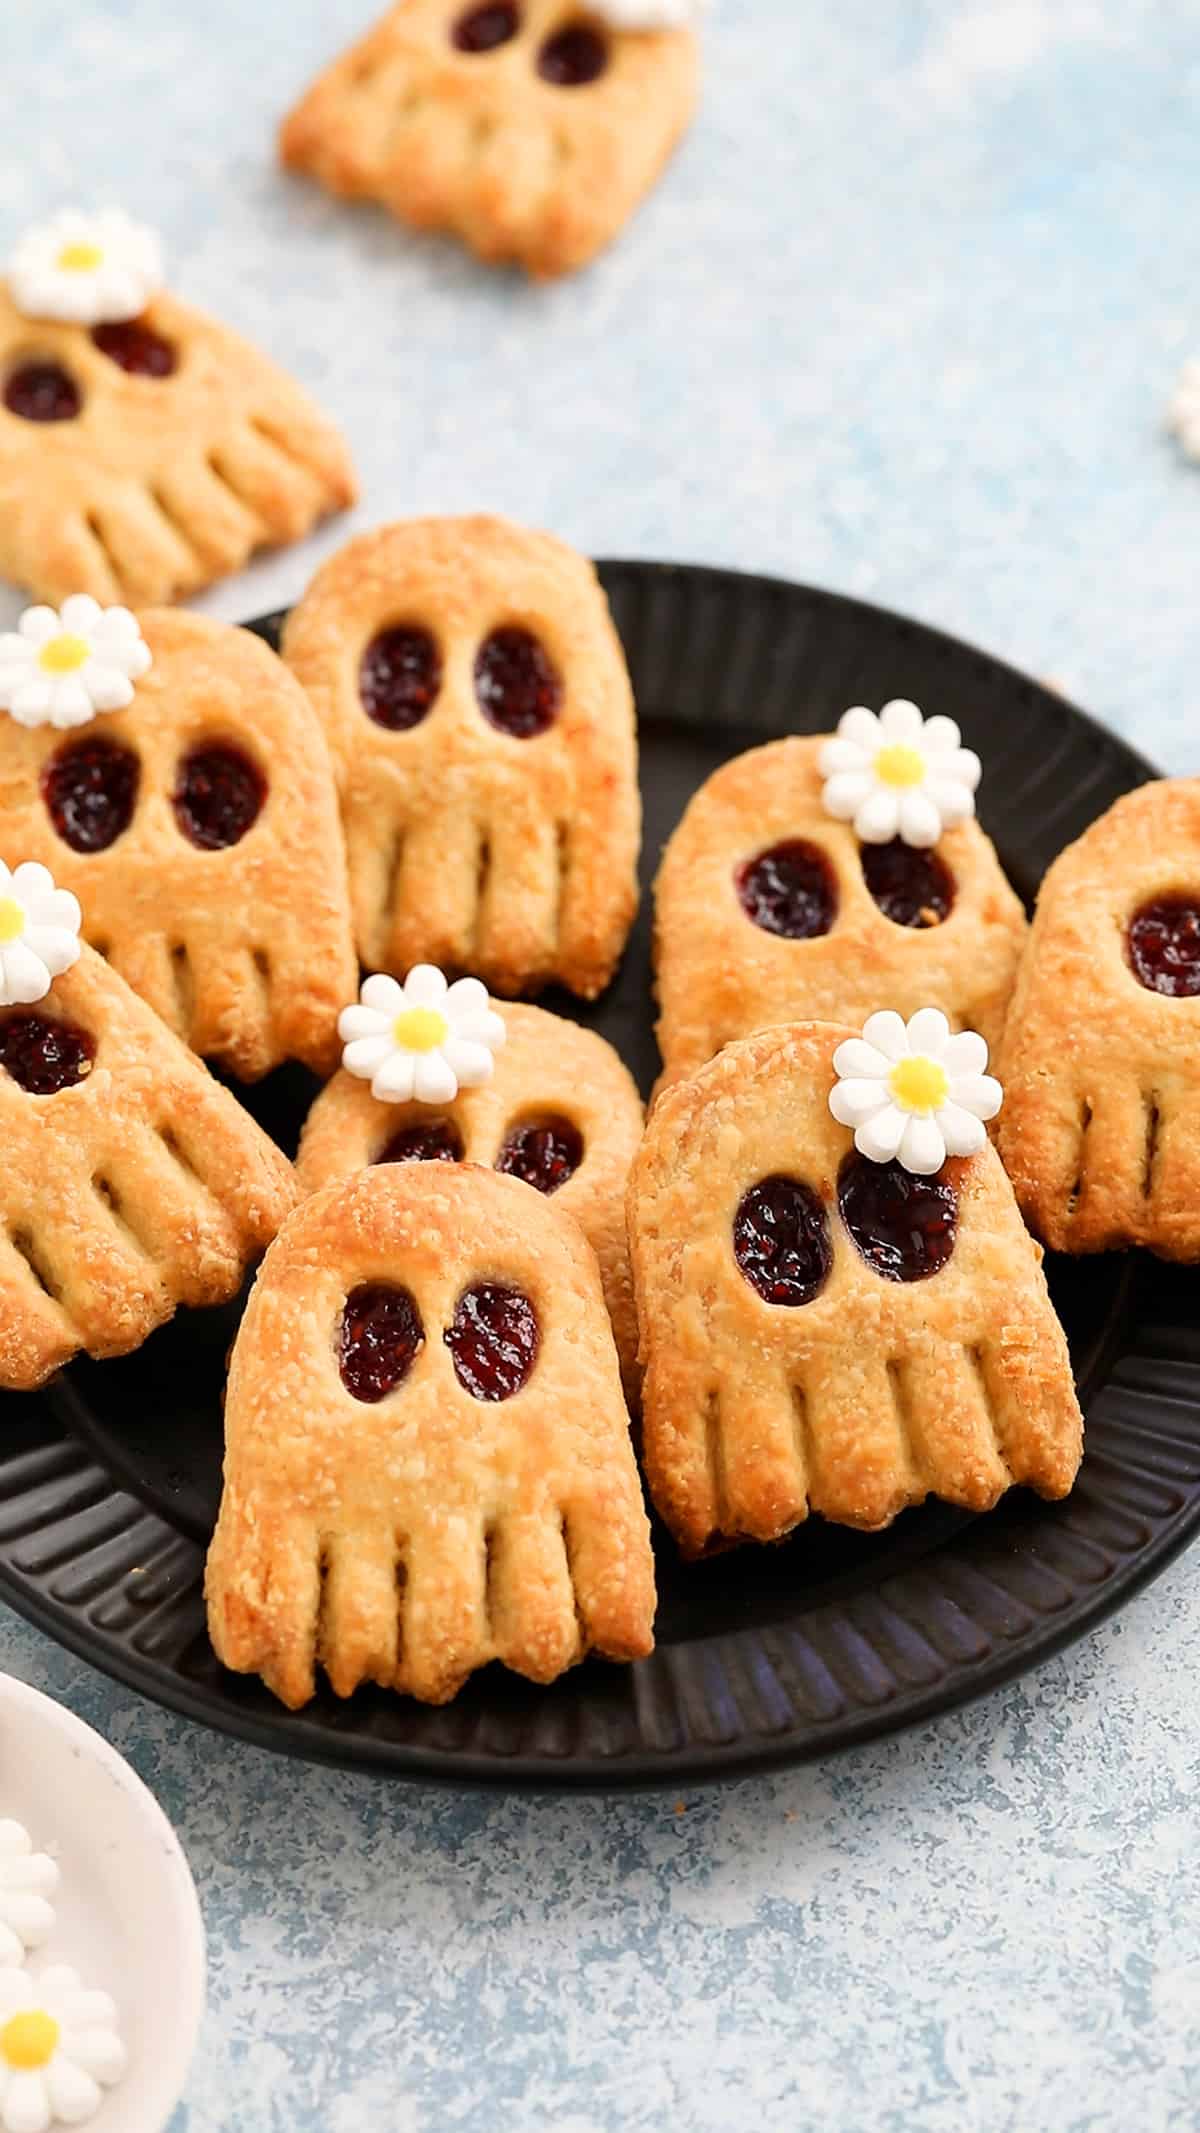
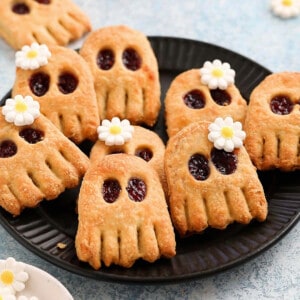
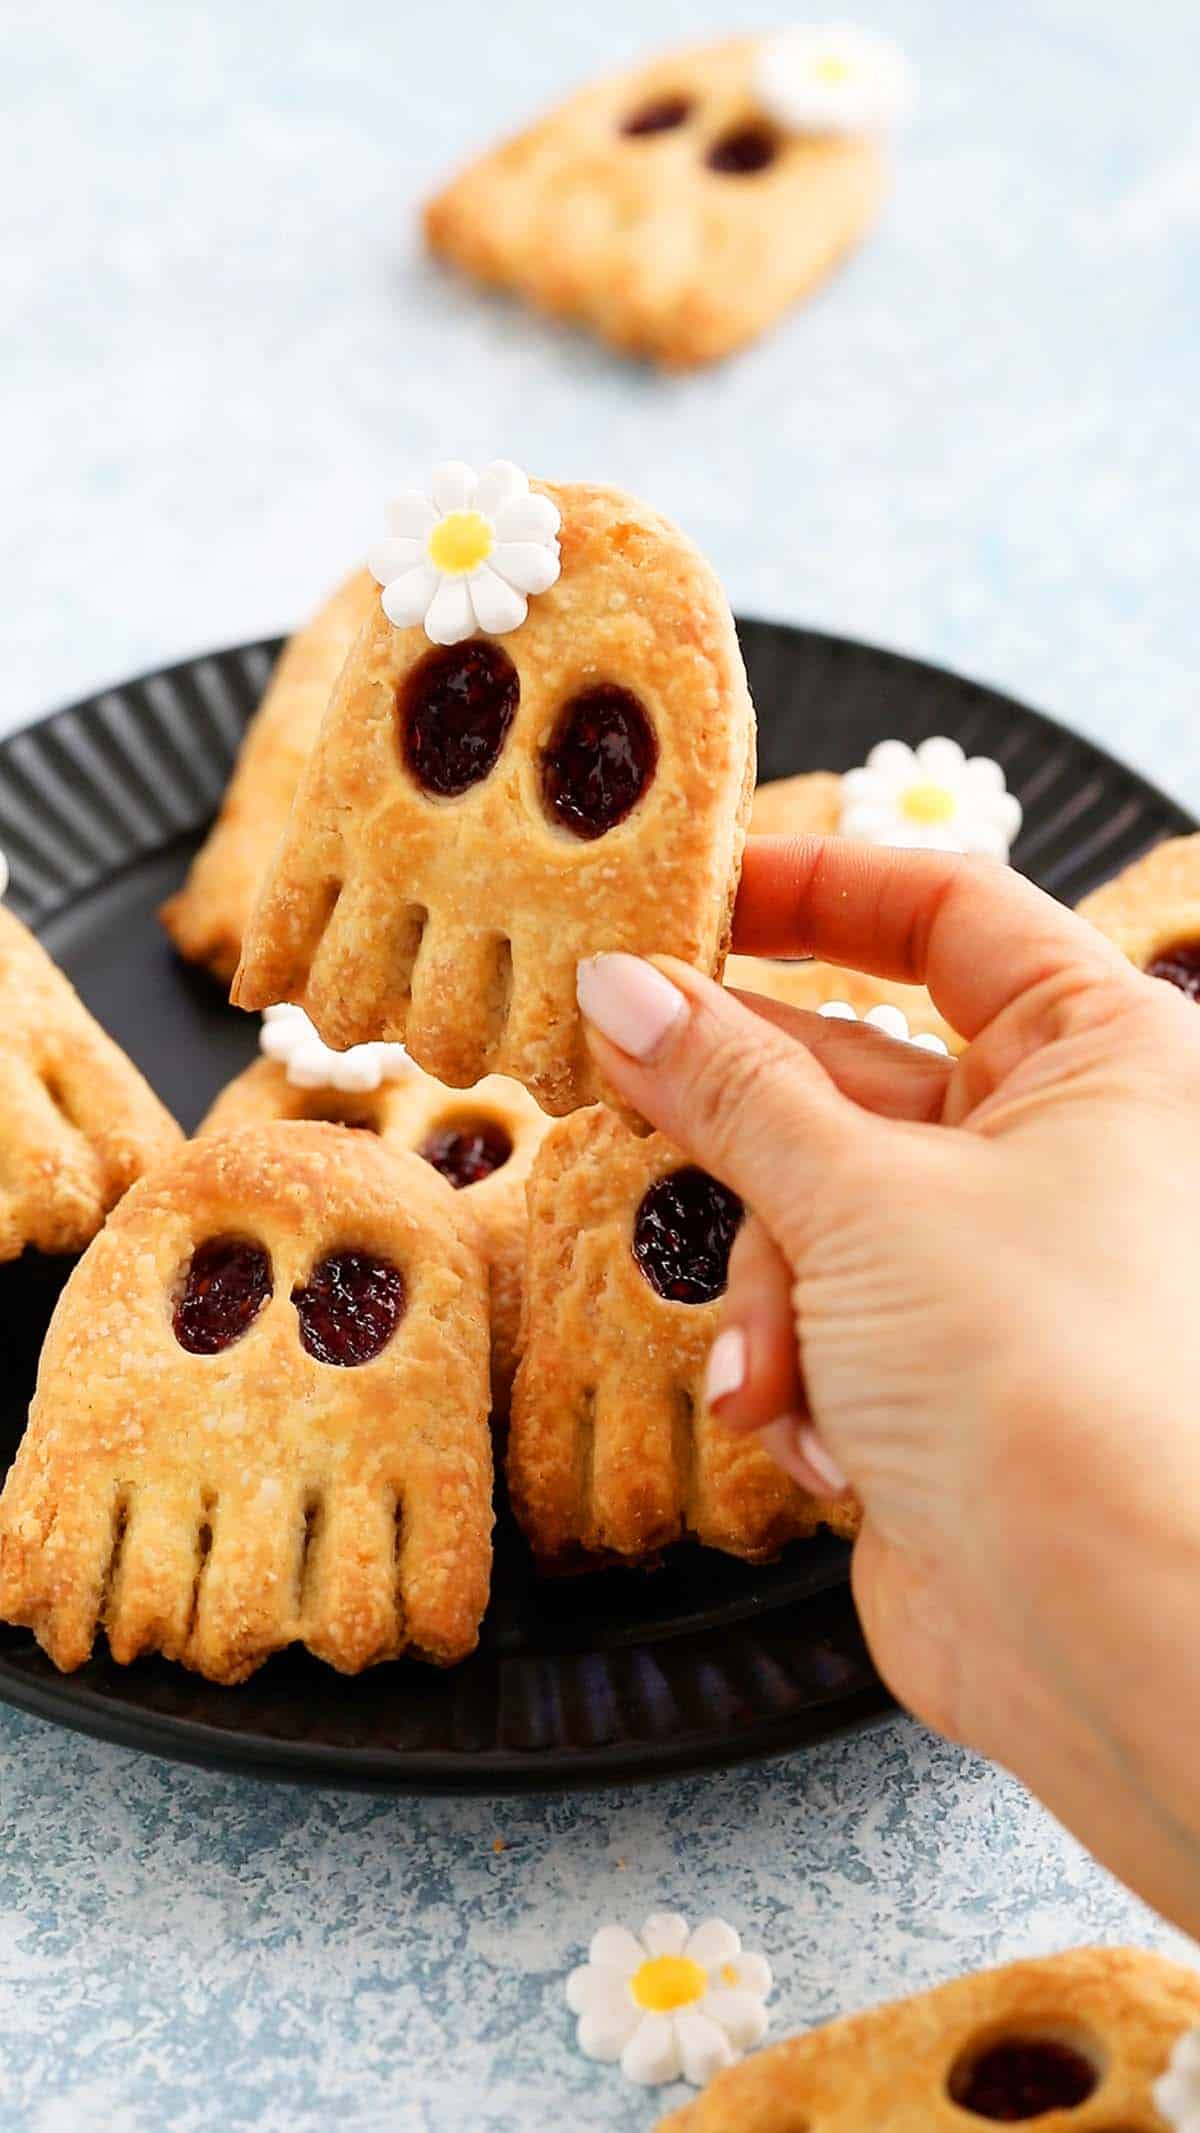
These Halloween Pop Tarts are incredibly easy to make with just two ingredients! Keep them simple or dress them up with a cute candy flower on top. They're the perfect Halloween treat for kids!
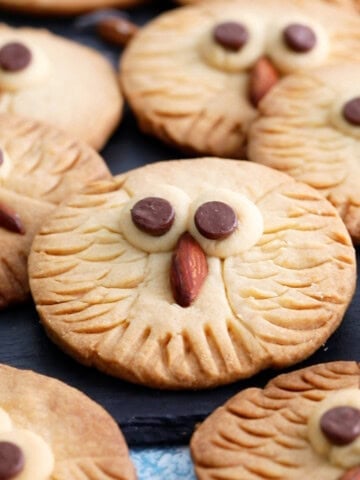
If you are looking for more kid-friendly Halloween treats, try our Halloween clementine oranges next!
Why You'll Love These Halloween Pop Tarts

These are such a fun twist on the classic toaster pastries your kids love! I keep them super simple by using pie crust instead of making pastry dough, and you only need 2 ingredients: pie crust and jelly. It doesn’t get much easier than that!
Keep them simple or add a fun Halloween touch with a little candy decoration on top. They’re easy enough for kids to help make and perfect for a festive Halloween breakfast or snack.
Looking for more fun Halloween snacks? Be sure to check out my other Halloween recipes!
-maria doss
Jump to:
Ingredients you'll need
Scroll down to the recipe card below for full information on ingredients and amounts.
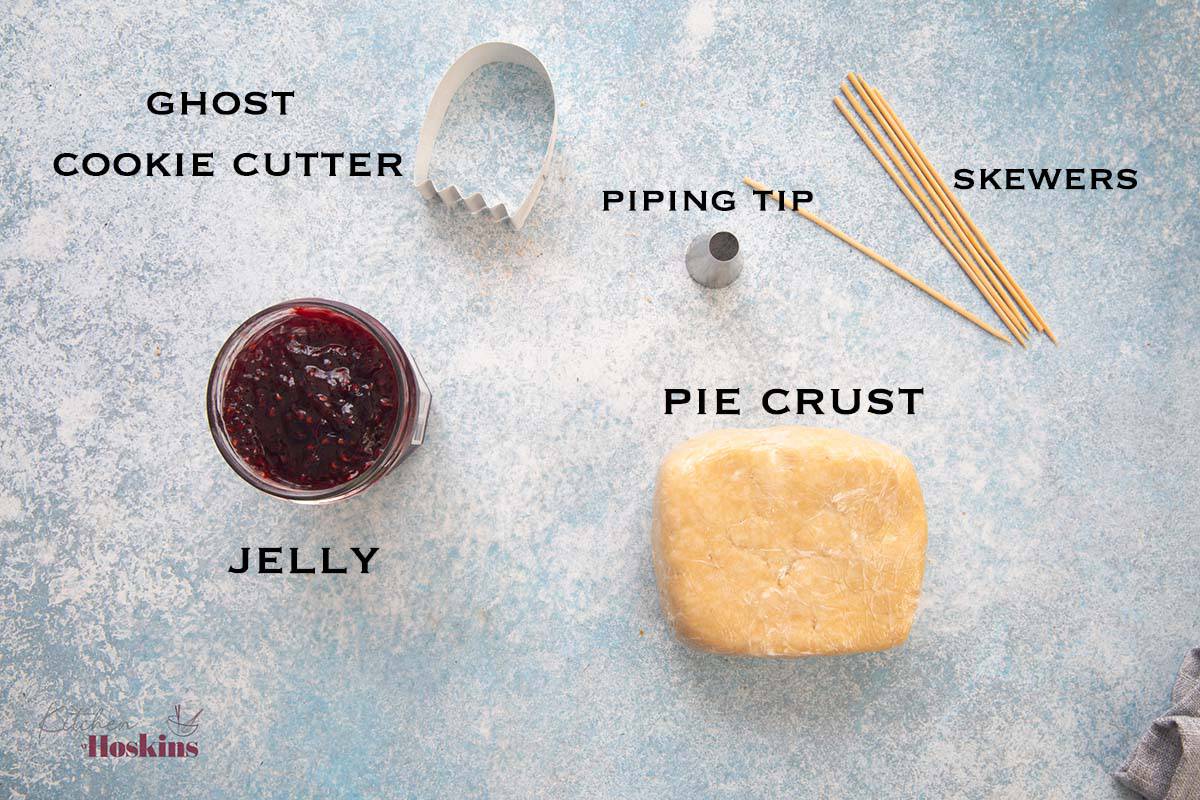
- Pie Crust: You can use my homemade pie crust recipe or grab a store-bought one for convenience. I don’t recommend puff pastry for this recipe — the ghost shapes won’t hold as well and may lose their definition.
- Jam or Jelly: I prefer using a deep red jam (like cherry or raspberry) to give the Halloween ghosts a spooky, “bloody eyes” effect. That said, feel free to use any jam or preserve you love — strawberry, blackberry, or even apricot all work great!
Tools you'll need
- Ghost-shaped cookie cutter to cut the shapes
- Piping tip
- Wooden Skewers
How to make Halloween pop tarts?
You can find full printable recipe below, but here is a quick overview of the procedure along with step-by-step photos.
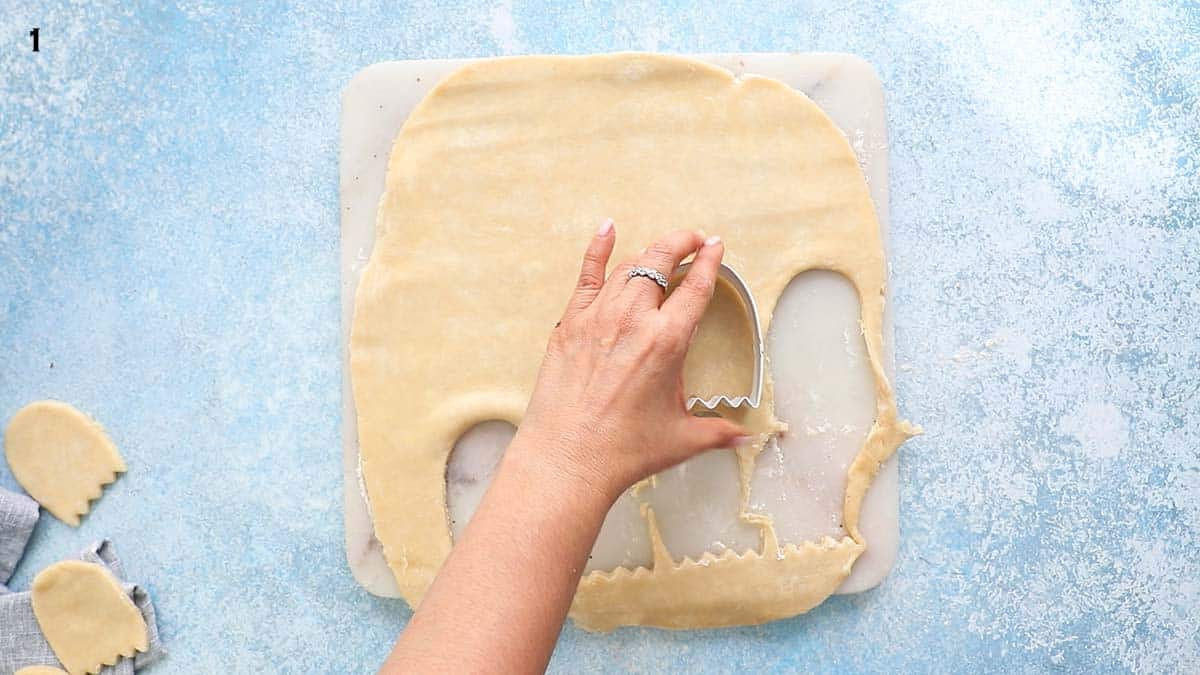
1.Roll the pie crust on a lightly floured surface, to ⅛-inch thickness. Using the ghost cookie cutter, cut out as many ghosts as possible. I was able to cut 16 shapes using my homemade recipe.
Tip: If the pie crust is too firm, then let it stand at room temperature for about 15 minutes. This will help make the dough easier to roll and work with.

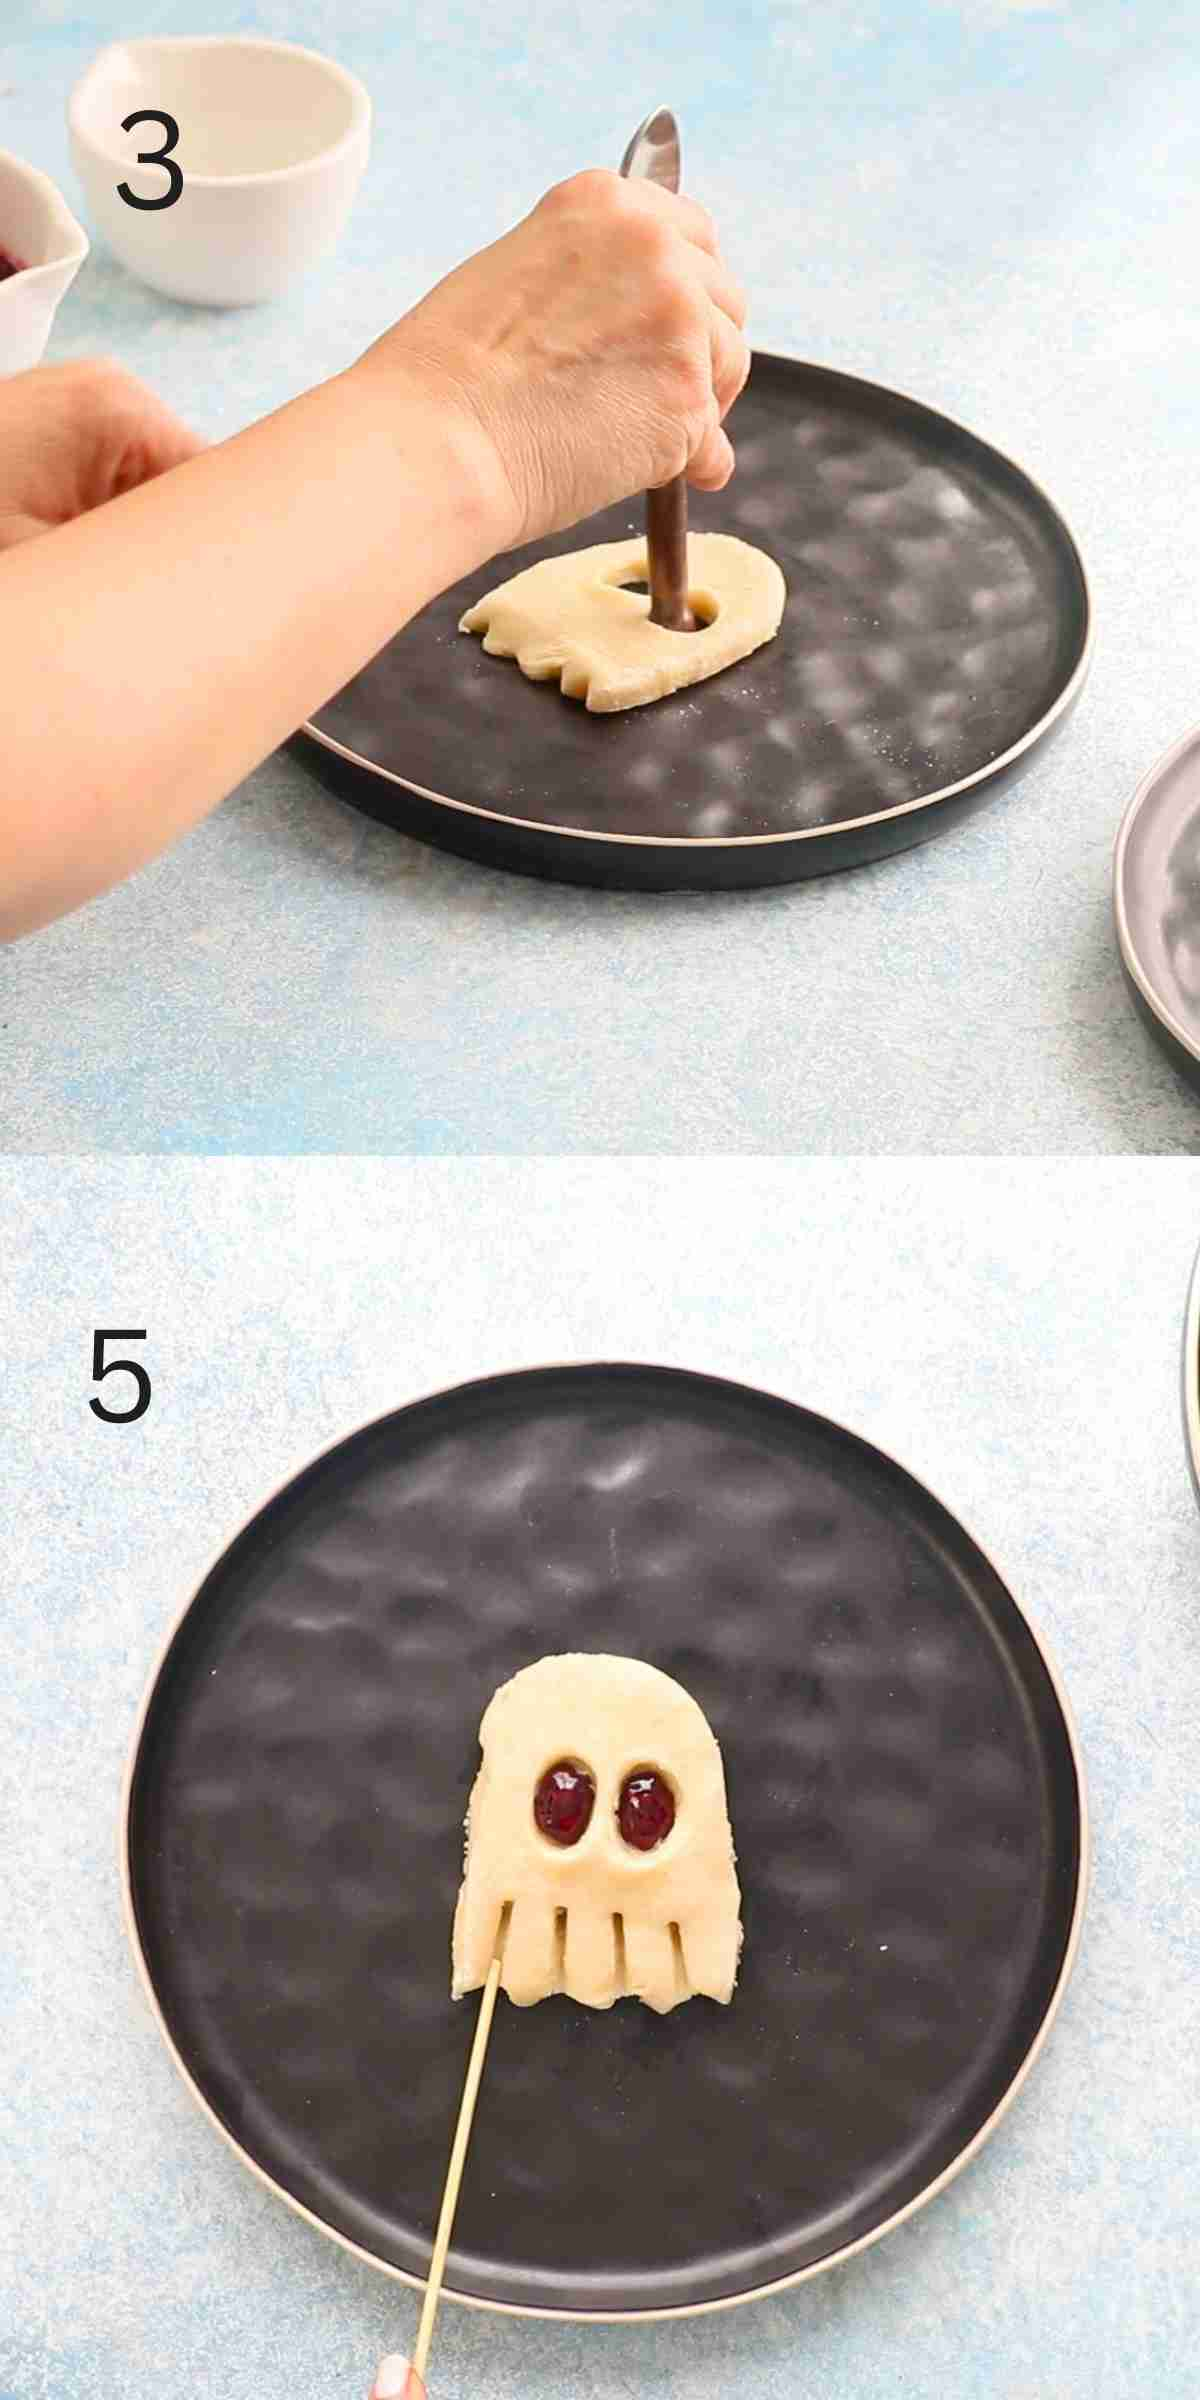
2 & 3. Make top or face layer - cut out two eyes using the small end of the 2A piping tip, like for the Halloween sandwich recipe. Using the back end of a small spoon, elongate the circle into oval shapes.
4. Spread about a teaspoon of jam on the middle of another cut-out, leaving about ½-inch border around the edges. Using a very small pastry brush or your fingertip, brush the edges with a little water to moisten.
5. Place the face layer on top and press the edges with your fingertip, pressing gently to adhere. Press the bottom with a skewer to form the base of the ghost (refer to photos and video).
Tip: Ensure that you firmly press the edges of the dough together to create a tight seal to ensure that the jam does not leak outside.
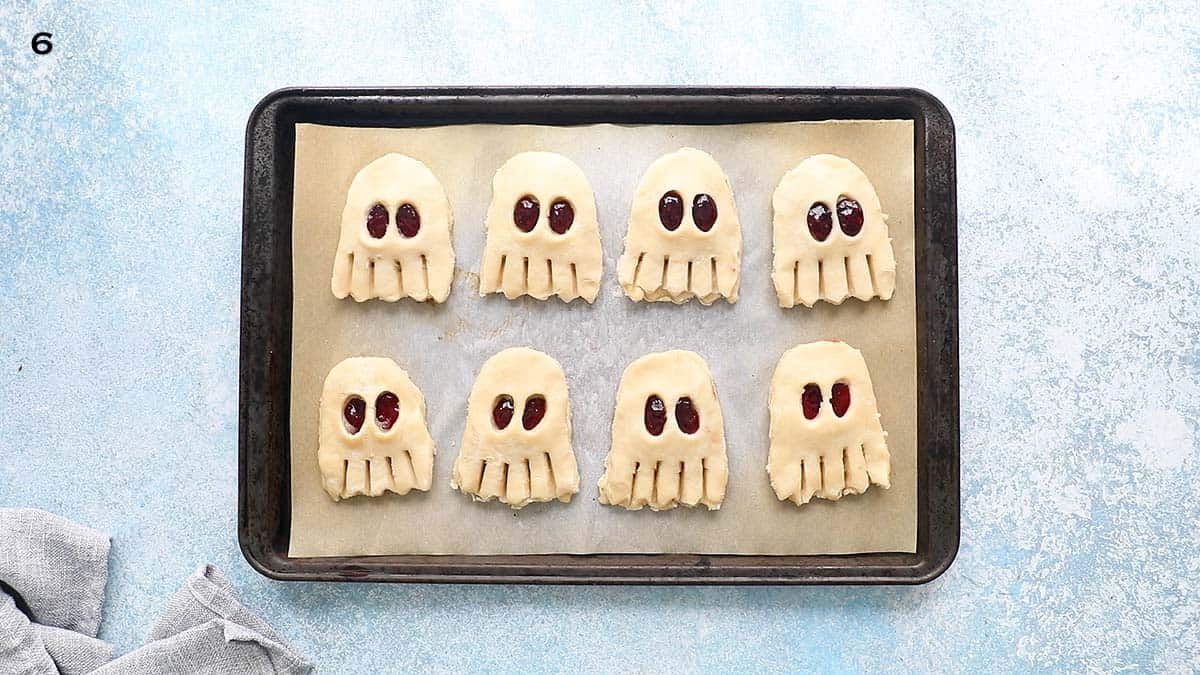
6. Repeat the process to make all ghosts and place them on the prepared baking sheet, spacing about an inch apart. Bake at 400 degrees for 20 to 25 minutes or golden in color. Cool completely.
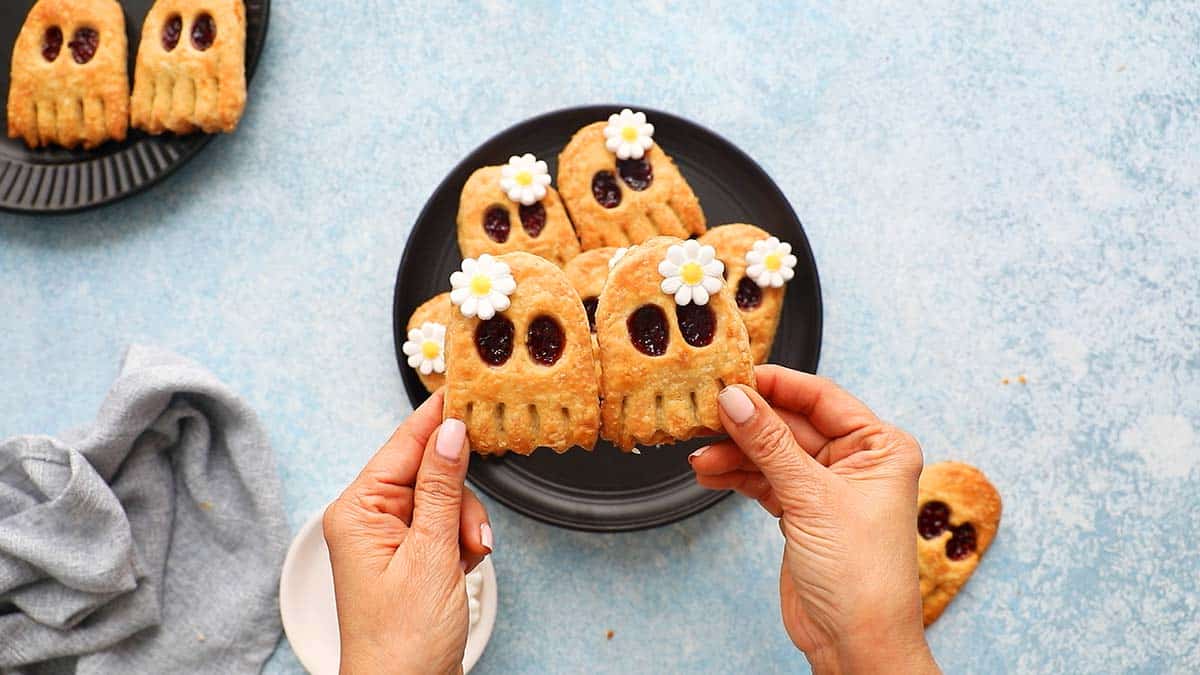
These make a great kids Halloween party food! It can be served as is to keep to simple or proceed to the next step for an embellishment.
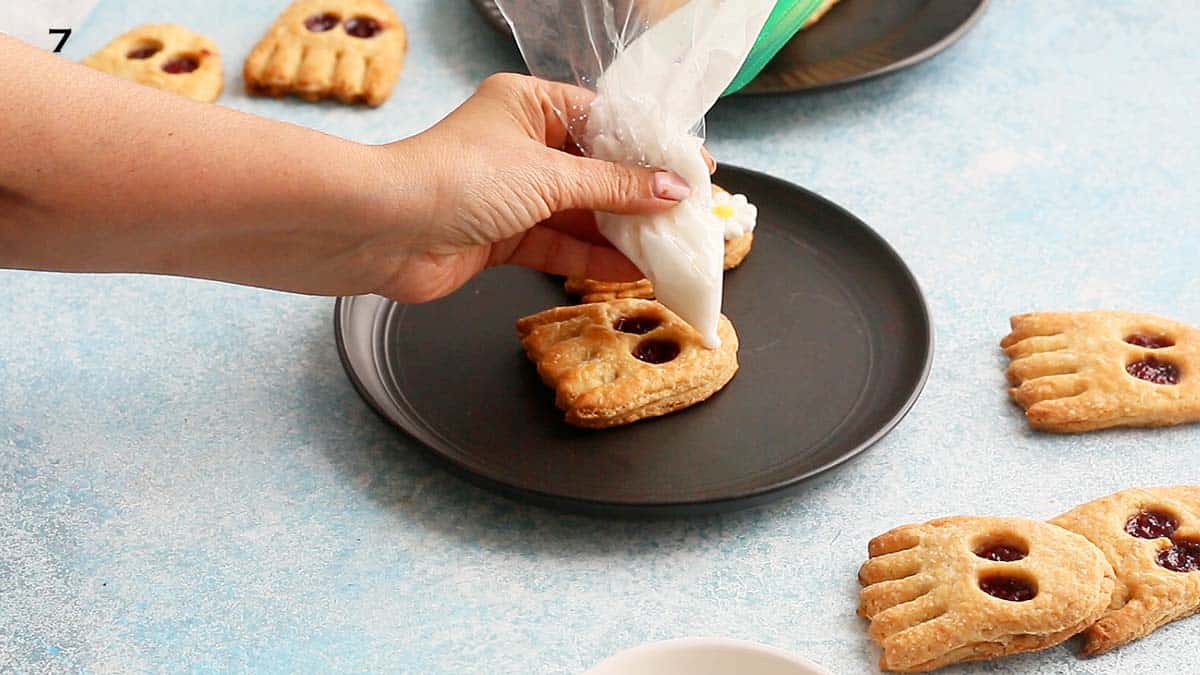
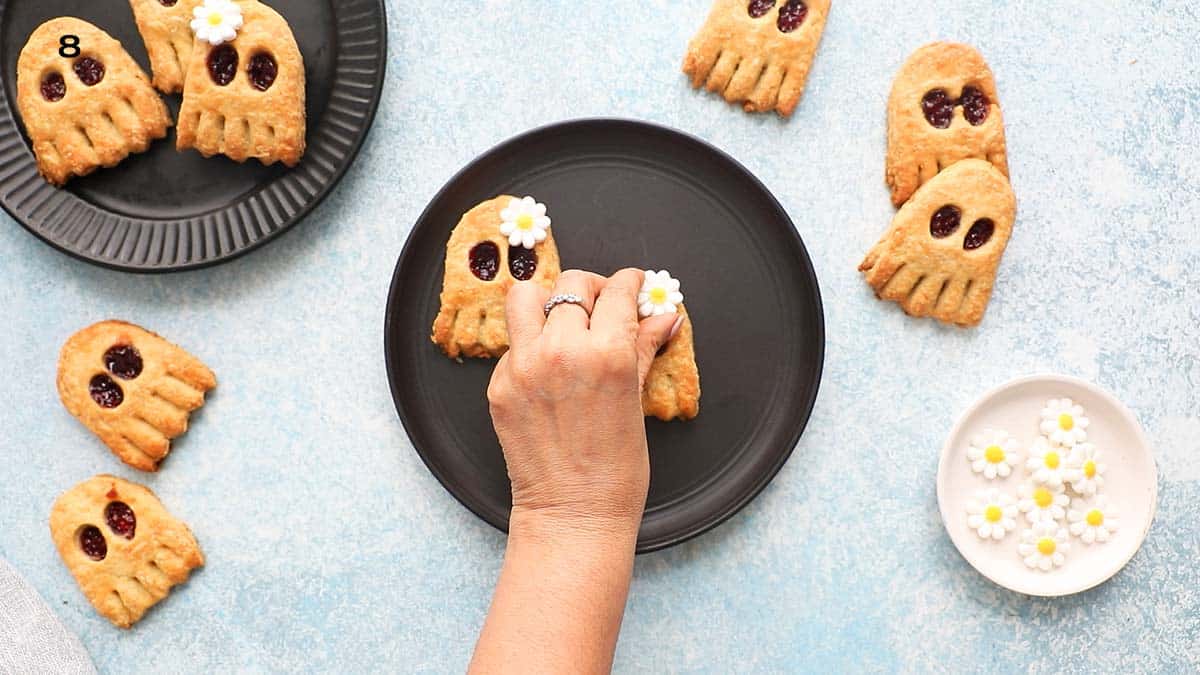
7 & 8. Optional step - Make a thick sugar glaze and spoon it into a small ziplock bag. Seal, snip the corner and squeeze a small dollop on one side of the face. Press a candy flower on top, pressing slightly to stick, and let stand for at least 15 minutes for the glaze to dry.
Tip: To make sugar glaze, stir together confectioners sugar and water in a small bowl, until thick.
Halloween Pop Tarts
Ingredients
- homemade or store bought Pie Crust (use one package rolled pie crust)
- 3 tablespoons raspberry jam, or as needed
Optional ingredients
- ¼ cup confectioners sugar
- ½ to 1 teaspoon water
- 8 candy flowers
Instructions
- Prep. Preheat the oven to 400°F and line a baking sheet with parchment paper.
- Cut ghosts. Roll the pie crust on a lightly floured surface to ⅛-inch thickness. Using the ghost cookie cutter, cut out as many ghosts as possible (I was able to cut 16 ghosts using my homemade pie crust).👉 If the pie crust feels too firm to roll, let it sit at room temperature for about 15 minutes. This will soften it slightly and make it much easier to roll and work with.
- Make the top face layer. Using one ghost cutout, make two eyes with the small end of a 2A piping tip or a large metal straw. Use the back of a small spoon to gently stretch each circle into an oval. Set aside while you prepare the bottom layer. Repeat the process for half the ghost cutouts.
- Assemble bottom layer. Spread about 1 teaspoon of jam in the center of another cutout, leaving a ½-inch border. Using a small pastry brush or your fingertip, lightly moisten the border with water.
- Finish assembly. Place the top face layer over the jam-filled layer and gently press around the edges with your fingertips to seal.Using a fork or skewer, firmly press the bottom edge to create the base of the ghost. Refer to the photos or video for guidance. Repeat with the remaining ghosts and place them on the prepared baking sheet, spacing them about 1 inch apart.
- Chill and bake. Place the baking sheet in the refrigerator for about 15 minutes to firm up the dough. Bake for 20 to 25 minutes, or until the tops are golden. Transfer the baking sheet to a wire rack and let the ghosts cool completely.👉 Serve as is for a simple treat, or continue to the next step to add a fun embellishment.
- Optional step. Add the confectioners’ sugar and about ½ teaspoon of water to a small bowl. Mix until very thick, adding a little more water if needed. The icing should be thick enough to hold its shape but slowly drip from a spoon when lifted.Transfer the icing to a small zip-top bag, seal, and snip off a tiny corner. Squeeze a small dollop onto the upper right or left side of each ghost’s face, then gently press a candy flower on top. Let the icing set for about 30 minutes before serving.
Notes
Nutrition
Nutritional information, based on third-party calculations, should be seen as estimates, not guarantees, as various factors like product types, brands, processing methods, and more can alter the nutritional content in recipes.
Tips For Success
- Pie crust - Leave the refrigerated pie crust for about 15 minutes to make it easier to roll.
- Jam - I like to use a deep red colored jam for a color contrast. Feel free to use whatever you have at home.
- Storage - Store in an airtight container at room temperature for up to 2 days.
- To freeze - Baked pop tarts without the candy flower can be frozen in a zipper bag for up to 2 months. Let them thaw at room temperature for a few hours. Serve as is or decorate.
More Children's Halloween Treats
- Halloween clementines are a fun, easy, no-bake treat that kids will love to make and eat! They’re creative, quick Halloween fruit idea, perfect for classroom parties or spooky snacks.
- Chocolate mice are made using wholesome, good-for-you ingredients and are fun for kids to make.
- Owl Halloween sandwich is a spooky sandwich idea to impress your kids this Halloween season. It is easy and you don't need special tools!
- Halloween bark is fun, easy to make, and doesn't require any decorating skills. With only 20 minutes of prep time, there is no baking, and it is a great Halloween treat for kids to make.
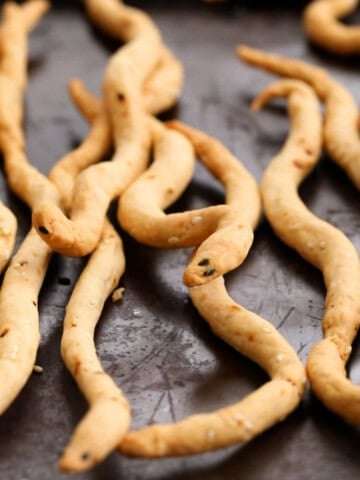
- Halloween breadstick snakes are a unique Halloween-themed snack idea for parties. They’re crispy, crunchy, and so delicious to eat! Fun and easy to make, they’re sure to be the talk of your Halloween party.
MADE THIS RECIPE AND LOVED IT? 💚 Please leave a ⭐️STAR rating and COMMENT below- I love to hear your feedback! Tag me with your creations on Instagram and find me on Facebook.
Hi, I’m Maria! I share easy, flavor-packed dinners, high-protein meals, and irresistible baking ideas. If you’ve ever asked, “Don’t know what to cook tonight?” you’re in the right place. And yes—there’s plenty here for breakfast, snacks, and dessert too. More about maria ->