

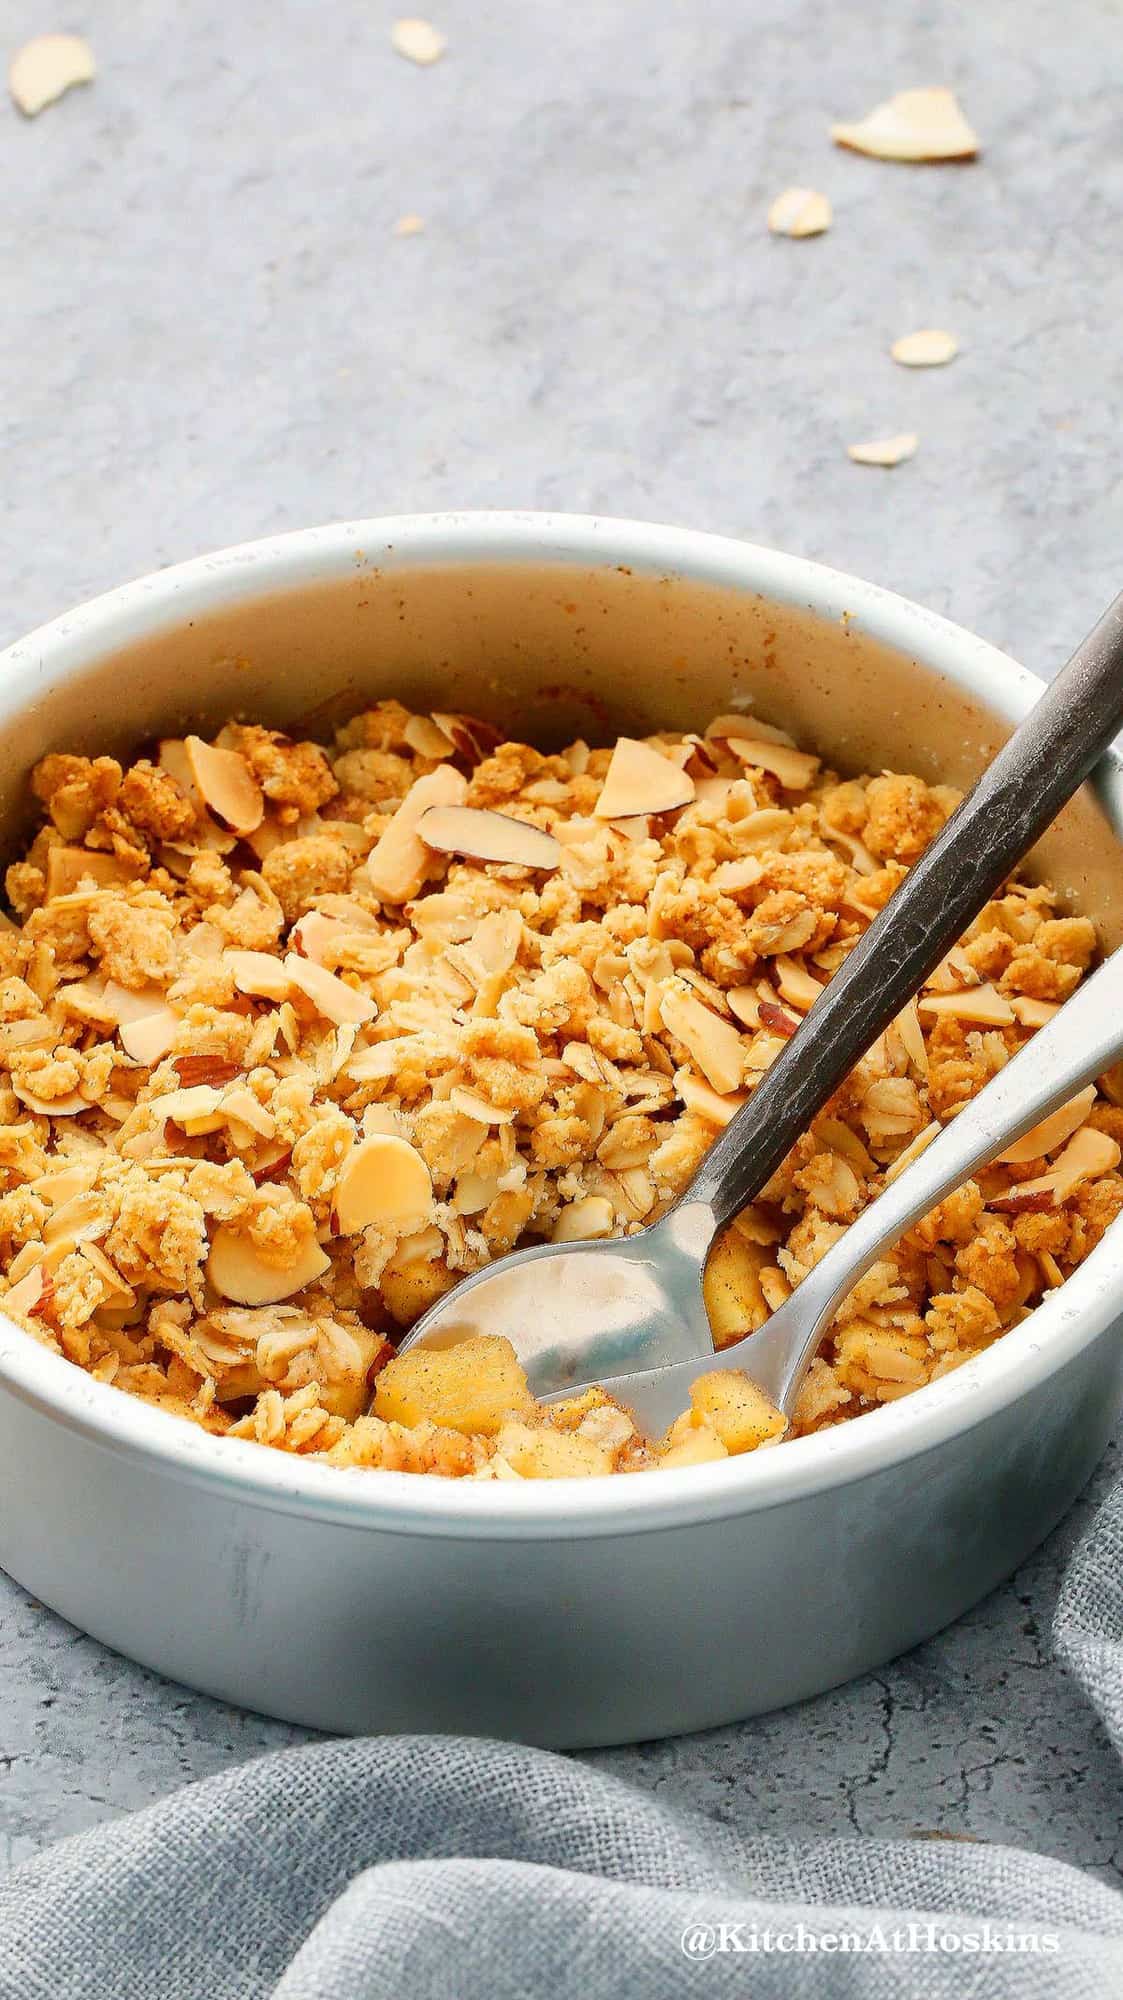
This Air Fryer Apple Crisp is made with oats and almond flour—gluten-free (with vegan option) and perfect for two! It’s warm, spiced, and ready in minutes, making it an easy apple dessert made in the air fryer!
Traditional fruit crisps are baked slowly in the oven, allowing the fruit to become soft, juicy, and perfectly tender beneath a golden topping. That same result can be tricky in an air fryer, which uses fast, circulating hot air—often browning the topping before the fruit has time to soften.
To fix this, I cut the apples into smaller pieces and added a splash of water. The steam created helps the apples cook through while still giving you that beautifully crisp, golden topping.
Jump to:
Best apples for apple crisp
Choose apples that are naturally sweet, firm, and hold their shape well under high heat. Since air fryers cook quickly, you want varieties that won’t turn mushy. My favorites are Honeycrisp, Fuji, Gala, Pink Lady, Jonagold, or Braeburn. They stay tender yet hold their shape after air frying, offering a nice contrast to the crunchy topping. You can also mix a couple of varieties—one sweeter, one slightly tart—for a more flavorful crisp!
Do I need to peel my apples for apple crisp?
Yes, it’s generally recommended to peel them when cooking in the air fryer. Unlike oven baking—where apples have more time to soften—the air fryer cooks quickly by circulating hot air, which doesn’t give the skin enough time to break down and become tender. Leaving the peel on may result in a slightly tough or chewy texture that can be distracting in an otherwise soft, comforting air-fried apple dessert.

Air Fryer Apple Crisp
Equipment
- Baking pan
Ingredients
Apple Filling
- 2 large apples
- ¼ cup light brown sugar not packed
- 2 tablespoons water
- ½ teaspoon ground Cinnamon
- ⅛ teaspoons salt
Crumb Topping
- ¼ cup + 2 tablespoons rolled oats (use GF oats if needed)
- ¼ cup almond Flour (or use 2 tablespoons all purpose flour)
- 2 to 3 tablespoons white or brown sugar
- ⅛ teaspoon salt
- 2 tablespoons unsalted butter cold
- ¼ cup sliced almonds
Instructions
Filling
- Peel, core and chop apples into ¼-inch cubes.
- Grease a 6-inch baking pan with cooking spray or brush with butter.
- Add chopped apples and all remaining apple filling ingredients (brown sugar, water, cinnamon and salt) into the greased baking pan and give a good mix.
- Spread into an even layer. Set aside while you make the topping.
Topping
- Add oats, almond flour, white or brown sugar and salt into a seperate small bowl and stir to combine.
- Cut cold butter into small chunks and mix into the oat mixture with your finger tips, until all butter is evenly distributed. Stir in sliced almonds.
Assemble & Air fry
- Sprinkle topping on top of the apples and spread until they form an even layer.
- Preheat air fryer to 350°F for 30 minutes. Place baking pan into the basket when hot and continue cooking for 25 to 30 minutes or until the top is golden. Tip: Rotate the pan halfway through air frying, so the top gets an even color.
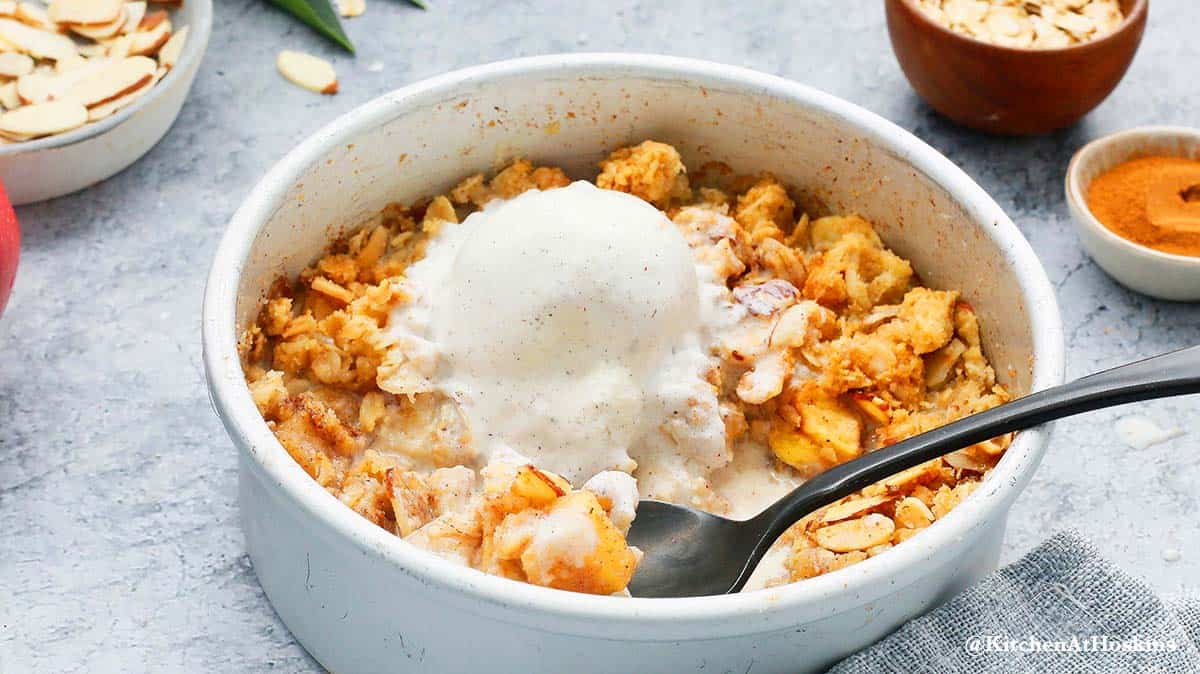
- Gently remove pan and place on a wire rack. Ladle warm apple crisp into bowls and top with vanilla ice cream, and enjoy!
Notes
Nutrition
Nutritional information, based on third-party calculations, should be seen as estimates, not guarantees, as various factors like product types, brands, processing methods, and more can alter the nutritional content in recipes.
How to make apple crisp in air fryer?
You can find full printable recipe below, but here is a quick overview of the procedure along with step-by-step photos.
Want To Save This Recipe?
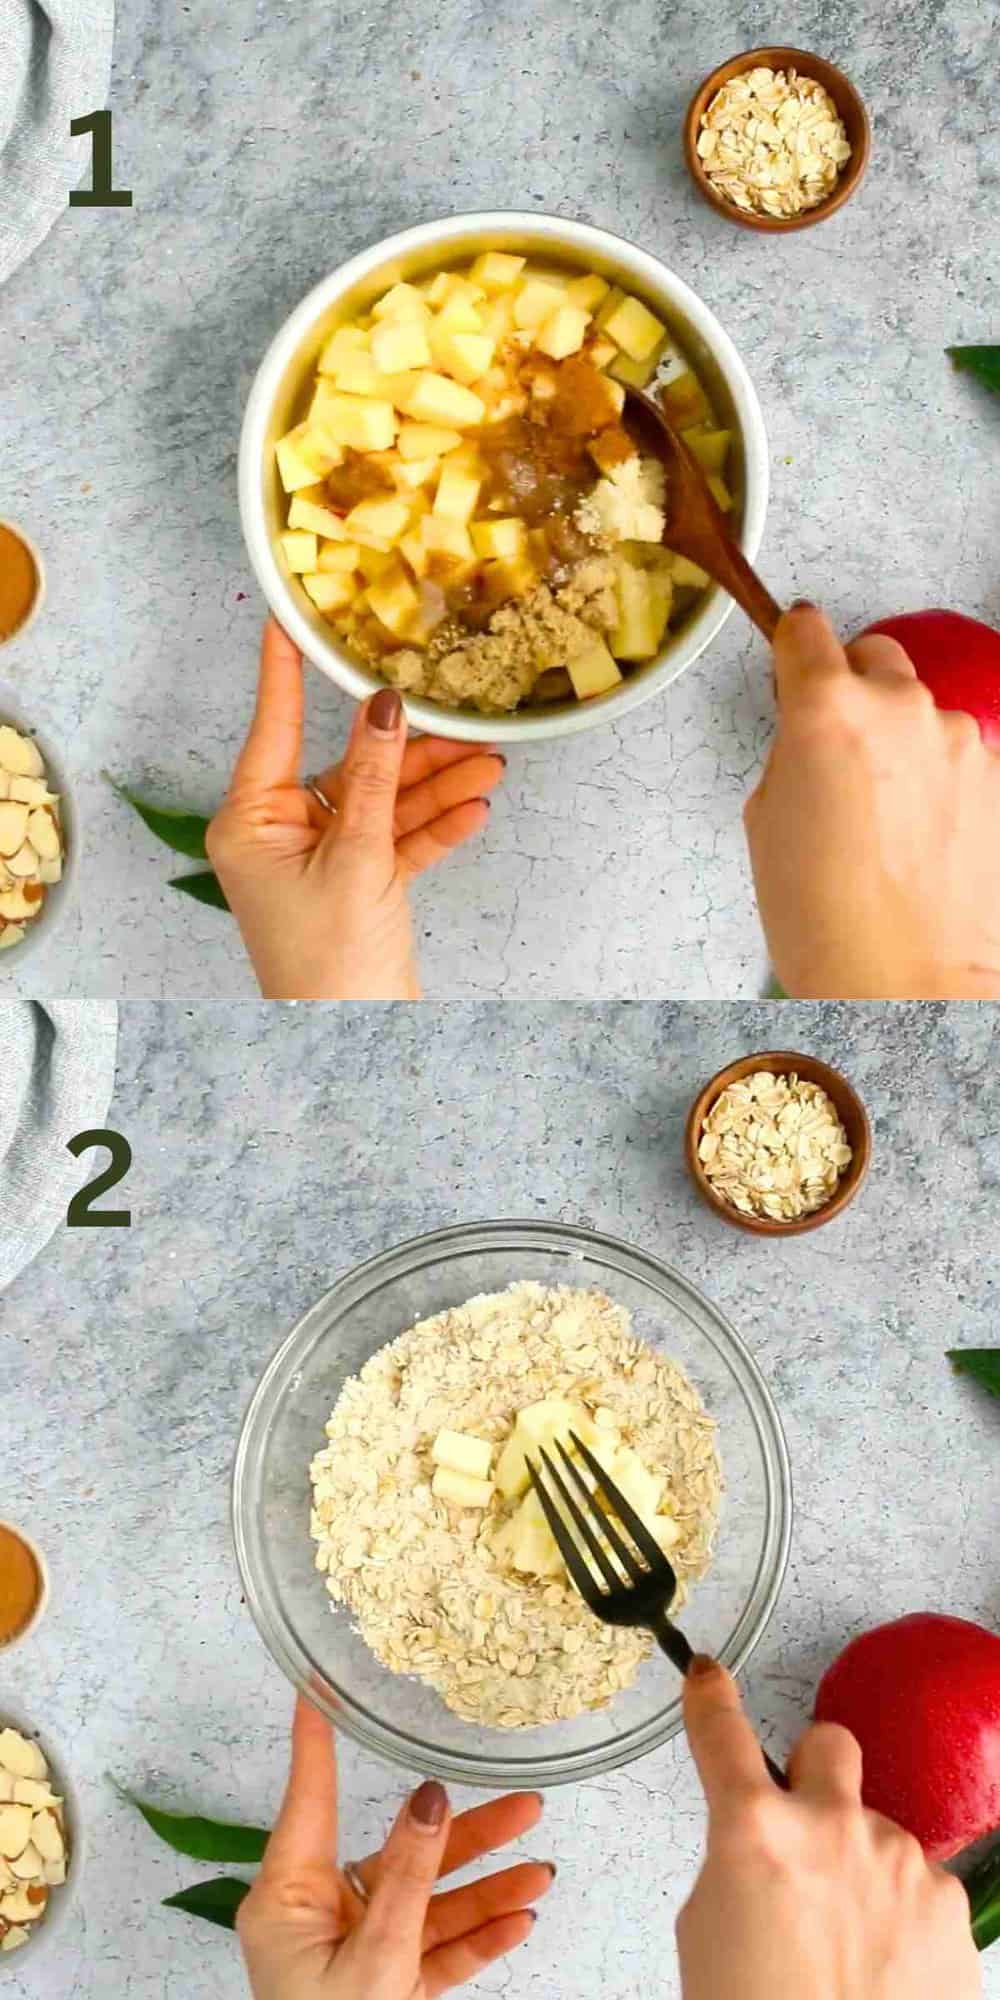
1.Peel, core and chop apples into ¼-inch cubes. Add into a greased baking dish along with brown sugar, water, cinnamon and salt. Stir well until well combined and spread evenly.
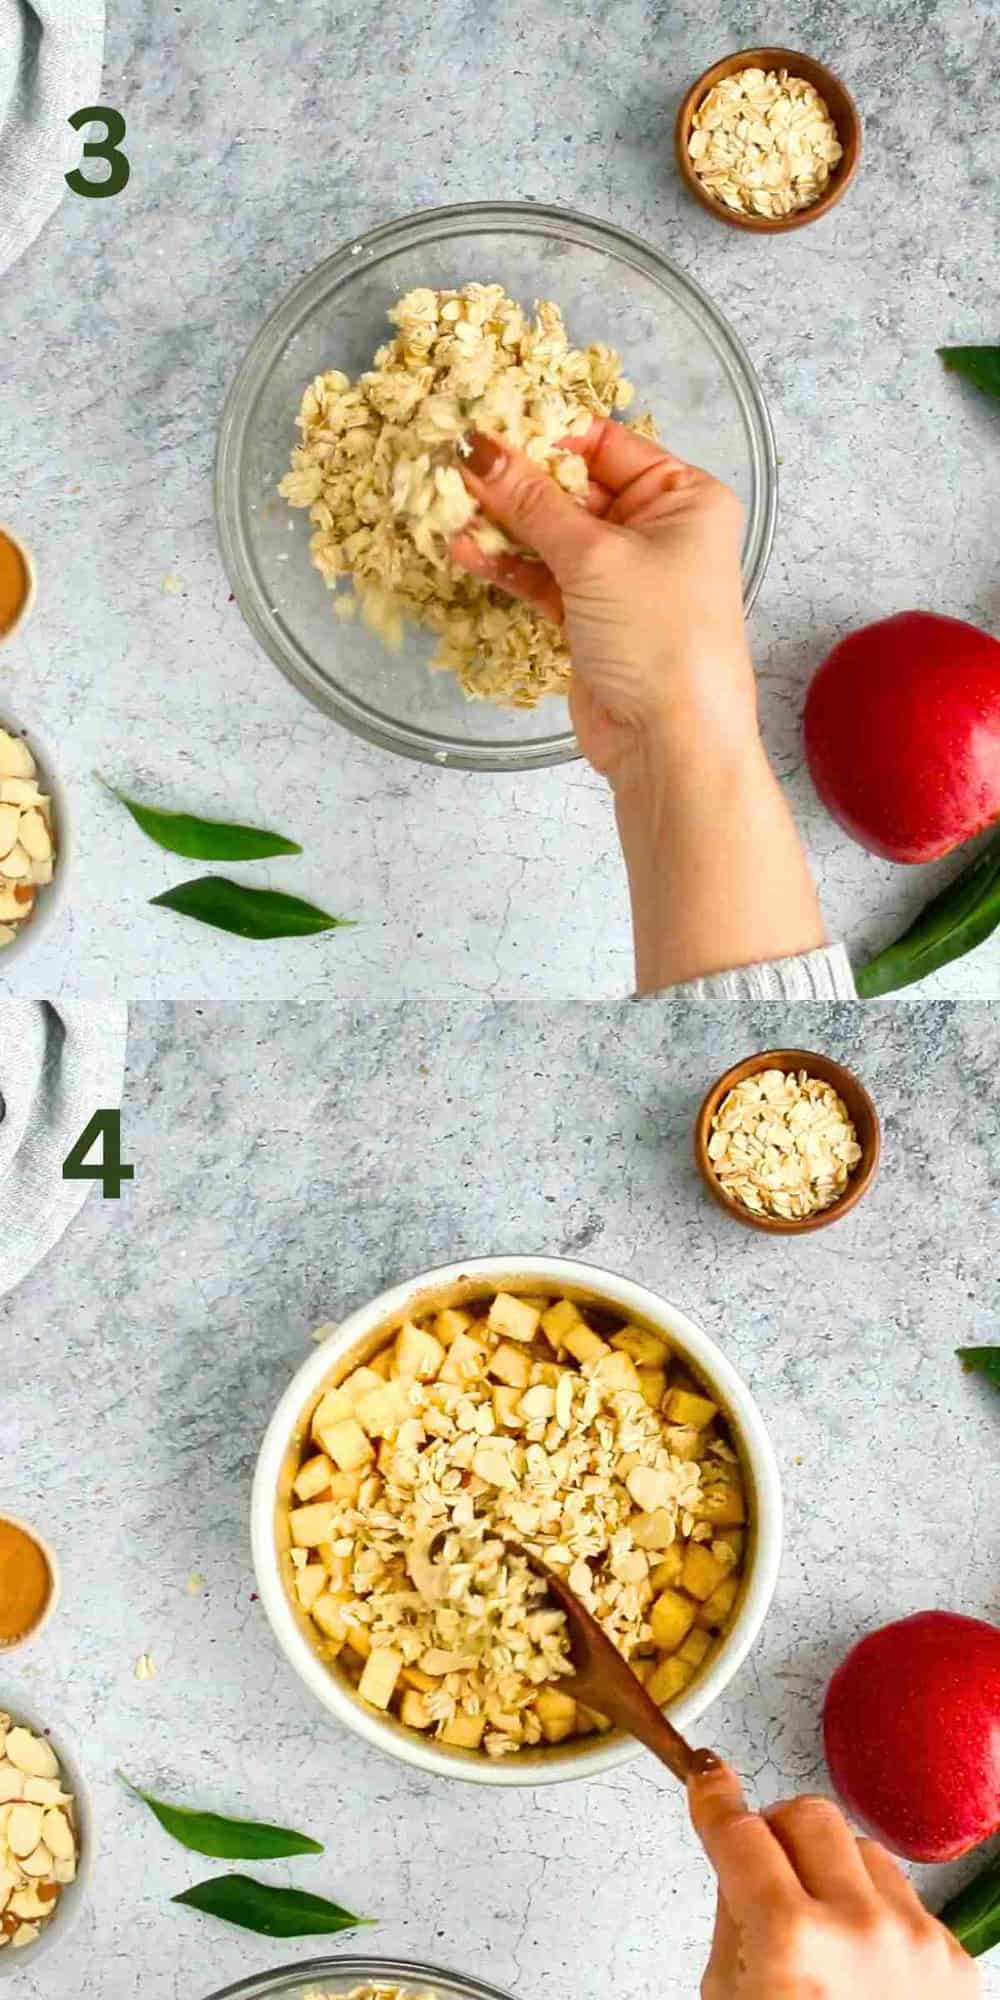
2 & 3. Add oats, almond flour, 2 tablespoons sugar and salt into a separate medium bowl and stir to combine. Cut cold butter into small chunks and mix into the oat mixture with your fingertips, until all butter is evenly distributed. Stir in sliced almonds.
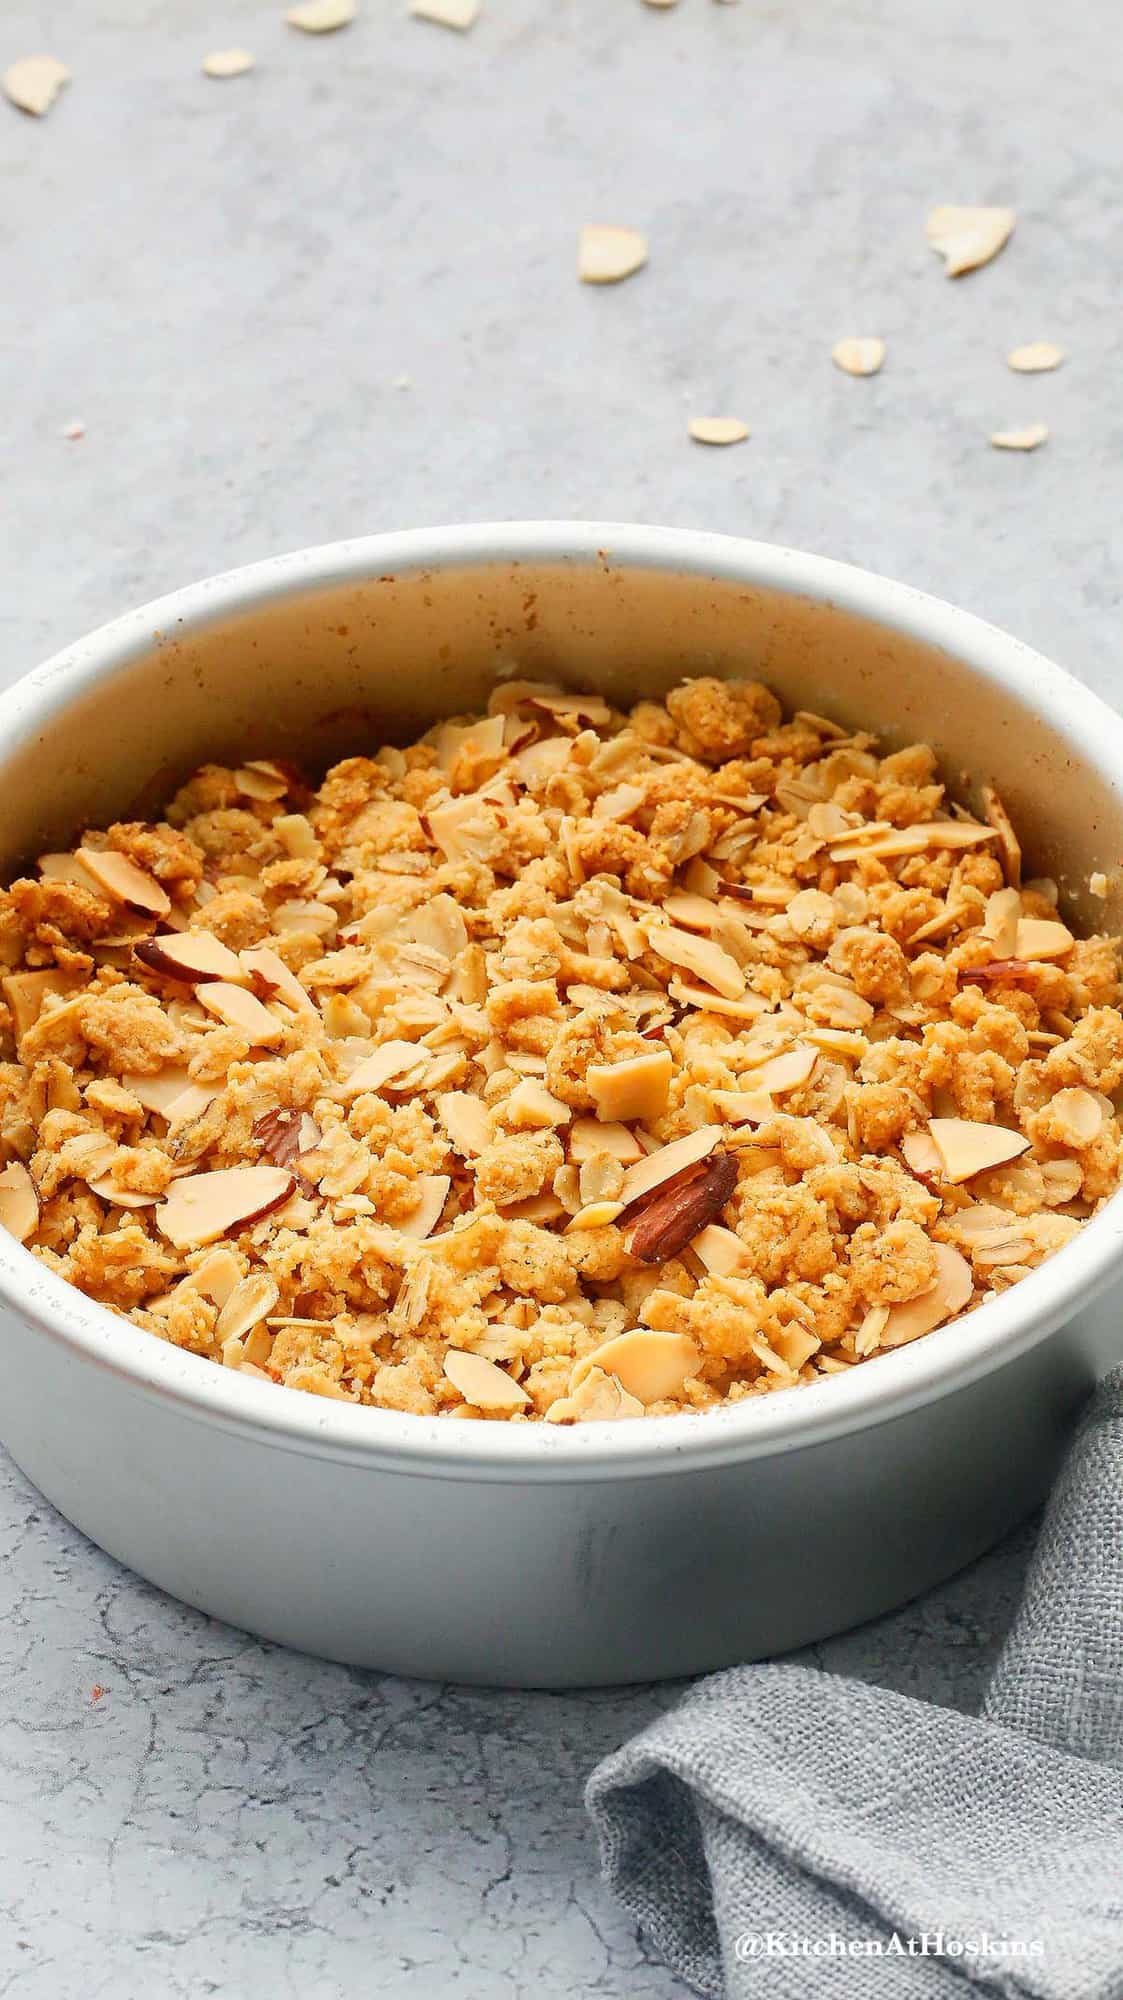
4. Sprinkle topping on top of the apples and spread until they form an even layer. Air fry at 350°F for 30 minutes, until the top is golden.
Storage and reheating
To store leftovers, cover pan tightly with foil or plastic warp and refrigerate for 2 to 3 days. It can be enjoyed cold straight from the fridge or reheated!
To reheat - Place pan (remove the foil or plastic wrap), in a preheated 300-degree air fryer for 5 to 8 minutes or until warmed through.
Substitutions & Variations
- Make it gluten-free: Use gluten-free cerified oats to make it gluten-free.
- Make it vegan: Use cold (solid) coconut oil instead of butter.
- Swap the nuts: Use chopped walnuts or pecans instead of sliced almonds for Fall vibes.
Recipe tips
- Make it healthier: Swap out butter for solid coconut oil—plus, it's dairy-free.
- Cut apples into small chunks: It ensures the fruit become tender by the time the oatmeal topping is golden and crisp.
- Adjust sugar to taste: Some apples (like Fuji or Honeycrisp) are naturally sweet, so you might not need as much sugar. Taste your fruit first and adjust accordingly.
- Rotate halfway through cooking: Give your pan a turn midway to promote even browning and avoid burnt edges. It helps the crisp cook evenly from all sides!
More apple dessert recipes made in the air fryer
If you love easy fall desserts and have an air fryer, you're in for a treat. These apple recipes are cozy, simple to make, and perfect when you're craving something sweet without turning on the oven.
- Apple Hand Pies are a personal favorite—not just because they’re adorable and portable, but because each one is filled with warm spiced apple filling and wrapped in a flaky homemade pie crust that turns golden and crisp in the air fryer.
- Air Fryer Apple Fritters are perfect when you want something indulgent but don’t want to deal with yeast or deep frying.
- Air Fryer Baked Apples are a smart twist on the classic baked apple—this recipe uses two simple hacks to get that soft, juicy texture with a caramelized finish, and it’s even better when served warm with a scoop of vanilla ice cream.
I hope you love this delicious and easy recipe – be sure to give it a review below! Also don’t forget to follow Kitchen at Hoskins on TikTok, Facebook, Instagram, Pinterest, and YouTube!