

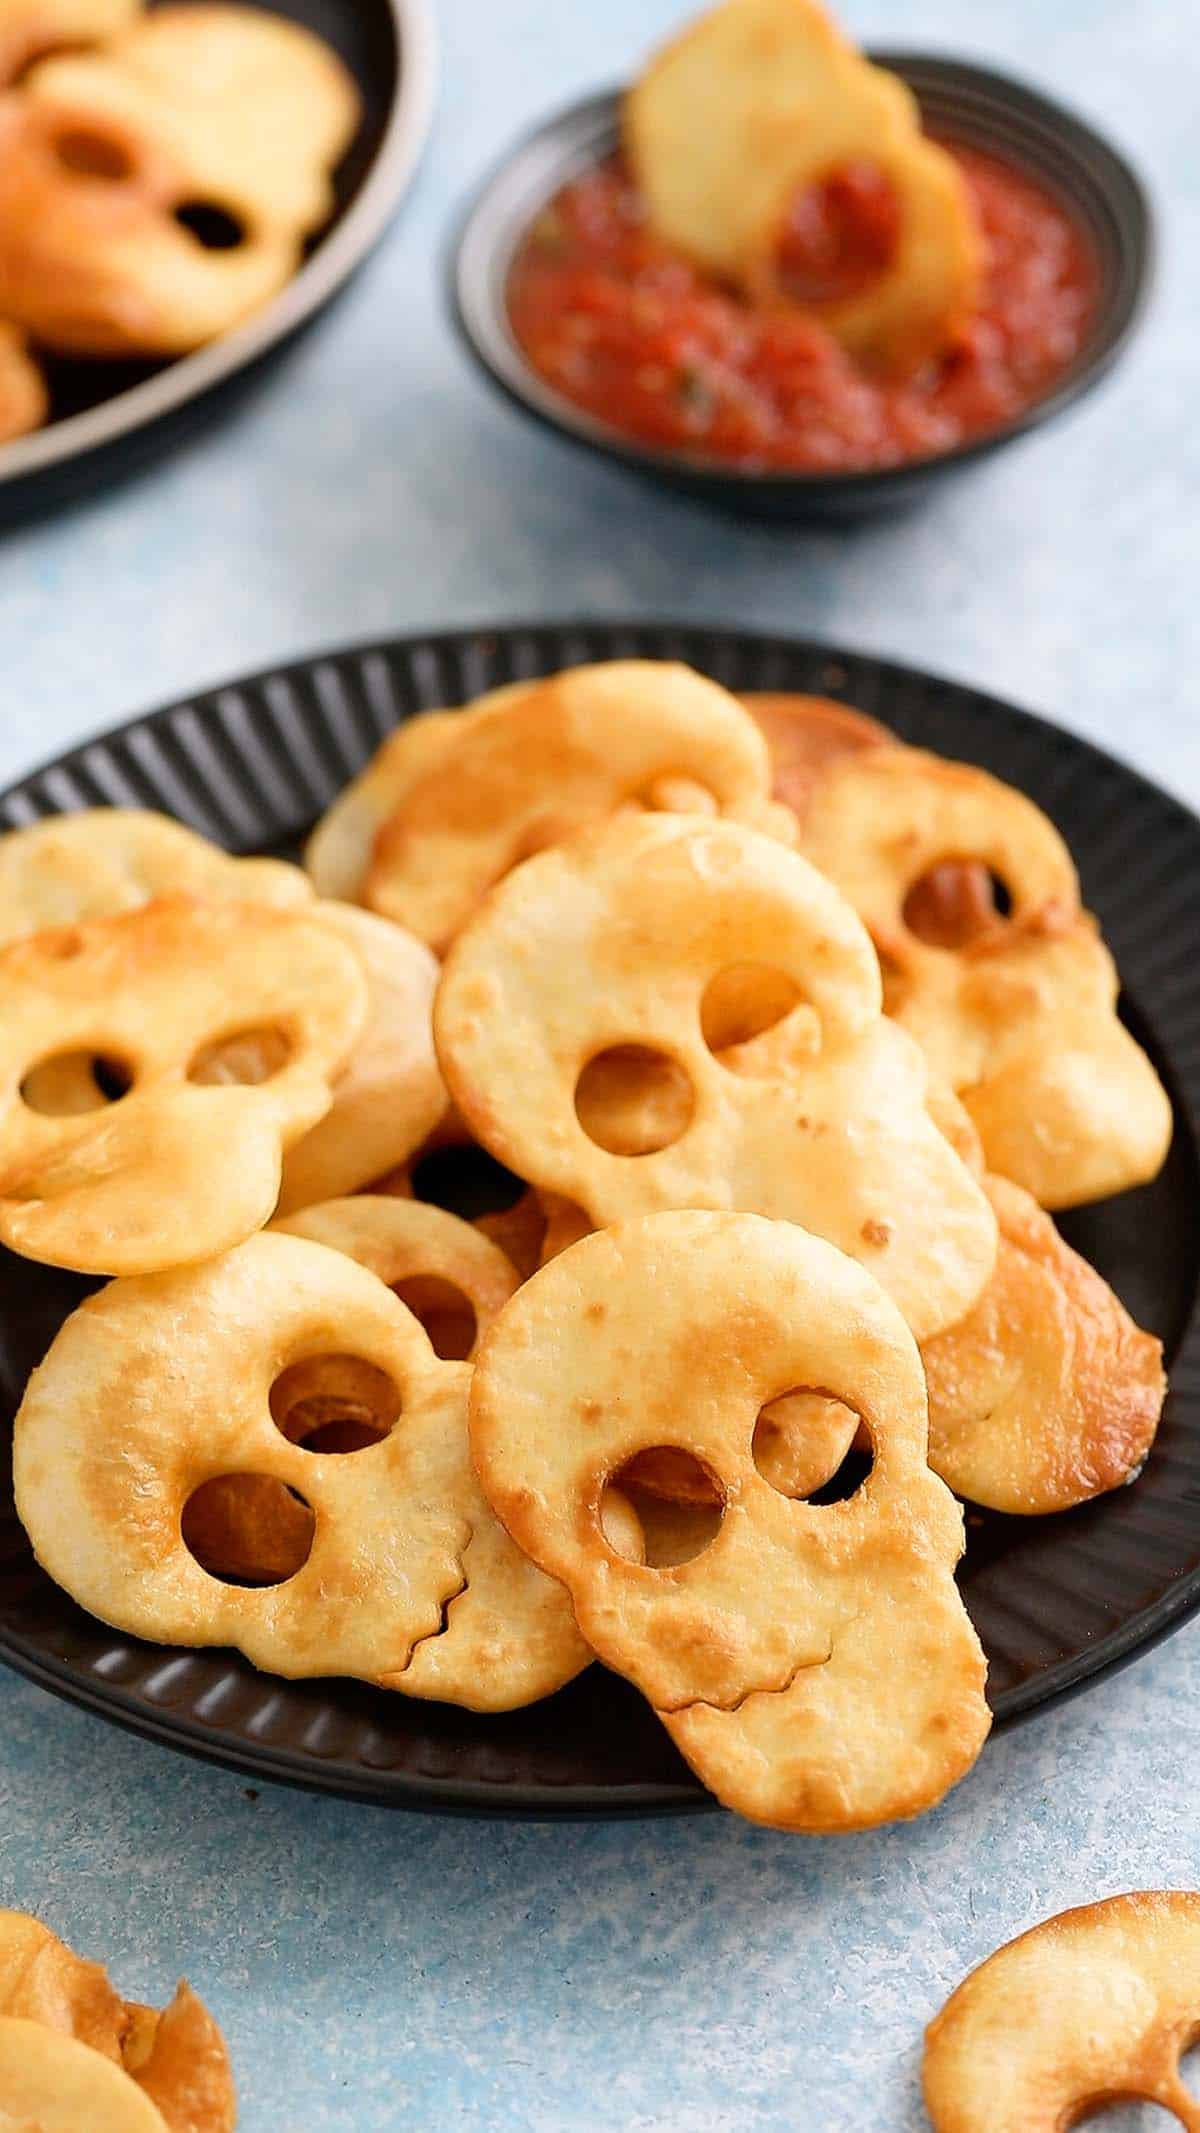
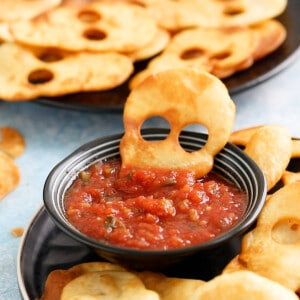
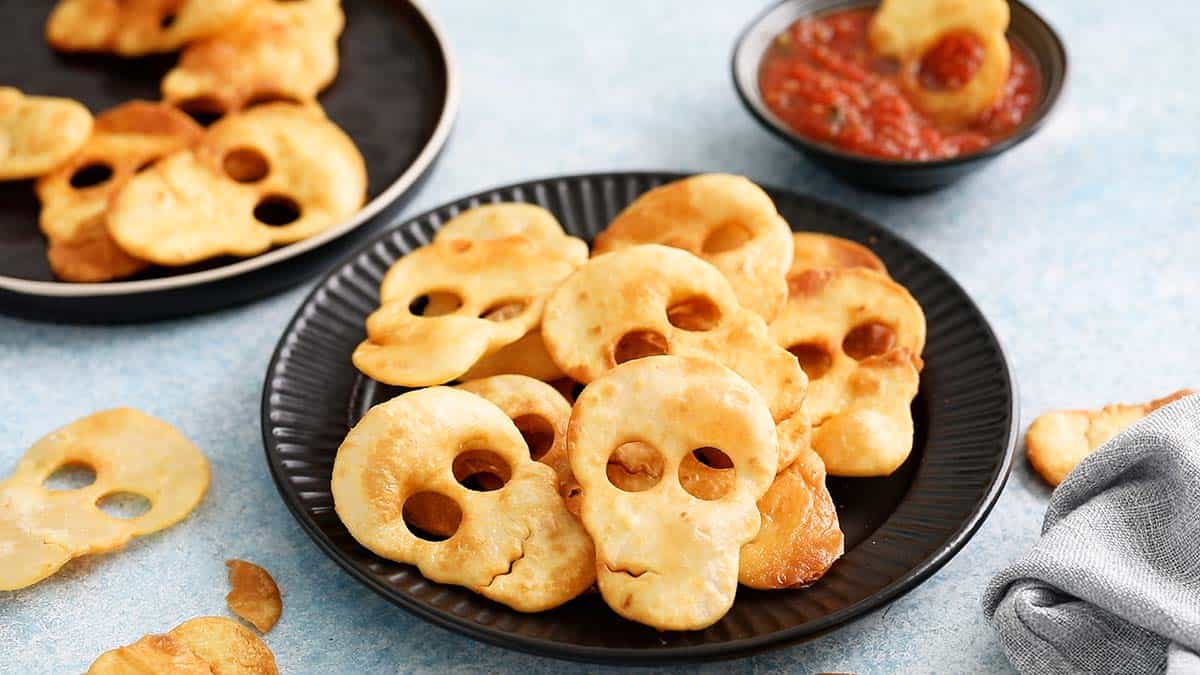
Homemade Halloween Chips with Salsa Dip are a spooky snack or appetizer for your Halloween party. Made at home using flour tortillas, they are spooktacular, crispy and crunchy, making them perfect for kids and adults.
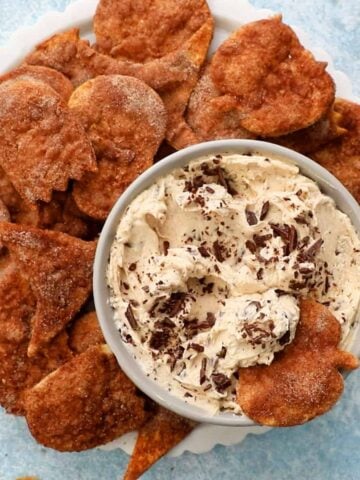
If you are looking for more spooky Halloween party snacks, try our cinnamon crisps with craem cheese dip next!
Why You'll Love These Halloween Chips and Salsa

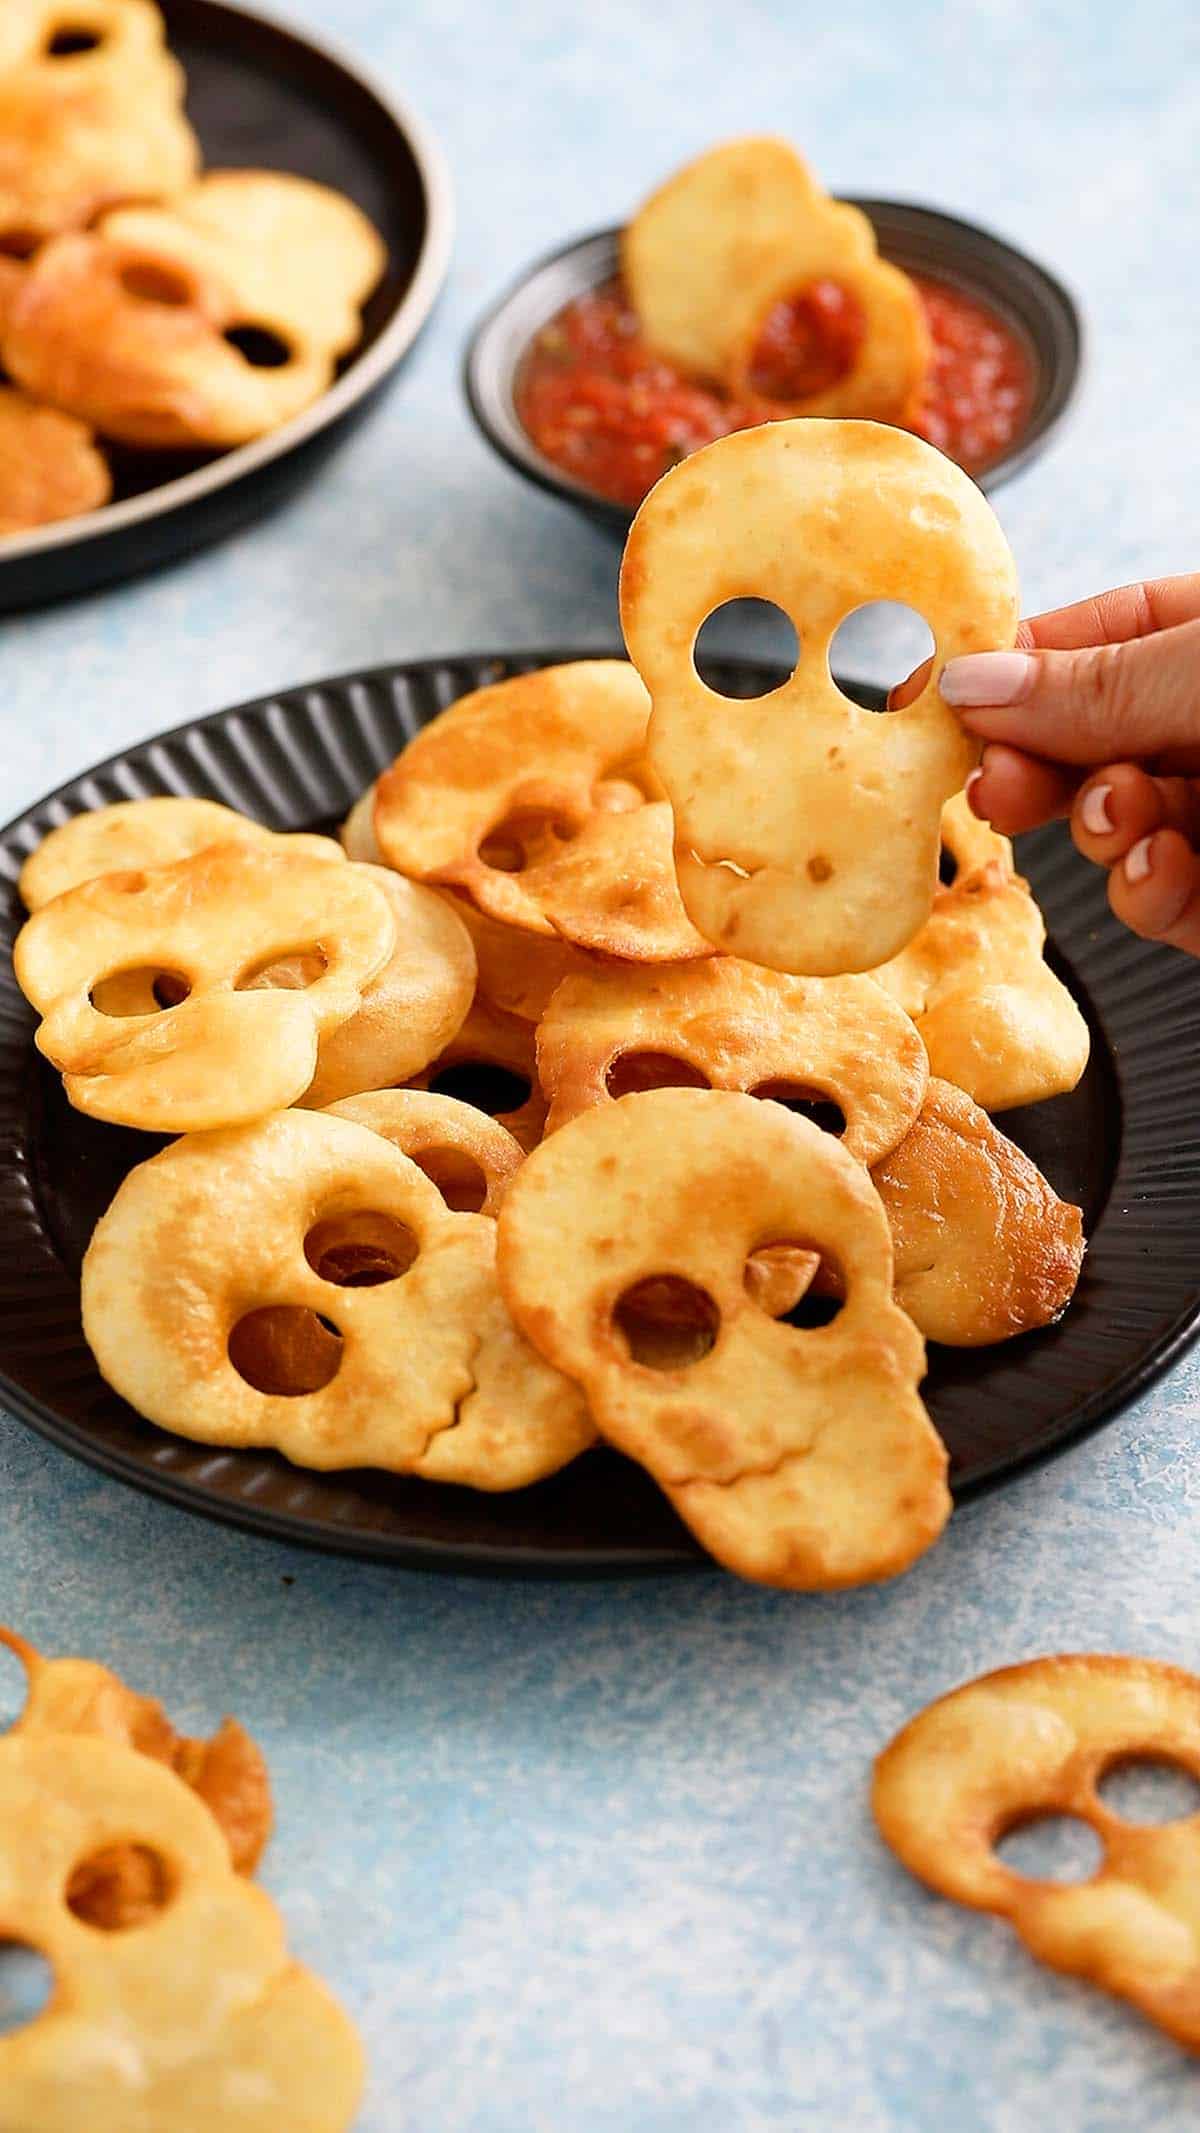
I can’t decide if these homemade Halloween chips are cute, fun, or a little spooky! They’re basically classic chips and salsa, but with homemade tortilla chips cut into skull shapes, which makes them so much more festive and fun for Halloween.
They’re easy to make and perfect for Halloween parties, movie nights, or a spooky snack spread. Serve them with your favorite salsa and watch them disappear!
Looking for more fun Halloween snacks? Be sure to check out my other Halloween recipes!
-maria doss
Jump to:
Ingredients needed
Scroll down to the recipe card below for full information on ingredients and amounts.
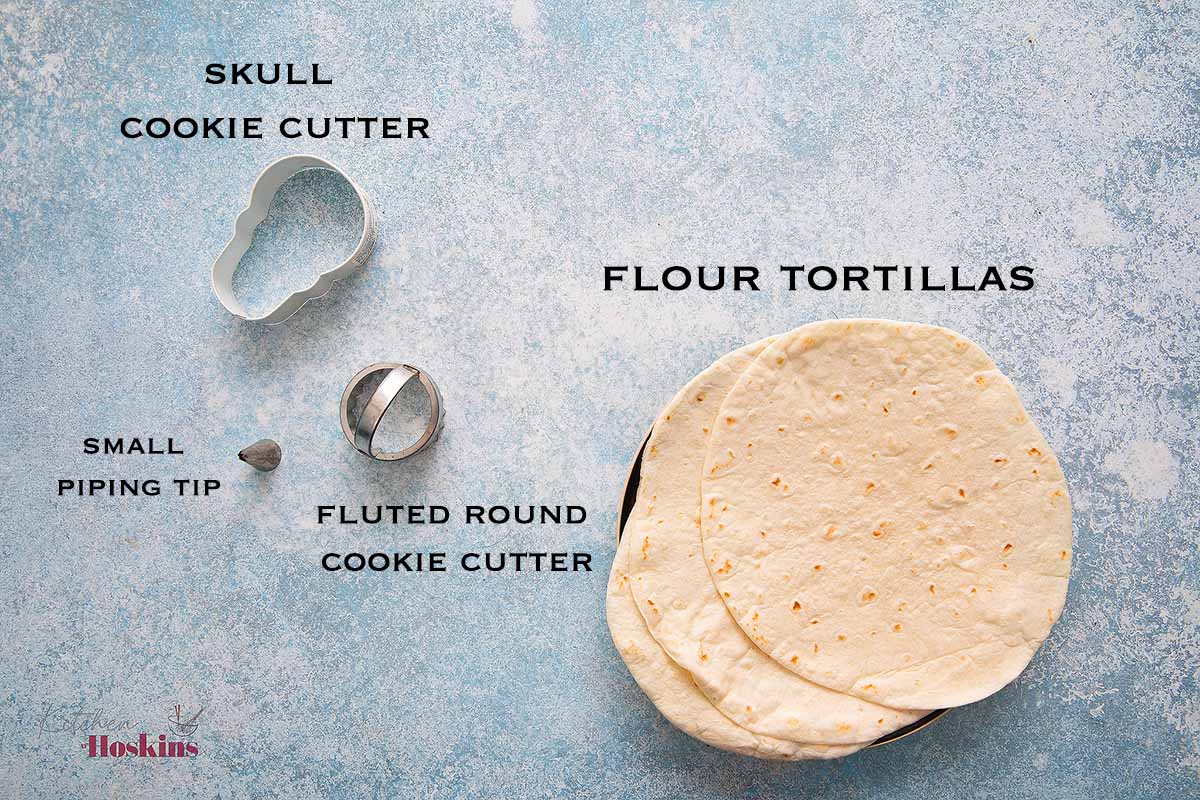
- Tortillas — Use any flour tortillas you have on hand, of any size. For dietary swaps, gluten-free or white corn tortillas work just as well.
- Skull Cookie Cutter — One of my most-loved seasonally essential tools, especially around Halloween! You’ll find them in stores like Michaels or Amazon.
- Small Circle Cutter — I use the back of a small piping tip; it’s quick, precise, and ensures your “eyes” are proportionate to the skull shapes. Of course, any small round tool works just as well.
- Fluted Round Cookie Cutter — A round cookie cutter will work just as fine, but the mouth won't have those ridges.
Tips For Success
- Make ahead - Let the chips cool completely and then store in a tightly sealed air-tight container for up to 2 days.
- Fry at moderate heat - Don't deep fry at high heat, as it can cause the chips to brown too quickly, preventing them from crisping up properly.
- Serving - Serve these spooky chips with your favorite salsa, guacamole, pico de gallo, avocado crema or buffalo chicken dip as an appetizer for Halloween party.
- Spooky salsa - Make the salsa spooky and mix a dash of red food coloring to your salsa to give a bloody effect!
How to make Halloween chips?
You can find full printable recipe below, but here is a quick overview of the procedure along with step-by-step photos.
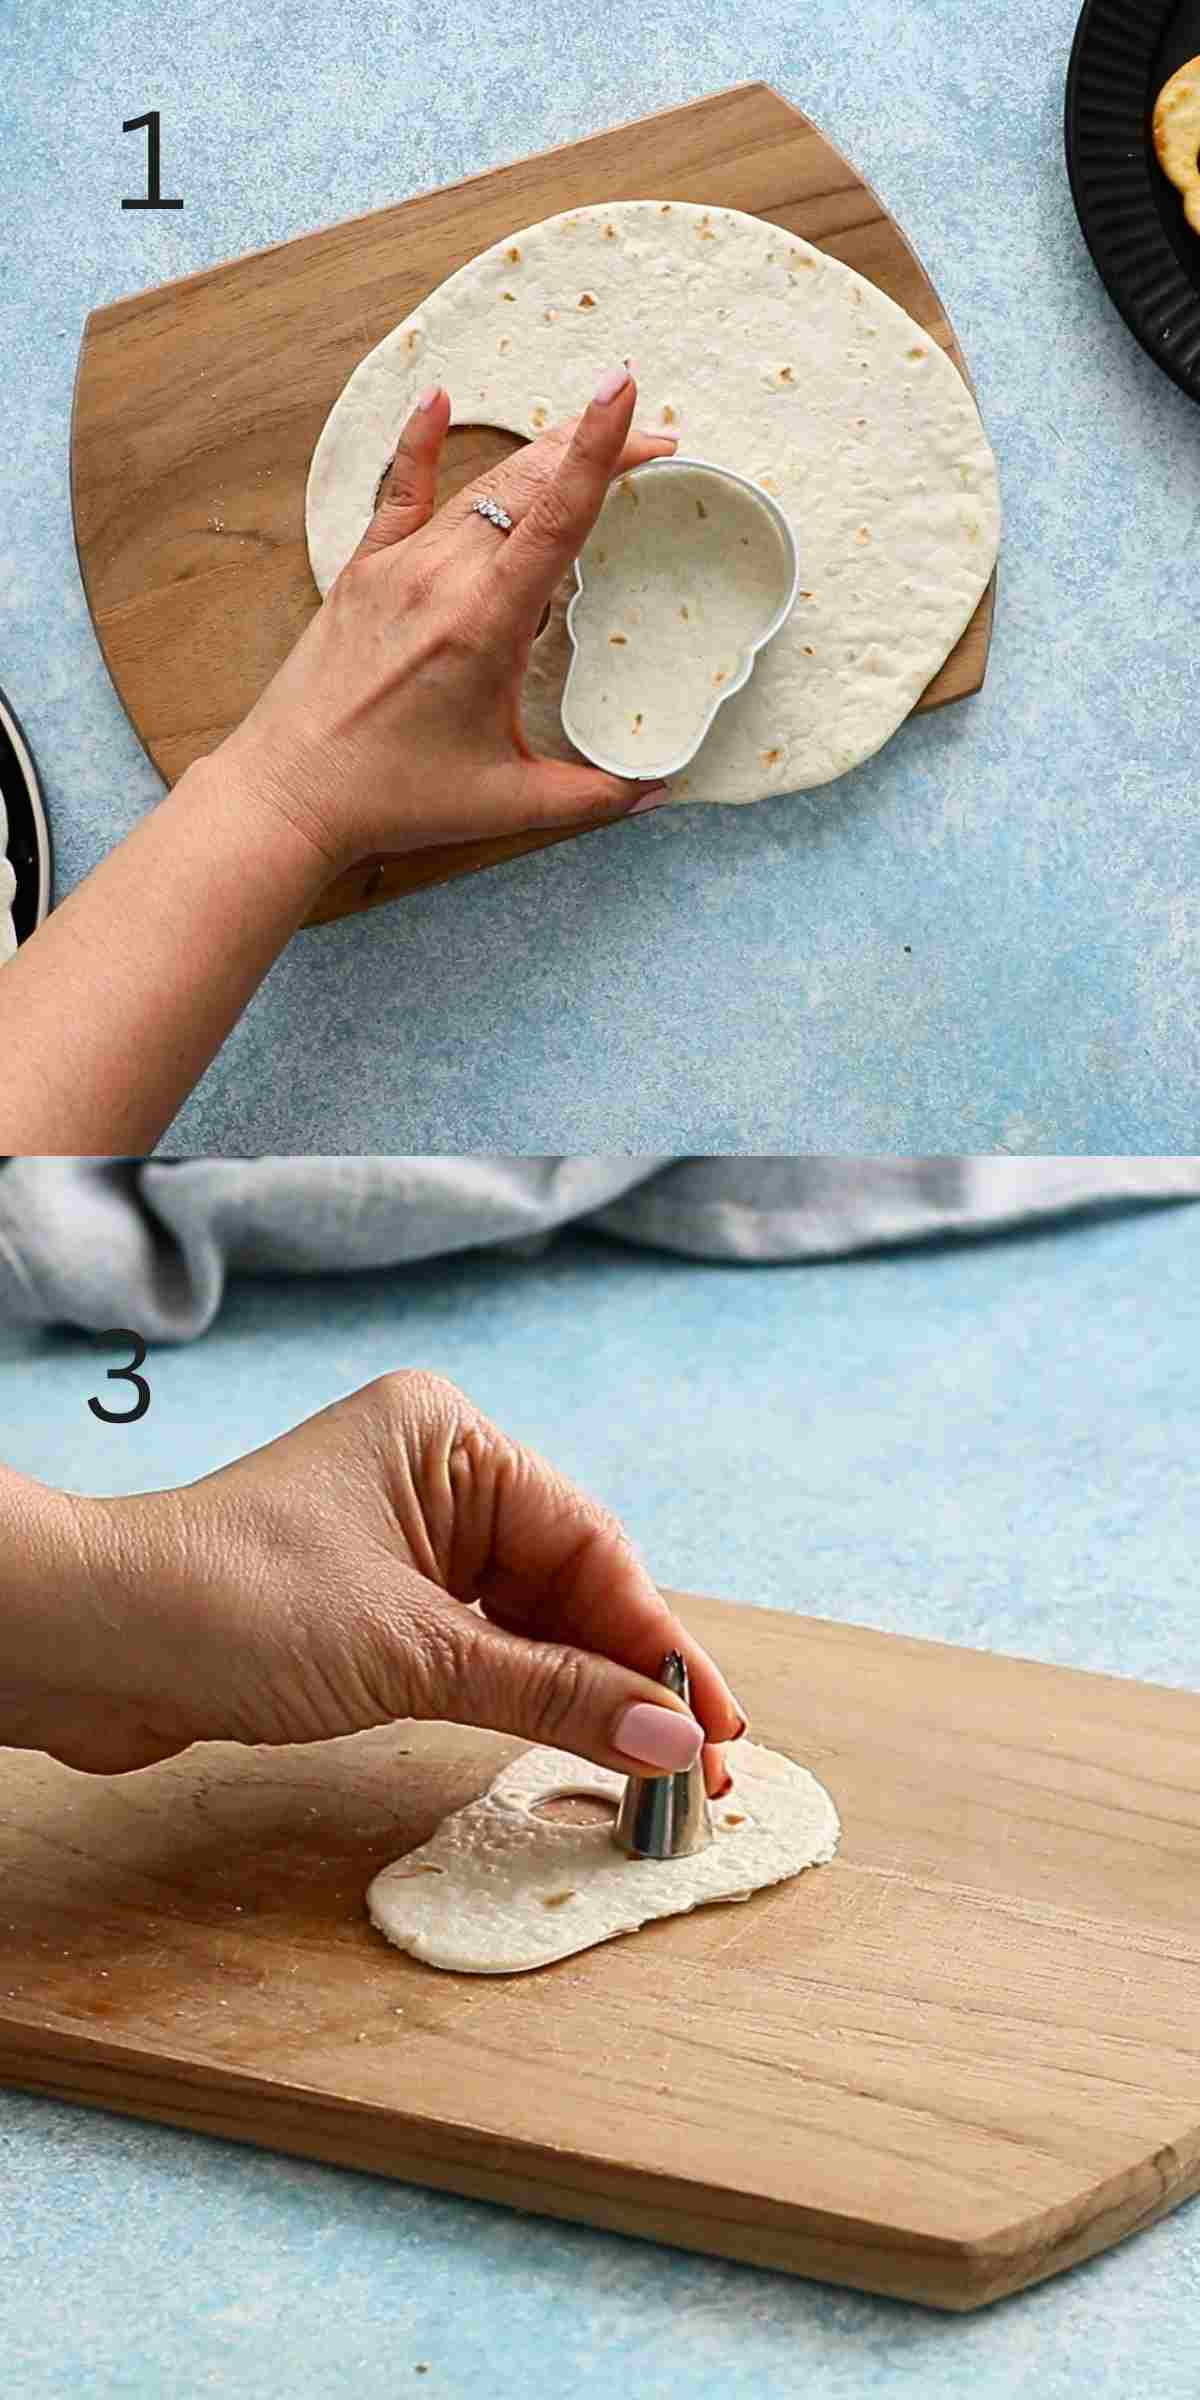
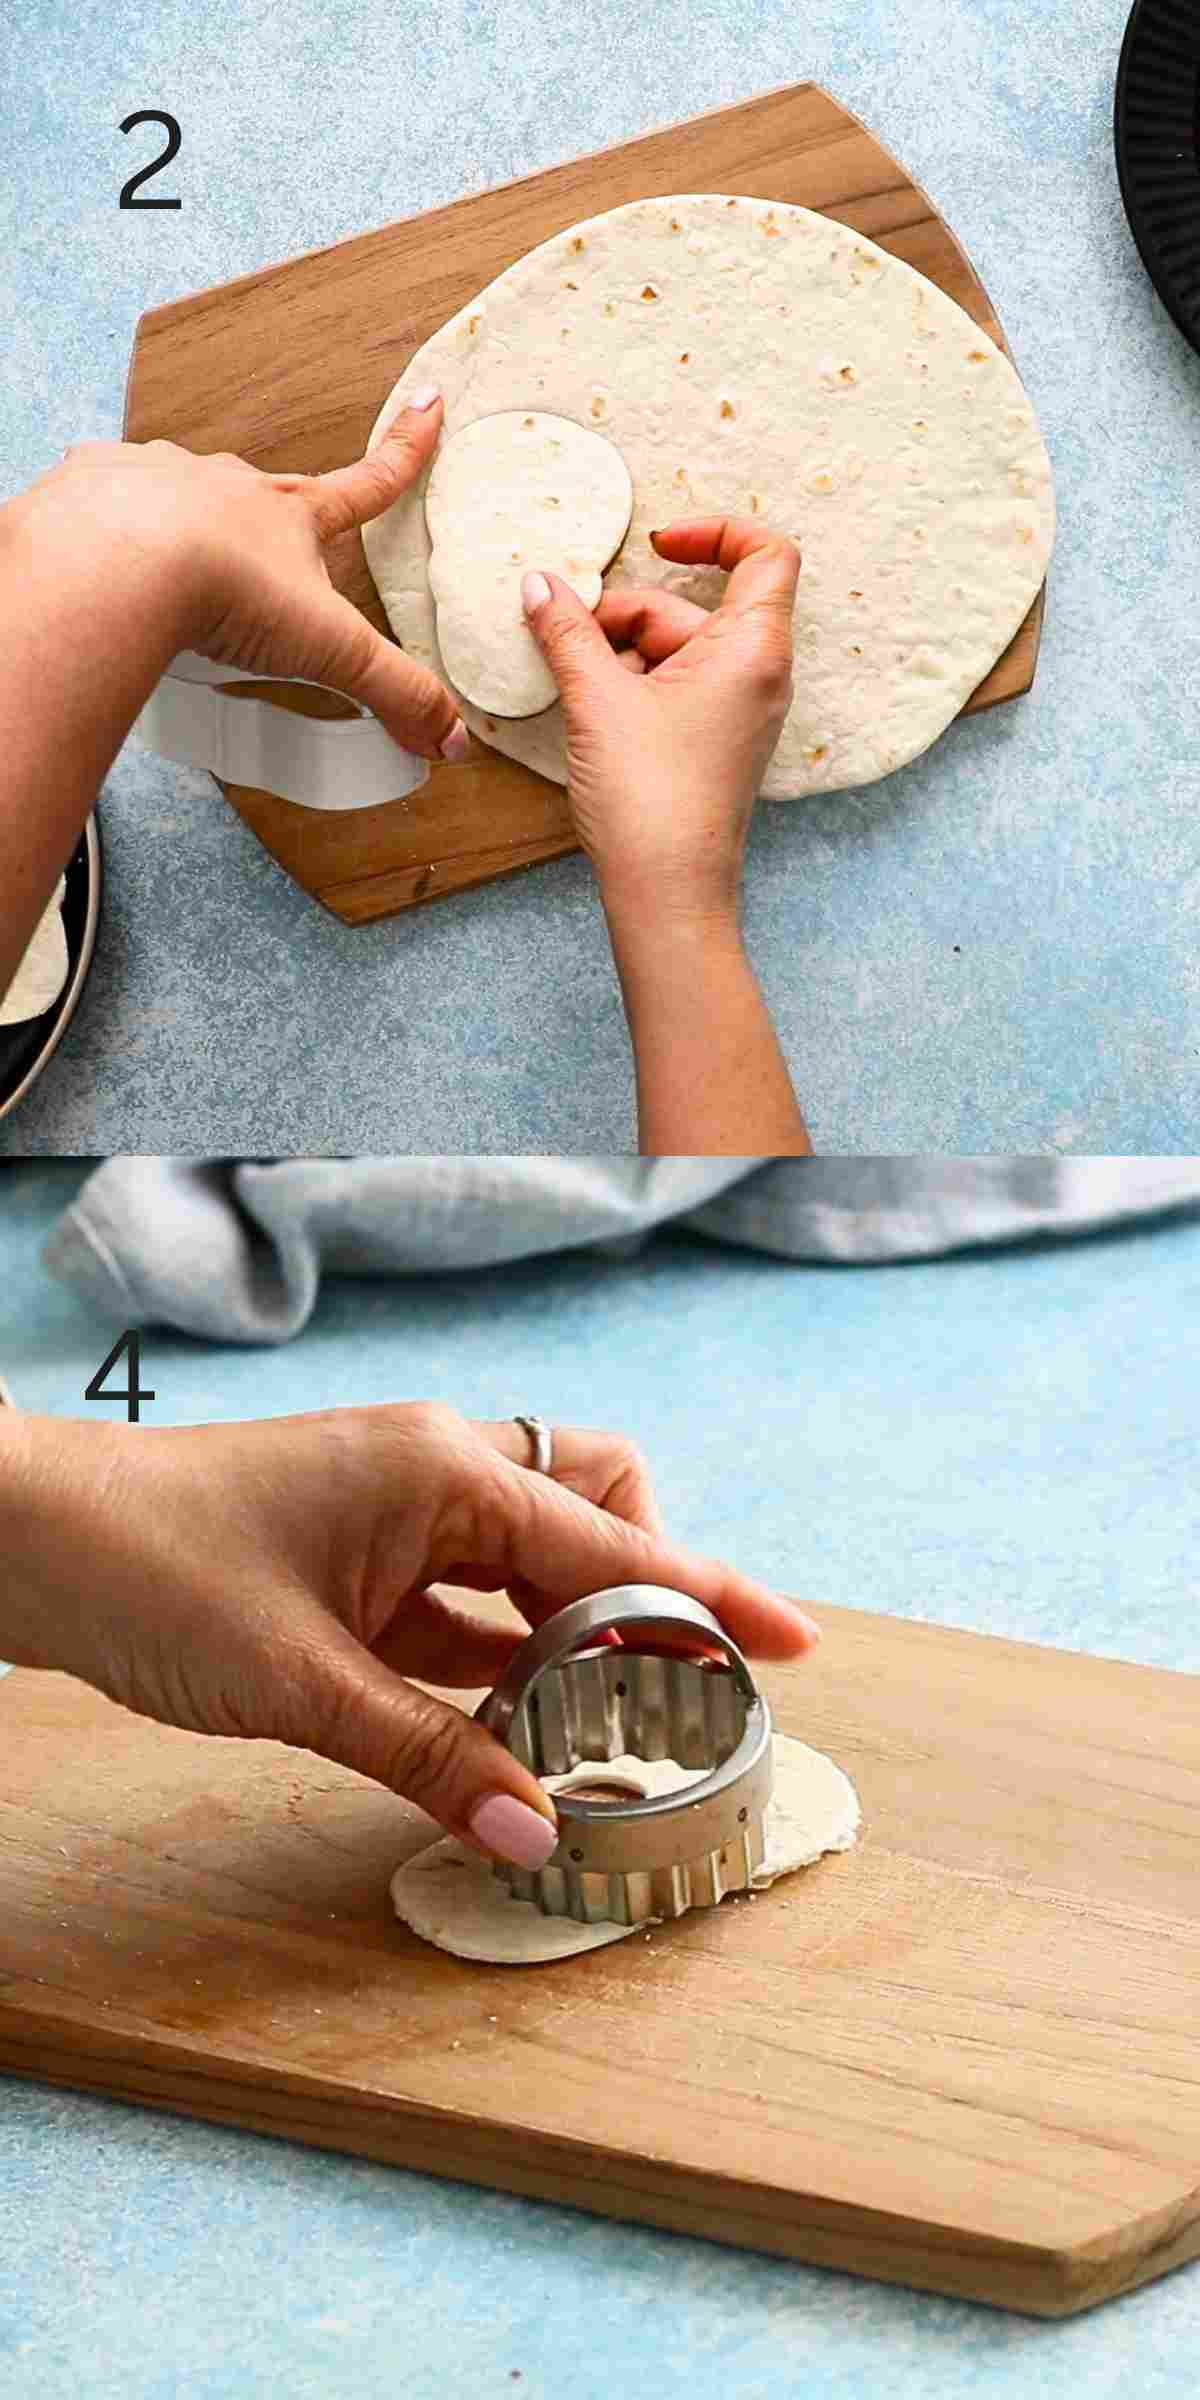
1 & 2. Cut skull shapes from tortillas, using the skull cookie cutter. I was able to cut 4 skulls from each 7-inch tortilla.
3. Make eyes - Using the back end of the piping tip or any very small round cutter, punch two holes for eyes.
4. Make mouth - Using a small round fluted cutter, cut mouth without cutting all the way through.
Deep Frying Instructions
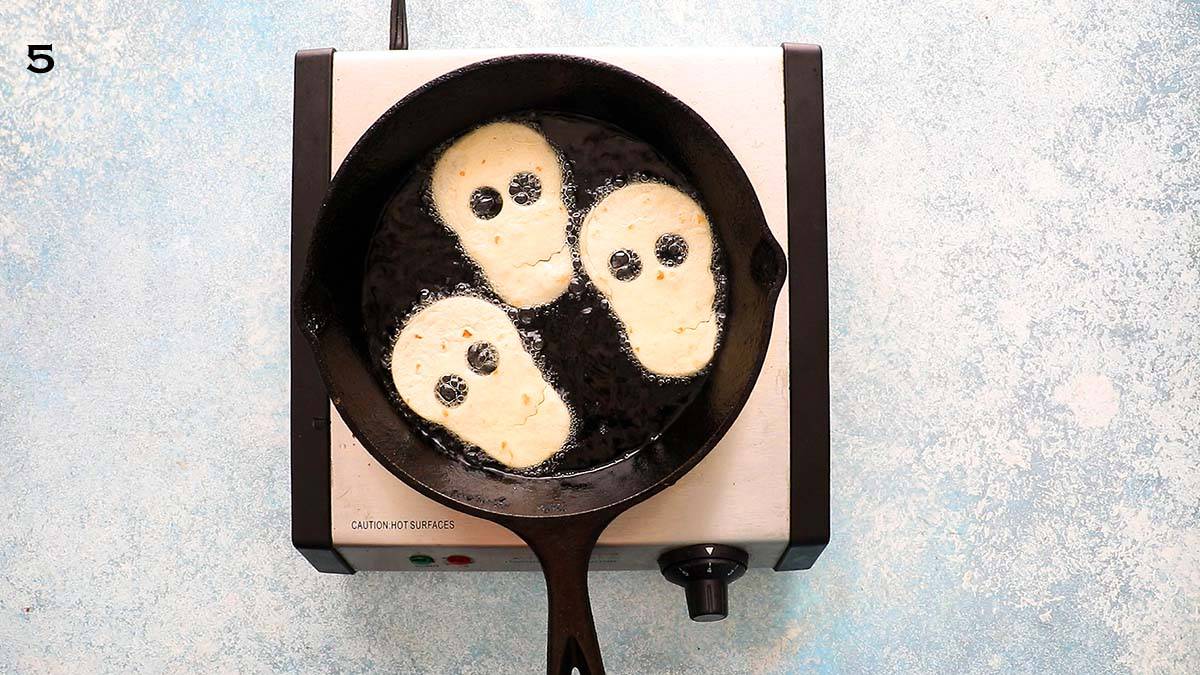
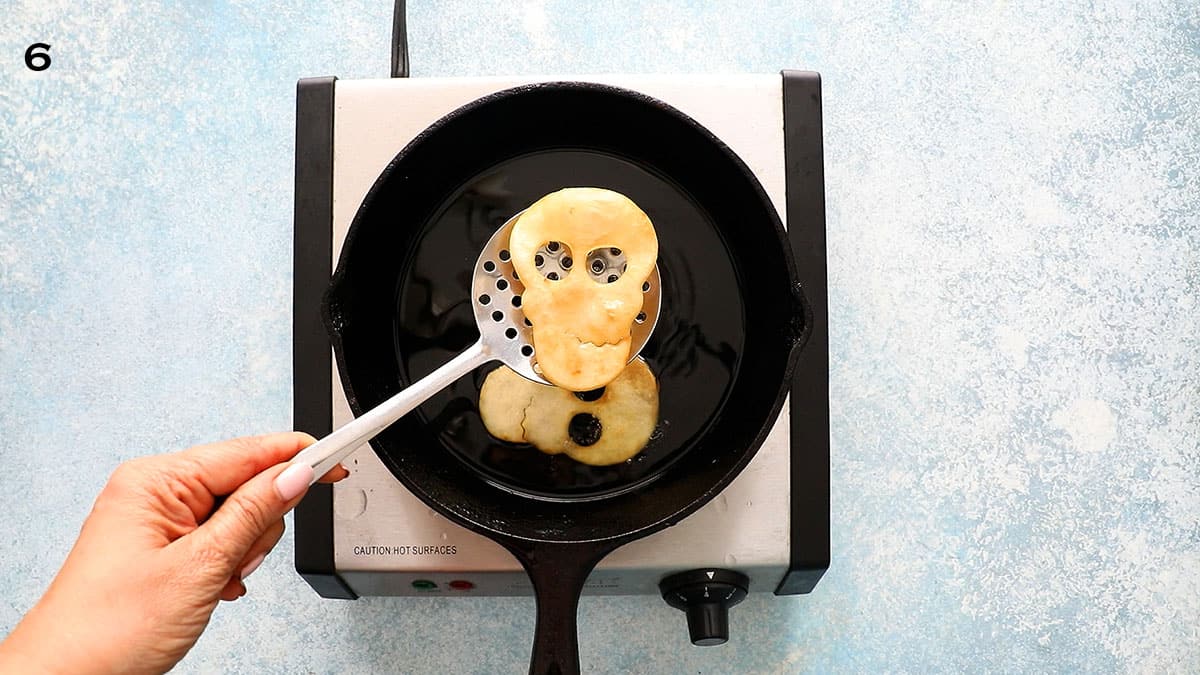
5 & 6. Pour oil into a small saucepan until it reaches about ½ to ¾-inch up the sides. Place the skillet over medium heat and let it reach about 325 degrees or moderately hot. Cook 2 to 3 chips at a time, until golden brown on both sides, about 1 minute each side. Drain on a paper towel and continue cooking the remaining chips.
Baking Instructions
- Preheat oven to 350 degrees and line a baking sheet with parchment paper.
- Place all skull cut outs in a single layer in the prepared baking sheet. Spray a thin coating of non-stick cooking spray.
- Bake for 14-18 minutes, until golden brown, rotating pan halfway in between. Place pan on a wire rack to cool completely.
More Spooky Party Snacks

Halloween Chips and Salsa
Ingredients
- 3 flour tortillas, 7-inch
- vegetable oil, for deep frying
- salsa, for serving
Instructions
Cut skull shapes
- Cut skull shapes from tortillas, using a skull cookie cutter. I was able to cut 4 skulls from each 7-inch tortilla.
- Make eyes. Using the back end of the piping tip or a very small round cutter, punch two holes for eyes. Make mouth. Using a small round fluted cutter, cut the mouth without cutting the skull in two (refer pictures and video).
- Now, you can deep-fry or bake in the oven, and I've included instructions for both methods below.👉 I prefer the fried ones because they puff up slightly in the hot oil, resulting in a more natural and visually appealing look, whereas baked chips tend to remain flat and crunchy.
Deep fry instructions
- Heat oil. Pour oil into a small saucepan until it reaches about ½ to ¾-inch up the sides. Place the skillet over medium heat and let it reach about 325 degrees or moderately hot.
- Fry. Cook 2 to 3 chips at a time until they get golden on both sides, about 1 minute each side. Drain on a paper towel and continue cooking the remaining chips.👉 Avoid cooking over high heat, as it can cause the chips to brown too quickly and prevent them from crisping up properly.
Baking instructions
- Prep. Preheat the oven to 350°F and line a baking sheet with parchment paper.
- Bake. Place all skull cut outs in a single layer in the prepared baking sheet. Spray a thin coating of cooking spray. Bake for 14-18 minutes, until golden brown, rotating the pan halfway through.
- Cool and serve. Let the chips cool completely before storing. Serve chips with your favorite salsa. I like to mix a dash of red food coloring into the salsa to get a spooky effect!
Notes
Nutrition
Nutritional information, based on third-party calculations, should be seen as estimates, not guarantees, as various factors like product types, brands, processing methods, and more can alter the nutritional content in recipes.
Is It Best To Bake or Deep Fry Halloween Chips?
If you want the most dramatic skull shape and a puffy, slightly curved texture, I recommend deep frying. But if want an easier, less messy option, baking still gives you crispy, delicious chips.
- Baking — Lighter and easier, with no hot oil to deal with. It’s a great option if you want a simpler, healthier approach while still getting crunchy skull-shaped chips.
- Deep frying — Gives the chips a more puffy, slightly curved shape that you can’t quite achieve by baking. It takes a little more effort, but the fun shape makes them extra festive for Halloween.
More Spooky Halloween Party Snack Ideas
Looking for spooky, simple, and crowd-pleasing Halloween snacks to serve at your party?
- Halloween Pop Tarts: With just two ingredients (pie crust and jam), these ghost-shaped pastries are a breeze to make.
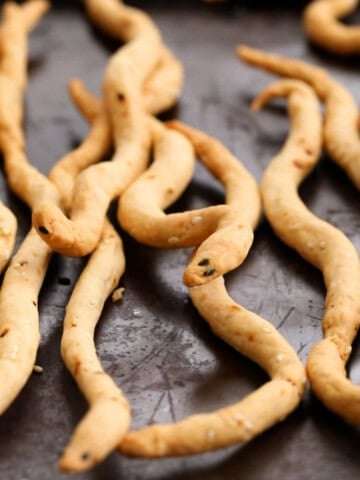
- Halloween Breadstick Snakes: Slightly twisted, crispy, and just the right amount of eerie—these savory snacks add crunch and suspense to your snack table.
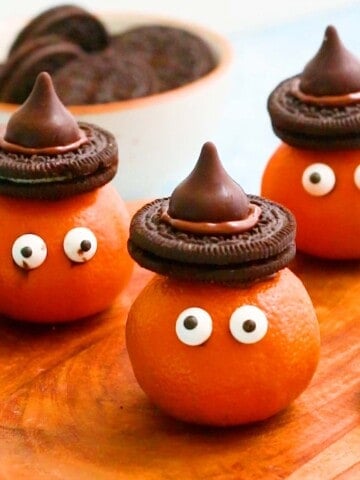
- Halloween Clementines: These clever little clementine “pumpkins,” assembled with Oreos, are mess-free fun—great for school parties or trick-or-treaters.
- No-Bake Halloween Pumpkins: Made from almond flour, chocolate dough, and maple syrup, these adorable, healthy treats are as fun to shape as they are to eat.
- Halloween Breadstick Snakes are a unique Halloween-themed snack idea for parties. They’re crispy, crunchy, and so delicious to eat! Fun and easy to make, they’re sure to be the talk of your Halloween party.
MADE THIS RECIPE AND LOVED IT? 💚 Please leave a ⭐️STAR rating and COMMENT below- I love to hear your feedback! Tag me with your creations on Instagram and find me on Facebook.
Hi, I’m Maria! I share easy, flavor-packed dinners, high-protein meals, and irresistible baking ideas. If you’ve ever asked, “Don’t know what to cook tonight?” you’re in the right place. And yes—there’s plenty here for breakfast, snacks, and dessert too. More about maria ->

Kelly @ Kelly Lynns Sweets and Treats
These are so cute Maria!!! They would be so fun at a Halloween party for sure. Almost too cute to eat hehehehe 🙂
Maria Doss
Thank you Kelly:)
Kim Lange
Those are adorably 'creepy' cute!! I love skulls! Definitely would be so much fun at any Halloween party and I could see everyone going back for more!
Maria Doss
Thank you KIm:)